How to Make an Origami Spider
Do you want to make a spooky addition to your Halloween décor? Look no further than the origami spider! Not only is this craft surprisingly easy and fun, but it will also bring an extra touch of class and creativity to your holiday decorations. This guide will help you create an origami spider in just a few simple steps – so let’s get started!
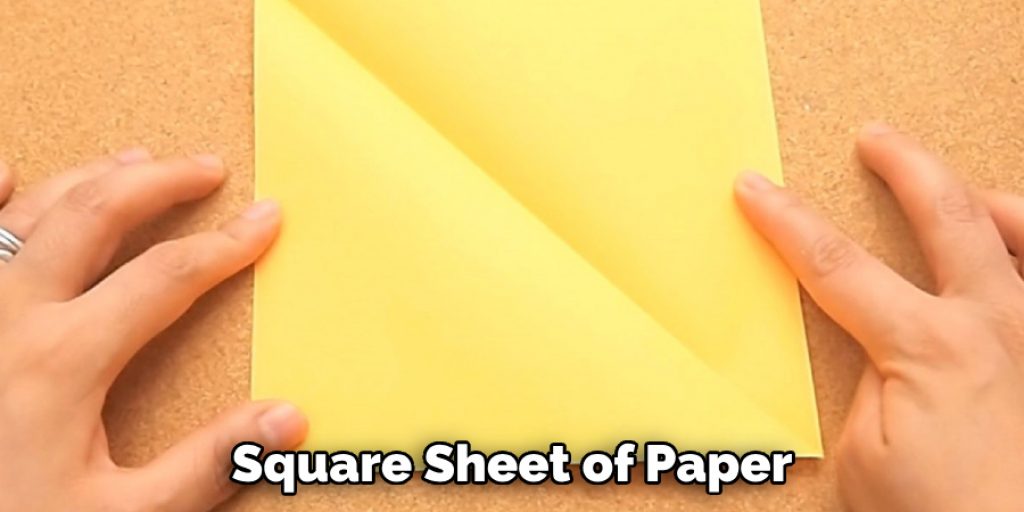
Creating an origami spider is a fun and unique activity that will both challenge your origami skills and bring out the inner-arachnid enthusiast in you! This craft project involves using a single square sheet of paper folded into a delightful 8-legged insect.

With this step-by-step guide on how to make an origami spider, everything from the basics to more intricate designs can be at your fingertips as you master how to make paper spiders. Get ready to learn the creative art of crafting these little web spinners – let’s get started!
Why May You Want to Make an Origami Spider?
1. To Make Something Cute and Original
One of the advantages of making your own origami spider is that you can make something unique and personalized. This could be a great decoration for a window or mantelpiece, and it will surely be the talk of the town!
2. To Add Personality to Your Decor
An origami spider won’t just add personality to your décor – it’s also an excellent conversation starter! Invite friends over to admire your creation, or make a few as party favors to give away at your next gathering.
3. To Practice Your Crafting Skills
If you’re just starting to practice origami, the spider is an ideal project. It’s not too difficult and doesn’t require any special materials, so it’s great for beginners. As you get better, you can even try more complicated versions.
Making an origami spider is a fun and rewarding activity that anyone can do. With just a few simple steps, you’ll be able to create something special that will add personality to your décor and impress everyone who sees it! So why not give it a try today? You won’t regret it!
How to Make an Origami Spider in 5 Easy Steps
Step 1: Gather All The Tools You May Need
The very first step is to gather all the tools you may need such as a square sheet of paper, scissors or an X-acto knife, and some glue.
Step 2: Cut The Square Into Four Equal Parts
Once you have your tools ready, start by cutting the square into four equal parts either with scissors or an X-acto knife. Make sure that each part is the identical size. Also, it is not necessary to be too precise here.
Step 3: Take The Four Pieces And Fold Them Into Triangles
Take the four pieces and fold each one into a triangle by folding from the bottom up so that you can meet the top angles. Make sure that all four triangles are of equal size. It is better if you do this slowly and with caution.
Step 4: Fold The Triangles Into Smaller Triangles
Now, fold each triangle in half so that you can get smaller triangles. This will form the body of your spider. Make sure that all four pieces are folded equally and precisely. Also, make sure that the crease is not too shallow or too deep.
Step 5: Glue The Pieces Together To Create Your Spider
Finally, after all the folding and cutting have been done, take each triangle and glue them together to form your origami spider. You can use different colors of paper to add accents and details to your spider if desired. Make sure that you use enough glue to hold the pieces in place.
Once everything has dried, your origami spider is ready for display! You can proudly hang it up on a wall or keep it as decoration on your desk. Enjoy your new creation!
Some Extra Tips to Make an Origami Spider
1. Do Not Rush
The process of folding origami can take time. If you feel like the steps are taking too long, remember to enjoy the process.
2. Make Sure Your Folds Are Accurate
To make sure your origami spider looks its best, make sure each fold is very precise and accurate. You can use a ruler or other measuring tool to ensure accuracy. Also you have to make sure you crease well each fold.

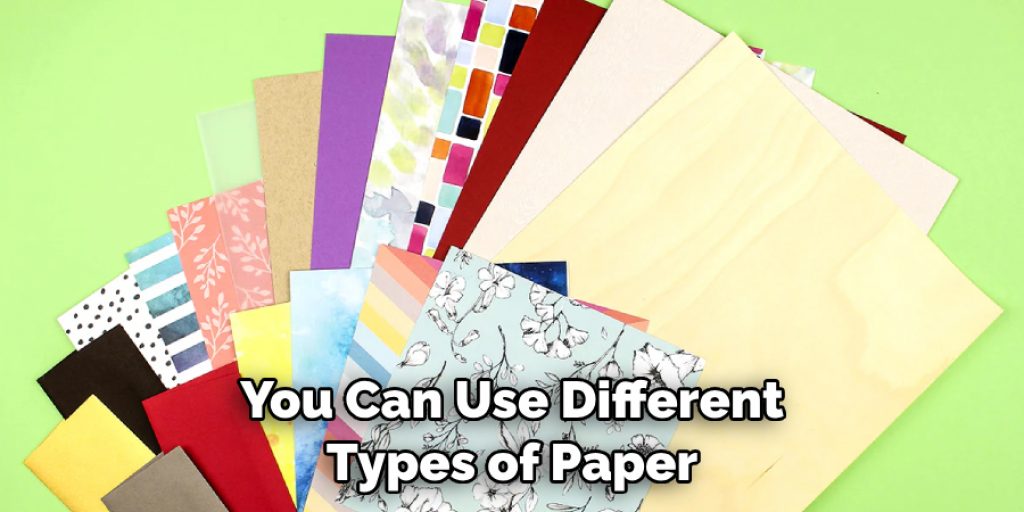
3. Use Quality Paper
The type of paper you use will make a huge difference in the look and feel of your origami spider. For best results, use traditional origami paper such as washi or kamiko paper that is lightweight and slightly transparent.
4. Take Your Time
Origami can be tricky. Don’t be discouraged if your spider doesn’t turn out perfectly the first time. Be patient and practice makes perfect! Also make sure to take breaks in between folding so you don’t get too fatigued.
Frequently Asked Questions
What Precautions Should I Take When Making an Origami Spider?
When making an origami spider, it is important to take the following precautions: Use sharp scissors when cutting the paper. Make sure that they are clean and dry to avoid damaging the paper. Choose a sturdy type of paper such as cardstock or construction paper so that your spider will be strong and durable. If you are inexperienced with origami, it is best to start with a basic project such as this one before attempting more complex designs.
What Are the Steps for Making an Origami Spider?
Making an origami spider requires a few simple steps: Gather your materials including paper, scissors, and a ruler. Draw two equal-sized triangles onto the paper with a ruler or template. Cut out both triangles and set them aside. Fold each triangle in half lengthwise, then unfold it so that you have a crease down the middle. Begin folding one of the triangles into an accordion shape by pressing down on alternating sides of the crease.
Once complete, fold the other triangle into an accordion shape as well. Join the two accordions together at their edges to form an eight-legged spider shape. Add details such as eyes and antennae using markers or other craft materials. Your origami spider is now complete!
Can I Use Different Types of Paper for Making an Origami Spider?
Yes, you can use different types of paper for making an origami spider. However, it is best to use a sturdy paper such as cardstock or construction paper so that your spider will be strong and durable. You can also use other materials such as felt, fabric, or ribbon to create unique details for your origami spider. Be creative and experiment with different materials to see what works best!
What Else Can I Do With an Origami Spider?
Once you have created your origami spider, there are many things that you can do with it. You can glue a magnet to the back of the spider and use it as a fridge magnet or attach a string and hang it up as a decoration. If you want to get really creative, try making multiple spiders in different colors and shapes and create an entire origami spider web.
You can also use your origami spiders as props for themed parties or events. There are no limits to what you can do with an origami spider!
What Are Some Tips for Making an Origami Spider?
When making an origami spider, there are a few tips that you should keep in mind. Make sure that the paper that you use is clean and dry, as wet paper can easily tear. If you are unfamiliar with origami techniques, it is best to start with a simpler project before attempting something more complex.
Choose a sturdy type of paper such as cardstock or construction paper so that your spider will be strong and durable. Lastly, make sure to take your time when folding the paper so that your origami spider will look its best.
What Other Projects Can I Make Using Origami Techniques?
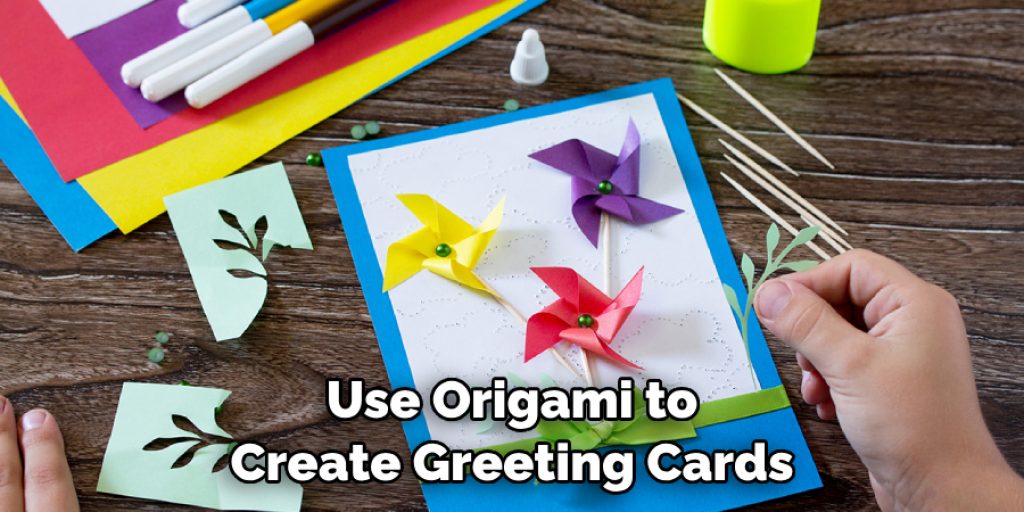
Origami is a great craft for both adults and children alike. There are many projects that you can make using origami techniques, from simple shapes such as boats and cranes to more complex designs like animals and 3D cubes. You can also use origami to create greeting cards, decorations, jewelry, or even furniture! With a bit of practice and patience, you can make just about anything using origami techniques.
Conclusion
Crafting an origami spider will give you the satisfaction of creating something special and unique that you can be proud of. Whether making one for yourself or gifting it to a friend, this is a skill worth learning and passing down.
Now you know how to make an origami spider! It not only demonstrates your ability to craft cool creations with paper, but also shines a light on the allure and cultural impact of origami. So take some time to learn the craft, practice, and take pride in showing off your very own origami spider! Who knows – maybe you’ll even become an expert at papery arts!