
How to Make Cardboard Letters Stand Up
Introduction
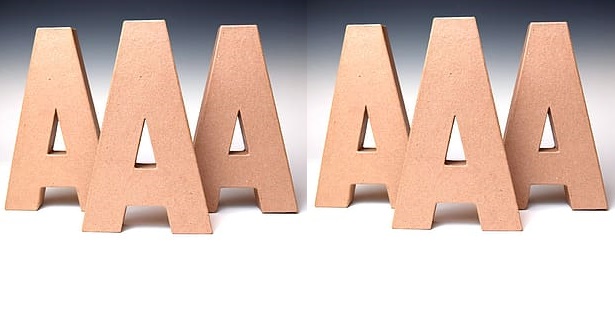
Making DIY things is much thrilling and exciting; this develops the innovative thinking of our mind. We can easily make DIY cardboard letters and decorate our house. This will be essential for marking signs as well as increasing the aesthetic value of the home décor. For this reason, today we are going to describe the step-by-step process of how to make cardboard letters stand up, hope this will be much beneficial for beginners.
Requirements
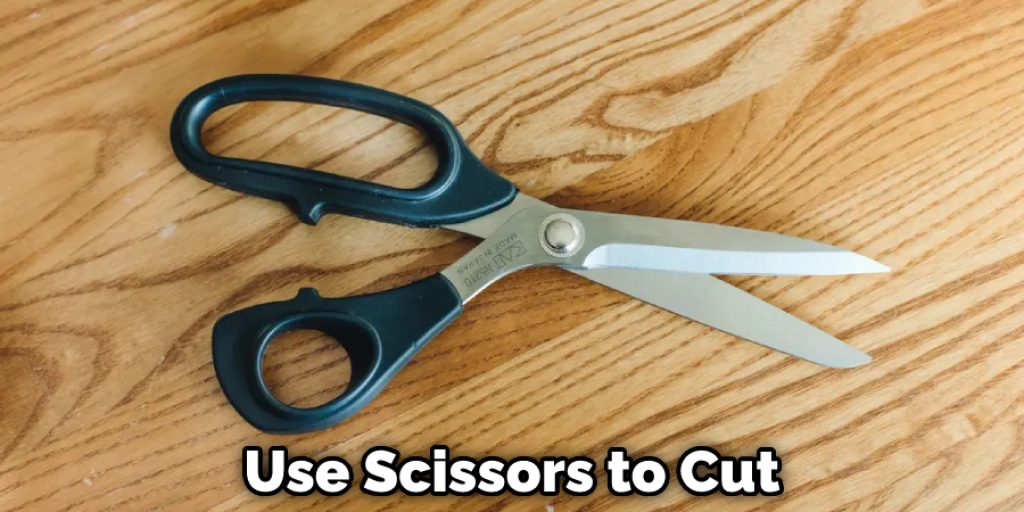
This project will require several materials, including cardboard, a ruler, a cutter knife, and scissors. You will also need a pencil, white glue, and hot glue, which will be used to attach the cardboard. You will also need a hot glue gun, paint, paintbrush, and craft tape.
Procedure
To make a word search, you should first cut the cardboard into equal rectangles. Then, use a triangular scale and ruler to draw squares on the cardboard. This will help you divide the cardboard into exact squares. Each square will have the same number of square units.
These squares will act as the unit for your drawing, and this will help keep all the letters at the same size. Now you have to take a pencil and draw each letter on the cardboard. This should be maintained with a proportion to the squares that you have marked. And the length of all the letters, as well as the width, should be equal. The next step is quite tricky, and here you have to use the knife to carve out the letters from the cardboard.
After separating all the individual letters, you have to take the glue gun and attach the small parts that will make the letter increase in the thickness. The measurements of these fragmented parts should always be proportionate to the square units. After attaching these parts, all the letters will be equal in both three dimensions. In the last step, you have to take the crafting tape and attach them to the letters using the white glues. Thus your stand up cardboard letters is ready to be displayed.
Things to Keep in Mind While Performing the Task
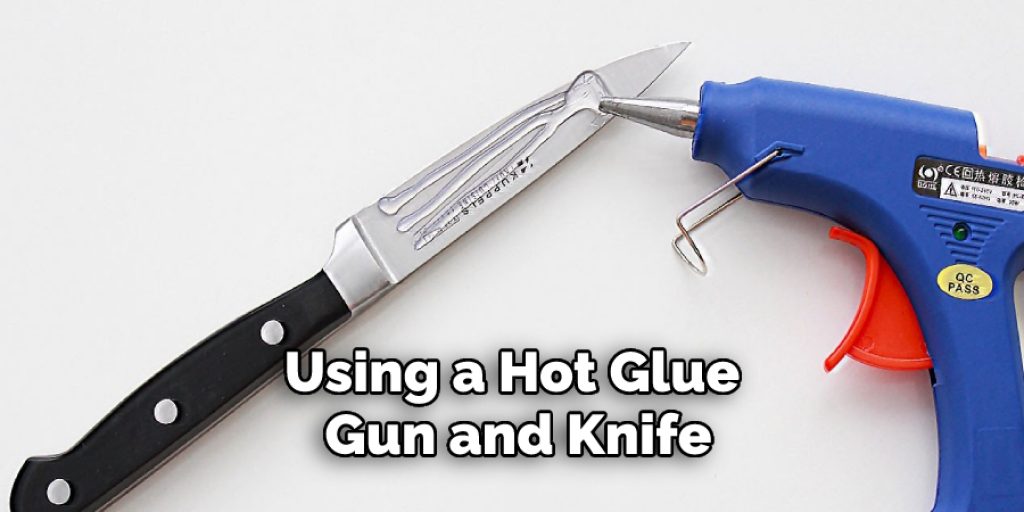
Hot Glue Gun and Knife
An integral part of the whole process is using a hot glue gun and knife. The knife will be used for the carving of the letters, and the glue gun is used for the attachment of the different parts of the cardboard. As sincere users, we must be cautious while working with such delicate things that our hands do not get affected by them. In this regard, we suggest that you wear gloves and take adequate precautions while performing the task.
Frequently Asked Questions
What Can You Make Out of a Sheet of Cardboard?
A cardboard box can be used for different things. For example, you can use it to keep your jewelry in, or to make a seat. It is up to the person to decide what they want to do with their cardboard box.
Can Cricut Cut Cardboard?
Cricut cuts a variety of materials such as paper, fabric, and vinyl. If you have a piece of cardboard that you want to cut out, it will work on most surfaces. However, if the cardboard is thick or has rough edges that can’t be cut through, then you may need to use some other cutting tool like scissors.
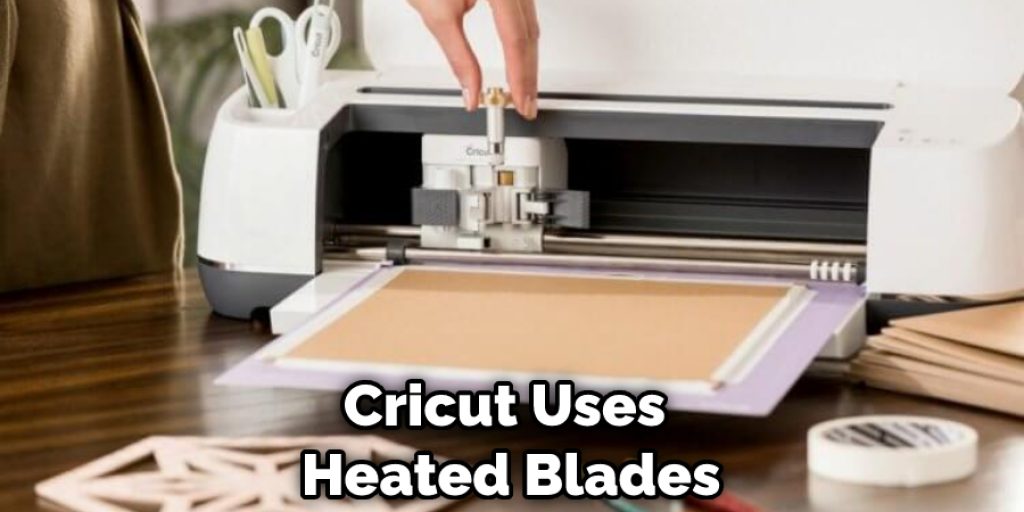
You should also be aware that Cricut uses heated blades. This means that the heat can be transferred to the material being cut, which could potentially damage the cardstock if used for too long.
What Creates the Cardboard Box “Smell”?
There are many factors that contribute to the smell of a cardboard box. Some of these include:
• The type of paper used in the manufacturing process
• The temperature and humidity level in which the paper is made
• Exposure to air and light
• Age of the cardboard box
The most common cause for this smell is exposure to air and light.
What Is the Best Way to Make a Cardboard Cutout Stand Up?
If you are looking for a way to make a cardboard cutout stand up, then there are many things that you can do.
1. Cut out the shape of the stand-up figure on cardstock paper and draw a line around it with a pencil or pen
2. Place sticky tape along the lines where the head and feet should be
3. Slowly peel off one side of the paper from the bottom up, being careful not to tear it
4. Use scissors to cut out each piece of tape at an angle (so they will stick better)
Final Thoughts
In conclusion, we hope that our chronological explanation of the cardboard letters stands up process has been beneficial to you, and as a beginner, this will be quite helpful to pursue your DIY skills. You can use these letters for various purposes, and these works are much admired too. Happy crafting! Have a beautiful day!!
You may read also – How to Make Large Styrofoam Letters
Elizabeth Davis
Elizabeth is a creative writer and digital editor based in the United States. She has a passion for the arts and crafts, which she developed from a young age. Elizabeth has always loved experimenting with new mediums and sharing her work with others. When she started blogging, she knew that DIYquickly would be the perfect platform to share her tutorials and tips. She's been writing for the blog from the beginning, and her readers love her helpful advice and easy-to-follow instructions. When she's not writing or editing, Elizabeth enjoys spending time with her family and friends.


