How to Make Clay Mushrooms
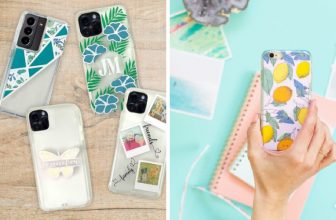
Are you looking for a fun and creative activity that will bring a touch of nature into your home? Look no further than making clay mushrooms! These adorable decorations are not only easy to make but also great gifts and can add a whimsical touch to any room.
How to make clay mushrooms is a delightful and creative craft project that can be enjoyed by crafters of all ages. Whether you’re looking to add a whimsical touch to your garden, create unique decor for your home, or simply engage in a fun and therapeutic art activity, making clay mushrooms is an excellent choice.
In this guide, we will walk you through the essential materials, techniques, and steps needed to create your own charming clay mushrooms successfully. Let’s dive into the world of creativity and start making these enchanting little fungi!
What Will You Need?
The materials needed for making clay mushrooms are easy to find and affordable. Most of them can be found in your local craft store or online. Here’s a list of the essential items you will need:
- Polymer clay (various colors)
- Rolling pin
- Clay sculpting tools
- Baking sheet and parchment paper
- Acrylic paint and paintbrushes (optional)
- Clear gloss glaze (optional)
10 Easy Steps on How to Make Clay Mushrooms
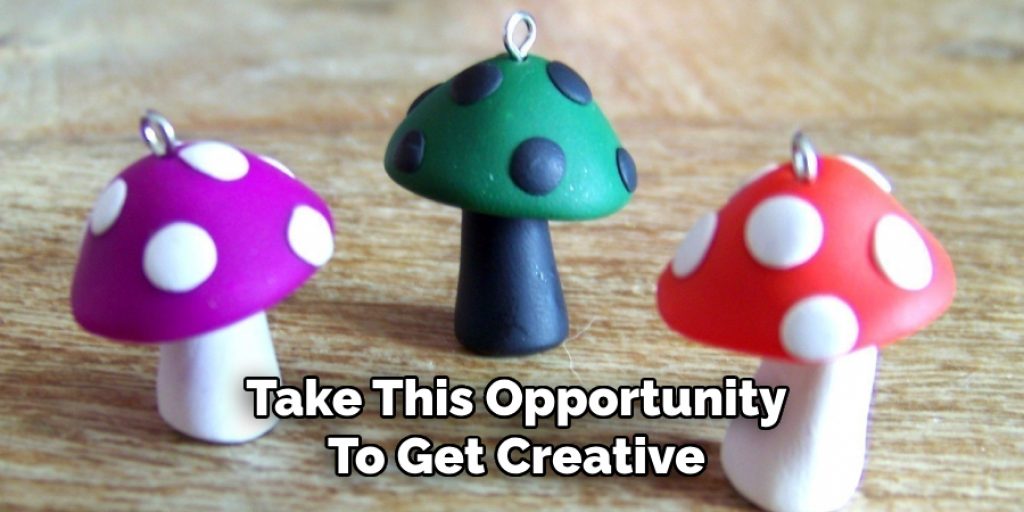
Step 1: Choose Your Colors
The first step in making clay mushrooms is to decide on the colors you want to use. Polymer clay comes in various shades, so take this opportunity to get creative! You might choose classic earthy tones like browns and greens for a more natural look or opt for bright, vibrant colors to create whimsical, fantasy-style mushrooms. Consider using multiple colors for the caps and stems to give your mushrooms a unique appearance. If you’re feeling adventurous, you can also mix different clay colors to create custom shades. Once you’ve selected your colors, you can start shaping your mushrooms!
Step 2: Roll Out the Clay
Begin by taking a portion of your chosen polymer clay and rolling it into a ball. Using your rolling pin, flatten the ball to create a disc for the mushroom cap. The thickness can vary depending on your preference, but aim for about 1/4 inch thick. Make sure to roll it out evenly to prevent any uneven cooking later. Once you have your desired thickness, use a round cookie cutter or a knife to trim the edges into a perfect circle, if necessary. This will form the top of your mushroom, setting the stage for the next steps in your crafting adventure!
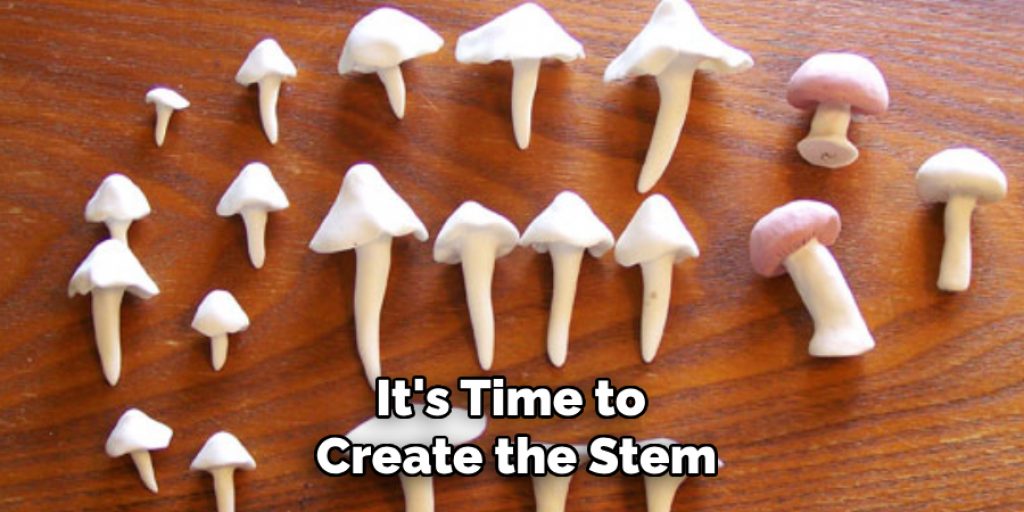
Step 3: Shape the Stem
Now that your mushroom cap is ready, it’s time to create the stem. Take another portion of polymer clay and roll it into a cylinder shape. The diameter and height of the stem can vary, but a height of about 1 to 2 inches and a width of approximately 1/2 inch creates a balanced look. Gently taper one end of the cylinder to make it look more natural, resembling the shape of a mushroom stem. Once you’re satisfied with the shape, carefully attach the stem to the underside of the mushroom cap, ensuring they bond well together. Press firmly but gently to avoid any cracks in the clay. This creates the base structure for your charming little mushroom!
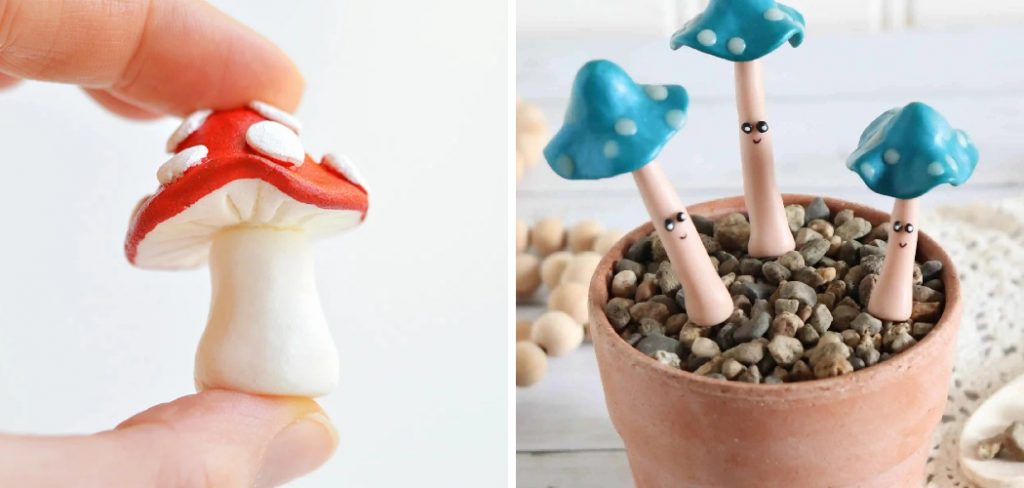
Step 4: Add Details
To give your clay mushrooms character, it’s time to add some details. Use your clay sculpting tools to create texture on the cap and stem. You can make small lines or dots on the cap to mimic the natural patterns found in real mushrooms. For a little extra flair, consider adding tiny features such as spots by rolling small balls of a contrasting color and pressing them onto the cap. Shape the stem by making subtle indentations to represent ridges or imperfections, enhancing the realistic look of your creation.
Step 5: Bake the Mushrooms
Once you are happy with the details on your clay mushrooms, it’s time to bake them to harden the polymer clay. Preheat your oven according to the instructions on packaging your polymer clay, typically around 265°F (130°C). Line your baking sheet with parchment paper to prevent sticking, and carefully place your mushrooms on the sheet. Make sure they are spaced apart to allow for even heat distribution. Bake the mushrooms for the recommended time, often around 15-30 minutes, depending on their size. Keep a close eye on them to ensure they do not overcook or burn. Once baked, remove them from the oven and allow them to cool completely before handling.
Step 6: Paint and Glaze (Optional)
After your clay mushrooms have cooled down, you can enhance their appearance with paint and glaze for a more vibrant finish. If you paint them, use acrylic paint to add details or highlight certain areas. This is an excellent opportunity to get creative—feel free to experiment with patterns or even a little glitter for a magical touch! Once the paint has dried, applying a clear gloss glaze will give your mushrooms a glossy, finished look and protect the paint. Use a clean paintbrush to apply the glaze, carefully ensuring even coverage.
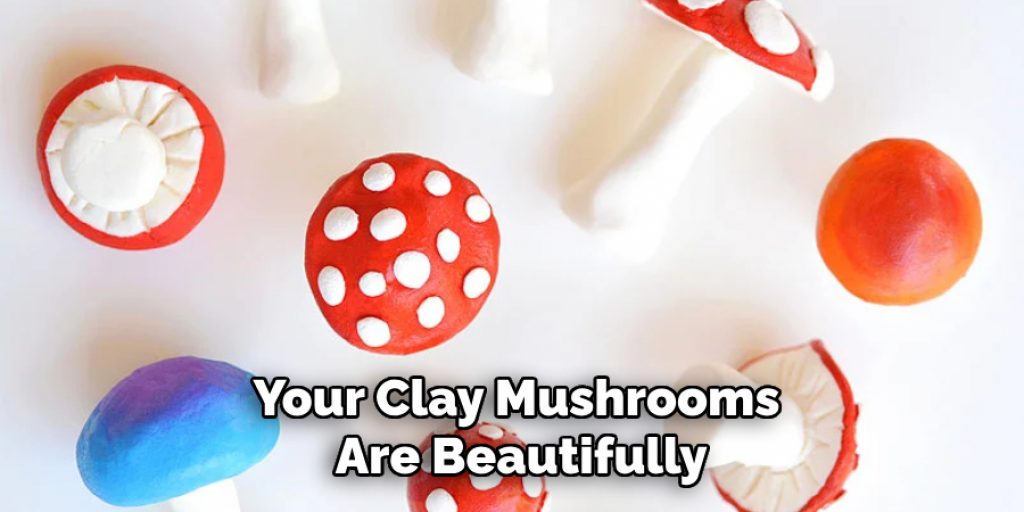
Step 7: Display Your Mushrooms
Now that your clay mushrooms are beautifully crafted and finished, it’s time to find the perfect spot to display them! You can arrange them in pots for a playful garden scene or place them on shelves or tabletops as whimsical decor. Consider grouping different sizes and colors for added visual interest. If you’re aiming for a fairy garden theme, you might even enhance their environment with small stones, moss, or other decorative elements. Let your imagination run wild—each display can tell a unique story!
Step 8: Care and Maintenance
To ensure your clay mushrooms remain vibrant and intact over time, it’s essential to care for them properly. Keep them in a dry, cool place away from direct sunlight, which can fade the colors and weaken the materials. If your mushrooms are displayed outdoors, consider bringing them inside during harsh weather conditions to prevent damage. Regularly dust off any dirt or debris with a soft cloth to keep your creations looking their best. If you use paint and glaze, avoid excessive moisture and harsh cleaning products, which can deteriorate the finish.
Step 9: Share and Inspire
Once you’ve created your stunning clay mushrooms, consider sharing your work with friends family, or on social media! Capture photographs of your creations in different settings or alongside other crafts you’ve made. You might inspire others to take up a similar project or even host a crafting session together. Sharing your artistic journey can foster a sense of community and creativity, encouraging others to express themselves through art. Remember to tag your posts with relevant hashtags to reach a broader audience and join online craft communities. Your unique mushrooms could spark joy and inspiration in someone else’s creative adventure!
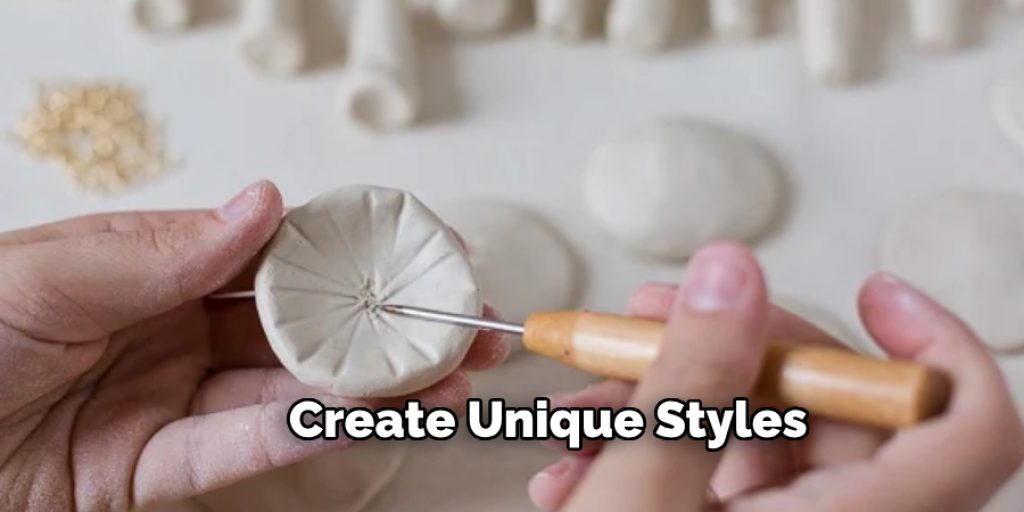
Step 10: Experiment with Variations
Once you’re comfortable with creating standard clay mushrooms, why not experiment with different shapes and sizes? Try making more giant mushrooms with exaggerated features, or develop miniature versions for a more whimsical display. You can also experiment with different color combinations or patterns on the caps to create unique styles. Consider incorporating various textures using other crafting materials, such as fabric or twine, combined with your polymer clay. This exploration can lead to unexpected designs and even more creativity in your crafting journey!
By following these steps and continuing to experiment and learn, you can create an endless variety of clay mushrooms to decorate your space or give as thoughtful gifts.
5 Things You Should Avoid
- Skipping the Conditioning Process: Do not condition your polymer clay before beginning your project. You must soften the clay to avoid cracks and uneven textures in your final piece. Proper conditioning ensures a smooth and pliable consistency, making it easier to shape and detail your mushrooms.
- Overbaking the Clay: Be cautious with the baking duration and temperature; overbaking can lead to discoloration or a brittle structure. Always refer to the manufacturer’s instructions for recommended baking times based on the thickness of your creations to achieve the best results.
- Using Water to Smooth Clay: Avoid using water to smooth out your clay surfaces, as it can weaken the integrity of the polymer and even alter its color. Instead, use sculpting tools or fingers to achieve a smooth finish without compromising the material.
- Ignoring Safety Precautions: Remember to follow safety guidelines while working with polymer clay. Ensure your workspace is well-ventilated when baking, and never eat or drink while handling your materials to prevent contamination.
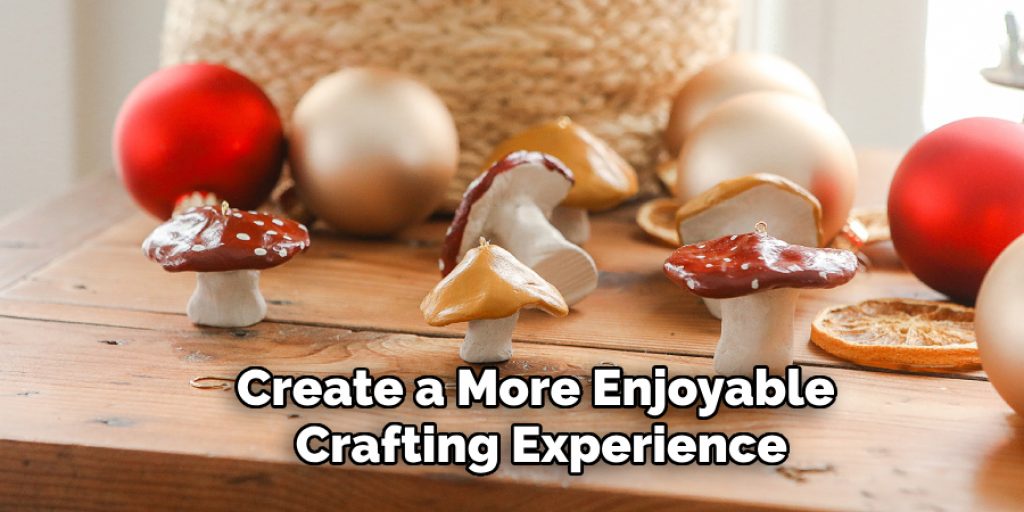
- Neglecting Cleanup: Lastly, be sure to recognize cleanup after your project, especially if you’re using paints or glazes. Leaving any materials out can lead to a messy workspace, and some paints can dry and be difficult to remove. Keep your tools and workspace tidy to create a more enjoyable crafting experience for future projects.
Conclusion
How to make clay mushrooms is a rewarding and imaginative project that allows you to express your creativity while honing your crafting skills. By following the steps outlined above—from sculpting and baking to painting and displaying—you can bring these delightful creations to life.
Remember to enjoy the process, experiment with different designs, and embrace your artistic flair. Whether you keep your mushrooms for personal enjoyment, gift them to loved ones, or share your creations within the crafting community, each piece you make adds a touch of whimsy and charm to any setting.
Now that you’re equipped with the necessary knowledge and techniques, it’s time to dive into your next crafting adventure and cultivate a magical world of clay mushrooms!
Elizabeth Davis
Elizabeth is a creative writer and digital editor based in the United States. She has a passion for the arts and crafts, which she developed from a young age. Elizabeth has always loved experimenting with new mediums and sharing her work with others. When she started blogging, she knew that DIYquickly would be the perfect platform to share her tutorials and tips. She's been writing for the blog from the beginning, and her readers love her helpful advice and easy-to-follow instructions. When she's not writing or editing, Elizabeth enjoys spending time with her family and friends.