How to Make a Cylinder Shaped Cake
One of the best ways to show off your baking skills is by making a cake in an unusual shape. Today, we’re going to show you how to make a cylinder shaped cake. This is a great way to impress your friends and family, and it’s also a fun project to do with kids. So let’s get started!
Making a cylinder-shaped cake is not as hard as it seems. In fact, it’s a lot easier than making a square or rectangular cake. With the right tools and some simple steps, you can create an amazing cylindrical cake that will impress your friends and family. So get ready to amaze them with your baking skills! So without further ado, let’s get started.
Why is a Cylinder Shaped Cake an Amazing Idea?
When it comes to cakes, there are so many different shapes and sizes that you can choose from. But if you’re looking for something a little bit different, then a cylinder-shaped cake is the way to go!
1. Looks Impressive
When you see a cylinder-shaped cake, it looks very impressive and elegant. It’s a great way to show off your baking skills! So this can be a great option if you’re looking to make a cake for a special occasion. After all, the impression is the last thing that counts.
2. Unique
A cylinder-shaped cake is unique! You don’t see many cakes like this, so it’s bound to stand out from the rest. This can be a great way to make your cake stand out at a party or event. It is another reason why this cake is so amazing.
3. Can Be Customized
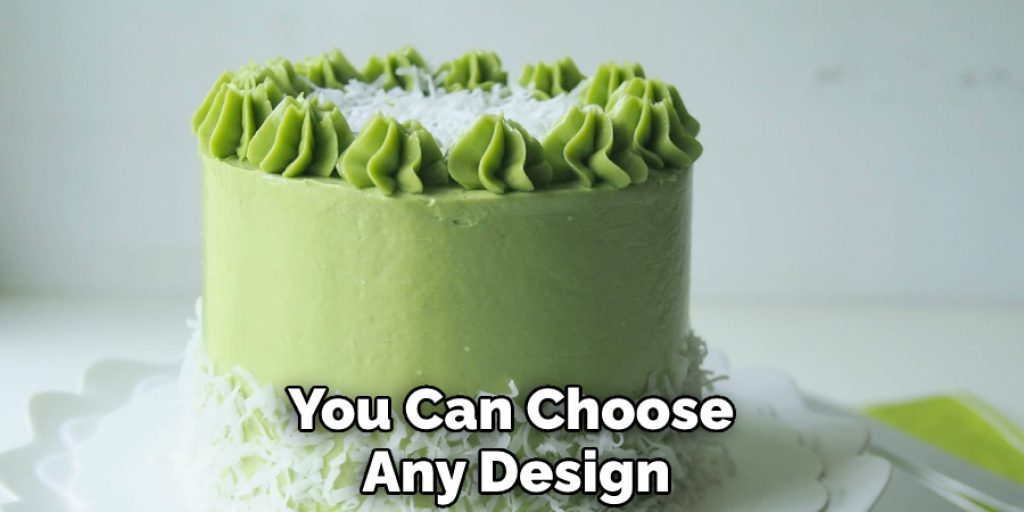
Since a cylinder-shaped cake is not very common, you can get creative with it and customize it to your liking. You can choose any design, color, or flavor that you want. So if you’re looking for a truly unique cake, then this is the way to go.
4. Easy to Make
Despite its unique shape, a cylinder-shaped cake is quite easy to make! So if you’re feeling adventurous in the kitchen, then this is the perfect cake for you. So if you are lazy like me, this cake is perfect for you! also, this cake is perfect for those who don’t like to decorate cakes because it is very easy to make.
5. Perfect for Any Occasion
A cylinder-shaped cake is perfect for any occasion! Whether you’re looking for a cake for a birthday, wedding, or any other event, this cake will be a hit. So if you’re looking for a cake that is sure to impress, then this is the one for you.
As you can see, there are so many reasons why a cylinder-shaped cake is an amazing idea. So if you’re looking for something different, then this is the way to go. With its impressive looks and unique shape, it’s sure to stand out from the rest!
Things You Will Need to Make a Cylinder Shaped Cake
- Cake pan
- Cake mix
- Oven
- Measuring cups
- Mixing bowl
- Whisk
- Rubber spatula
- Cooling rack
- Cake leveler or large serrated knife
- Sharp paring knife
How to Make a Cylinder Shaped Cake in 10 Steps
Step 1: Preheat Oven
Preheat oven to 350 degrees F. Grease and flour two 9-inch cake pans. It is a very important step to prevent your cake from sticking to the pan and falling apart. So you have to make sure the cake pan is greased and floured before you pour the batter in.

Step 2: Mix All the Dry Ingredients
Now it’s time to mix all the dry ingredients. In a medium bowl, combine the flour, sugar, baking powder, and salt. Stir until everything is mixed well and set it aside. This part is tricky because you have to keep the measurement accurate. Too much or too little of an ingredient will result in a disaster.
Step 3: Add Wet Ingredients to the Dry Mix
In another bowl, whisk together eggs, milk, and vanilla extract. Slowly add the wet mixture to the dry ingredients while stirring continuously. Be careful not to overmix the batter. Overmixing will make the cake tough. Mix them with the patient.
Step 4: Pour the Batter Into the Cake Pans
Divide the batter evenly between the two cake pans and smooth out the tops. Make sure the oven rack is in the middle position before you put the cake pans in. You don’t want your cake to be overcooked or undercooked. So be careful while placing the cake pans in the oven.
Step 5: Bake the cake
Bake for about 30 minutes or until a toothpick inserted in the center comes out clean. Start checking the cake at around 25 minutes to avoid overcooking it. Let the cakes cool in the pan for about 10 minutes before inverting them onto a wire rack to cool completely. Make sure the cakes are cooled completely before you frost them.
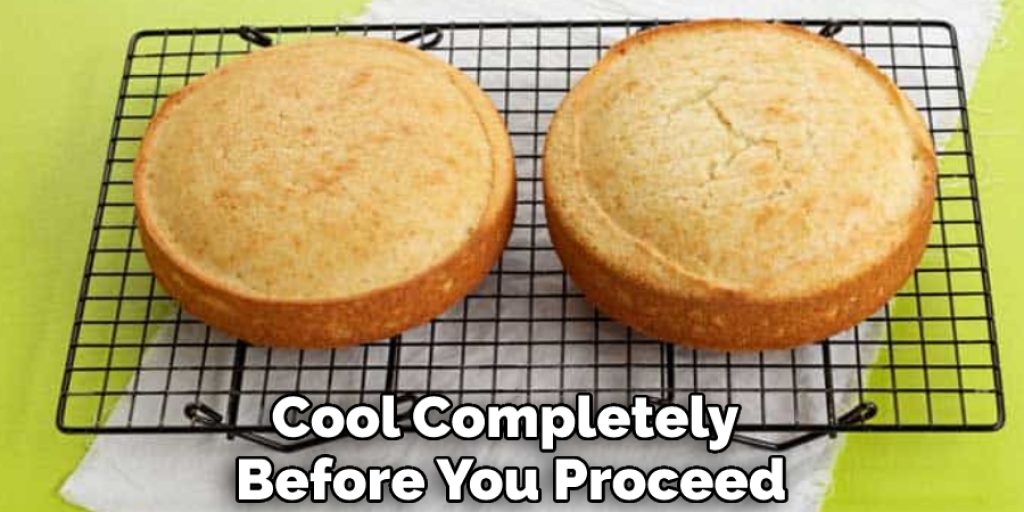
Step 6: Let the Cake Cool Completely
This step is very important. If you try to frost the cake while it’s still warm, the frosting will melt and run all over the place. So let the cake cool completely before you proceed to the next step.
So make sure the cakes are cooled completely before you frost them.
Step 7: Make the Frosting
It is a fun part and also a tricky part. The goal is to make a design on the outside of your cake that will look good and hold up under scrutiny. In a medium bowl, cream together the butter and sugar until light and fluffy.
Add the vanilla extract and mix well. Slowly add the confectioners’ sugar, 1 cup at a time, until the frosting is thick and spreadable.
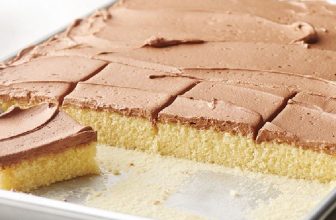
Step 8: Frosting the Cake
Place one cake layer on a plate or cake stand. Spread the frosting evenly over the top with a spatula. Add the second layer of cake and spread the frosting evenly over it. Be sure to cover the entire surface of the cake with a thin layer of frosting so that no bare cake is showing.
This is called a crumb coat and it will help to keep the crumbs from getting into the final layer of frosting.
Step 9: Decorate the Cake
Now it’s time to get creative and decorate your cake however you like. Use icing, fondant, ornaments, or whatever you like to make your cake look beautiful. You can use your artistic skills to make any design you want. Also, don’t forget to write a message on the cake.
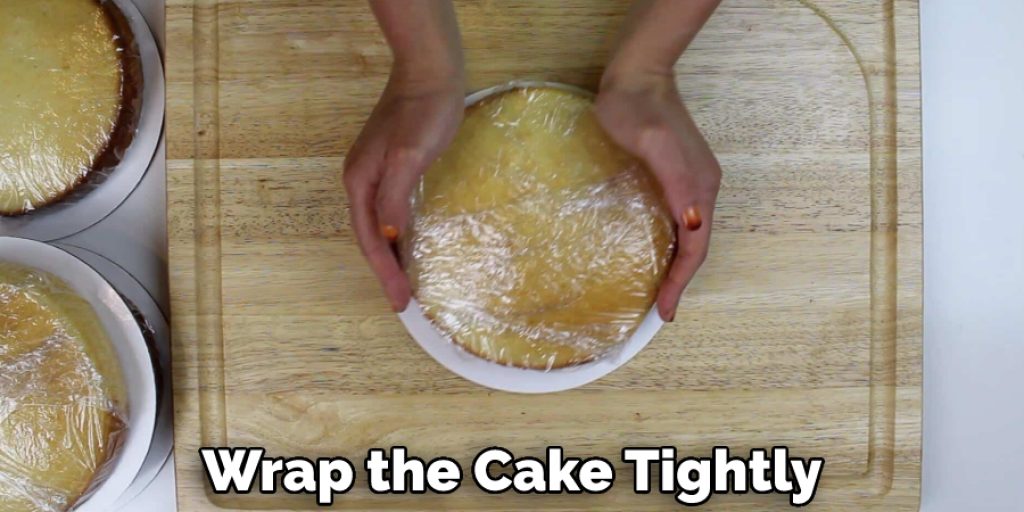
Step 10: Freeze the Cake
If you are not serving the cake immediately, you can freeze it for later. Wrap the cake tightly in plastic wrap and place it in the freezer. When you are ready to serve the cake, thaw it out in the refrigerator for a few hours before decorating it.
Things You Should Keep in Mind Before Making a Cylinder-Shaped Cake
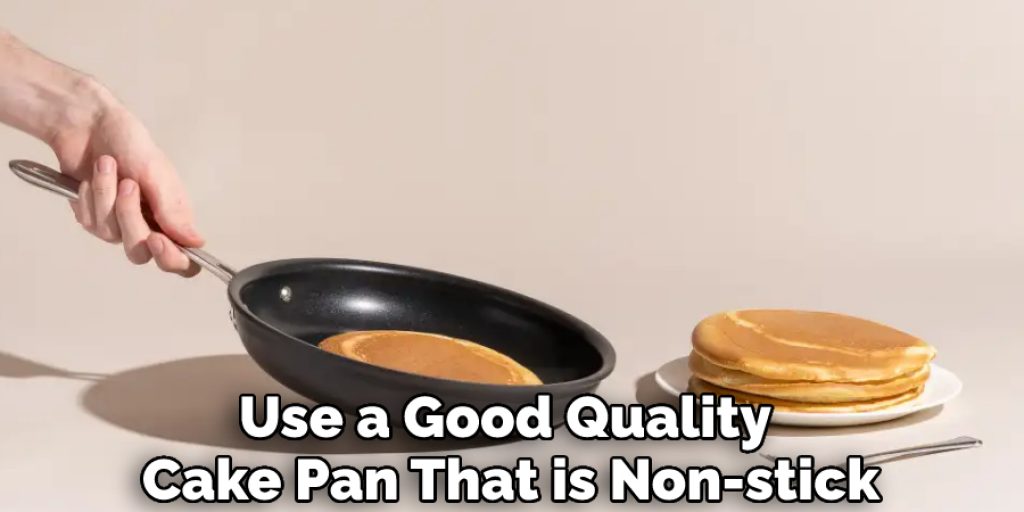
1. Use Good Quality and Non-stick Pan
It is very important to use a good quality cake pan that is non-stick. This will ensure that your cake comes out easily from the pan and has a nice shape. So be careful while choosing the pan and make sure that it is of good quality.
2. Make Sure the Pan is Greased Properly
Make sure to grease the pan properly with butter or cooking spray. This will help to prevent the cake from sticking to the pan and will also make it easier to remove the cake. Otherwise, you will end up with a cake that is stuck to the pan and is difficult to remove.
3. Use Cake Flour
It is very important to use cake flour while making a cylinder-shaped cake. This flour is finer and helps to create a light and fluffy cake. Do not use all-purpose flour as it will make the cake dense and heavy. So if you want to have a light and fluffy cake, make sure to use cake flour.
4. Use Room Temperature Ingredients
All the ingredients should be at room temperature before you start baking. This includes eggs, butter, and milk. Room-temperature ingredients help to create a smooth batter and prevent the cake from being dense. So make sure that all the ingredients are at room temperature before you start baking.
5. Do Not Over-mix the Batter
Once all the ingredients are added, mix them gently until they are just combined. Do not over-mix the batter as it will make the cake tough and dense. Gently mix all the ingredients until they are combined and then stop. Otherwise, you will end up with a tough and dense cake.
6. Fill the Pan Only Halfway
When you are filling the cake pan, make sure to fill it only halfway. This will prevent the cake from rising too much and becoming dome-shaped. So be careful while filling the pan and do not fill it more than halfway.
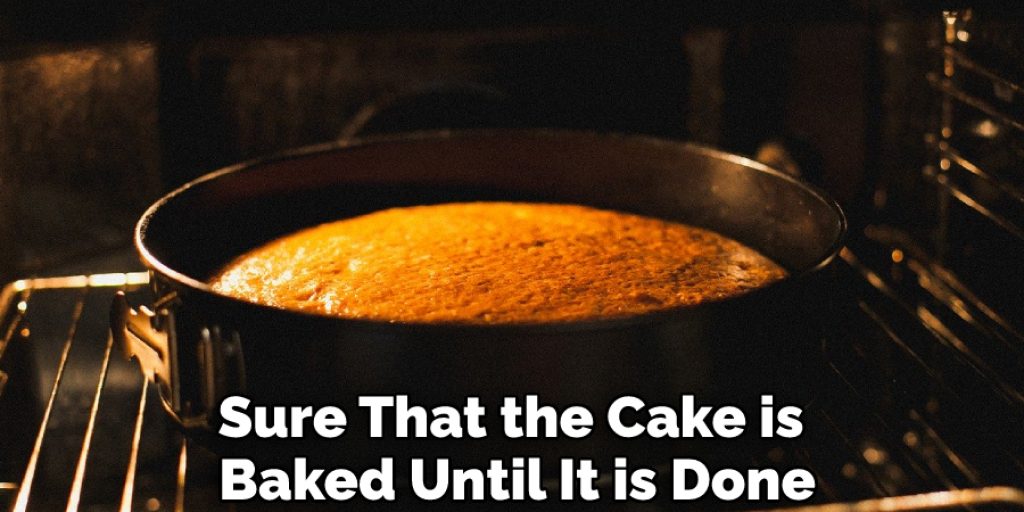
7. Bake the Cake Until Done
Bake the cake until it is done. Do not overcook the cake as it will become dry and crumbly. Once the cake is baked, take it out of the oven and let it cool completely before frosting or serving. Baking is the most tricky part so you have to be careful and make sure that the cake is baked until it is done.
8. Let the Cake Cool Completely
After the cake is baked, let it cool completely before frosting or serving. If you try to frost or serve the cake while it is still warm, it will fall apart. So be patient and let the cake cool completely before you do anything with it.
Some Essential Tips and Tricks to Make a Cylinder-Shaped Cake
How to make a cylindrical-shaped cake is not as difficult as it may seem. With a little practice, and the following tips and tricks, you will be able to make a perfect cylinder cake every time.
1. Make Sure the Cake is Evenly Layered
The first and most important tip when it comes to making a cylinder-shaped cake is to make sure that your cake is evenly layered. If your cake is not evenly layered, it will be difficult to get an even shape when you slice it. So be extra careful when measuring your ingredients, and make sure to level off the batter in each pan before baking.
2. Use a Sharp Knife to Slice the Cake
Once your cake is baked and cooled, it’s time to slice it into three even layers. To get nice, clean slices, be sure to use a sharp knife that has been heated in hot water. Simply run the knife under hot water for a few seconds, dry it off, and then make your slices.
3. Stack the Cake Layers
Now it’s time to stack the cake layers. Be sure to use a bit of frosting between each layer to help keep them in place. Once all three layers are stacked, you can begin to frost the cake. Otherwise, if you’re not planning on frosting the cake, you can simply dust it with powdered sugar.
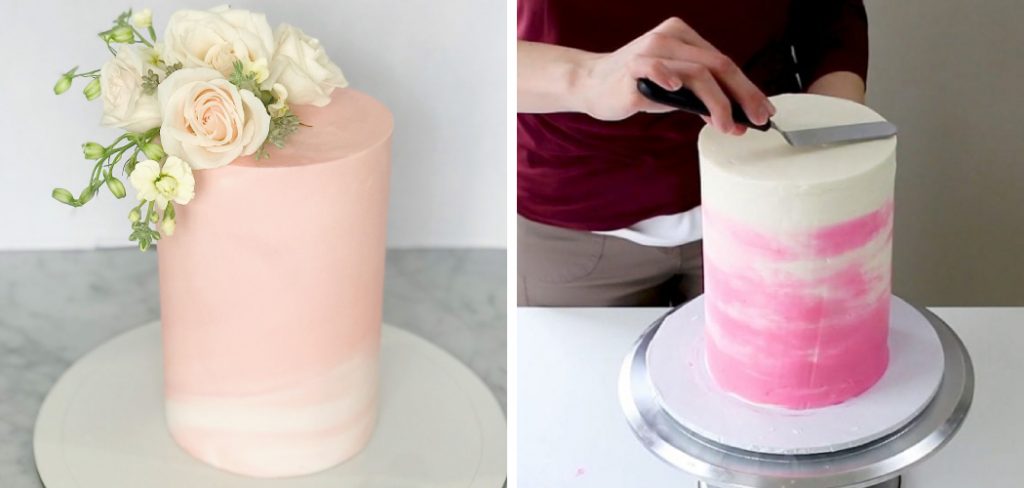
4. Frost the Cake Smoothly
When it comes to frosting a cylinder-shaped cake, it’s important to get a smooth finish. To do this, you may want to use a turntable while you frost. Or, if you don’t have a turntable, you can simply place the cake on a rotating plate. This will make it easier to get a smooth, even coat of frosting on your cake.
5. Wrap the Cake in Plastic Wrap
Once the cake is frosted (or dusted with powdered sugar), it’s time to wrap it in plastic wrap. This will help to keep the cake moist and delicious. Be sure to wrap the cake tightly so that no air can get in.
With these tips in mind, you’ll be well on your way to making a perfect cylinder-shaped cake. So go ahead and give it a try!
Conclusion
So, there you have it – everything you need to know about how to make a cylinder shaped cake. With these simple tips and tricks, you’ll be baking beautiful cakes in no time at all. So get those aprons on and preheat your ovens – it’s time to get baking!
Now that you know how to make a cylinder shaped cake, the sky is the limit in terms of design. Be creative and have fun experimenting with different flavors and decorations. Your friends and family will be impressed with your baking skills no matter what you come up with. So go ahead and give it a try – we guarantee you’ll love the results!