How to Make Clay Ring
Creating your own clay rings can be a fun and rewarding craft project. Whether you’re looking to express your creativity, make personalized gifts, or simply enjoy a relaxing activity, this guide on how to make clay ring will walk you through the steps necessary to make beautiful and unique clay rings.
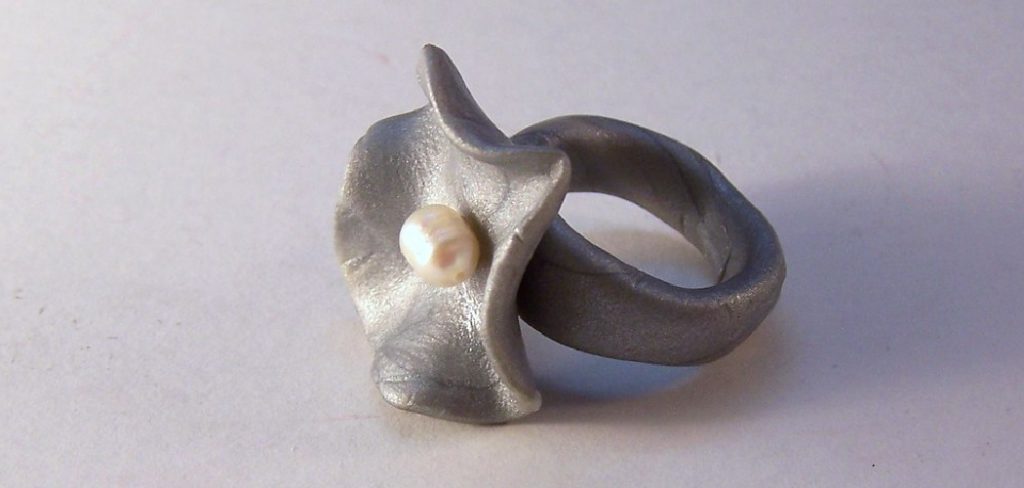
With just a few materials and simple techniques, you can craft stunning accessories that showcase your individual style.
What is Clay?
Clay is a natural material that has been used for centuries in various forms of art and crafting. It is an affordable, versatile, and pliable substance that can be molded into different shapes when wet and hardened when dry.
There are many types of clay available in the market, but the most commonly used for crafting projects is polymer clay. Polymer clay comes in a variety of colors and can be easily molded to create intricate designs.
Materials Needed
Polymer Clay:
As mentioned earlier, polymer clay is the most commonly used type of clay for crafting projects. It can be found in almost any craft store and comes in a wide range of colors.
Rolling Pin:
A rolling pin or other smooth object, like a glass bottle, can be used to flatten out the clay and create a smooth surface for making the ring.
Cookie Cutter:
To get the desired shape and size for your ring, you will need a cookie cutter. You can also use a small round jar lid or any other circular object that fits your finger.
Oven:
Polymer clay needs to be baked in the oven to harden and set properly. Make sure to read the instructions on your clay package for the correct temperature and baking time.
Sandpaper:
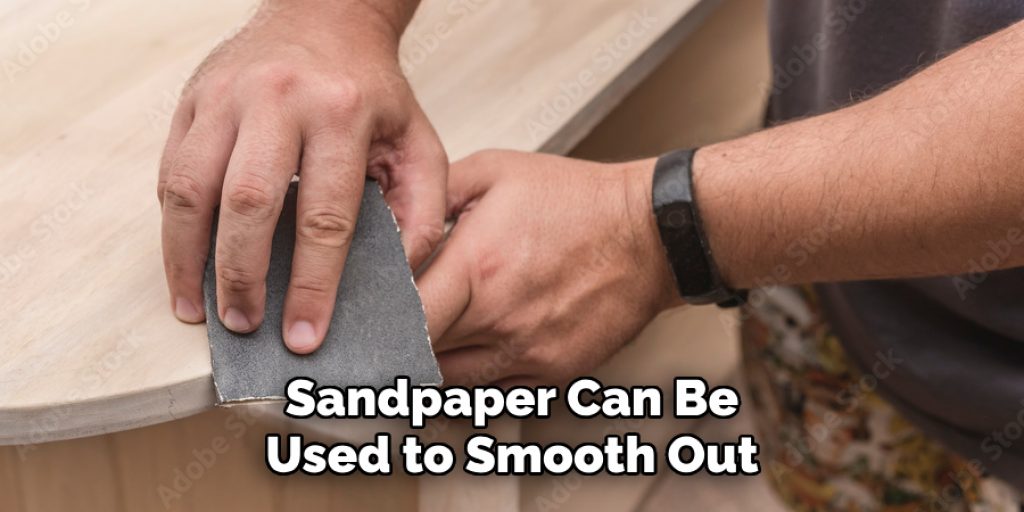
Sandpaper can be used to smooth out any rough edges on the ring after it has been baked and cooled.
8 Step-by-step Instructions on How to Make Clay Ring
Step 1: Preparing Your Work Area
Before you begin crafting your clay ring, it’s essential to set up a clean and organized workspace. Start by clearing a flat surface where you can comfortably work, free from clutter or distractions. Lay down a protective covering, such as a silicone mat or wax paper, to prevent the clay from sticking to the surface and ensure easy cleanup.
Gather all your materials—you should have the polymer clay, rolling pin, cookie cutter, oven, and sandpaper within reach. It’s also helpful to have a damp cloth or paper towel handy for cleaning your hands and tools as you work. With a well-prepared area, you can focus fully on your creative process!
Step 2: Kneading and Conditioning the Clay
Polymer clay comes in blocks that need to be kneaded and conditioned before use. This process softens the clay, making it easier to work with, and removes any air bubbles or lumps. Take a small piece of clay, about the size of a golf ball, and begin kneading it between your hands for a few minutes until it becomes pliable.
It’s essential to condition the clay properly so it’s evenly soft and ready for use. If your clay is too hard, you can warm it up by placing it in a plastic bag and immersing it in hot water for a few minutes.
Step 3: Rolling Out the Clay
Once your clay is kneaded and conditioned, place it on your work surface and use the rolling pin to flatten it out to about 1/8 inch thickness. Make sure to roll out enough clay that will allow you to cut out two ring shapes.
You can also get creative and create a marbled effect by combining different colors of clay or adding texture to the surface using stamps, lace, or other materials.
Step 4: Cutting Out the Ring Shape
Using your cookie cutter, cut out two identical ring shapes from the flattened clay. If you’re using a circular object like a jar lid, gently press it into the clay to create a circle that’s slightly bigger than your finger size.
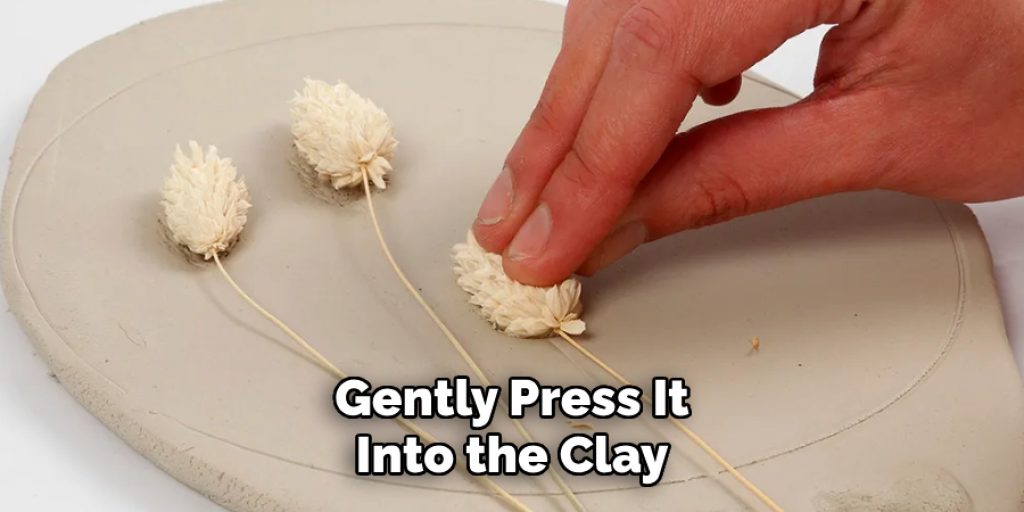
Carefully remove any excess clay around the edges and smooth out any rough edges with your fingers. You can also use a craft knife for more precise cutting.
Step 5: Shaping Your Ring
With your two identical clay shapes cut out, it’s time to shape your ring. Take one of the pieces and gently bend it into a circular form while ensuring that the edges meet. Carefully mold the ring to fit your desired fit—if you want a snugger ring, shape it smaller; for a looser fit, leave it slightly larger. Before proceeding, check that the edges are smooth and aligned, as this will ensure a more polished final product.
For added design, consider flattening the top of the ring slightly to create a space for additional embellishments if you choose to add details later. Once you’re satisfied with the shape, set it aside and repeat the process with the second piece if you’re making a matching ring.
Step 6: Baking the Rings
Preheat your oven to the temperature specified on your polymer clay packaging. Place the shaped rings on a foil-lined baking sheet and bake them for the recommended time—typically around 15-20 minutes. Remove from the oven and allow them to cool completely before handling.
It’s important to keep an eye on the rings while baking, as they can burn or become discolored if left in the oven for too long.
Step 7: Smoothing Out Any Imperfections
Once your rings have cooled down, use sandpaper to smooth out any rough edges or imperfections. Gently rub the sandpaper over the surface of the ring until it feels smooth and even.
This step is optional, but it can make a significant difference in the overall appearance of your clay ring.
Step 8: Adding Finishing Touches
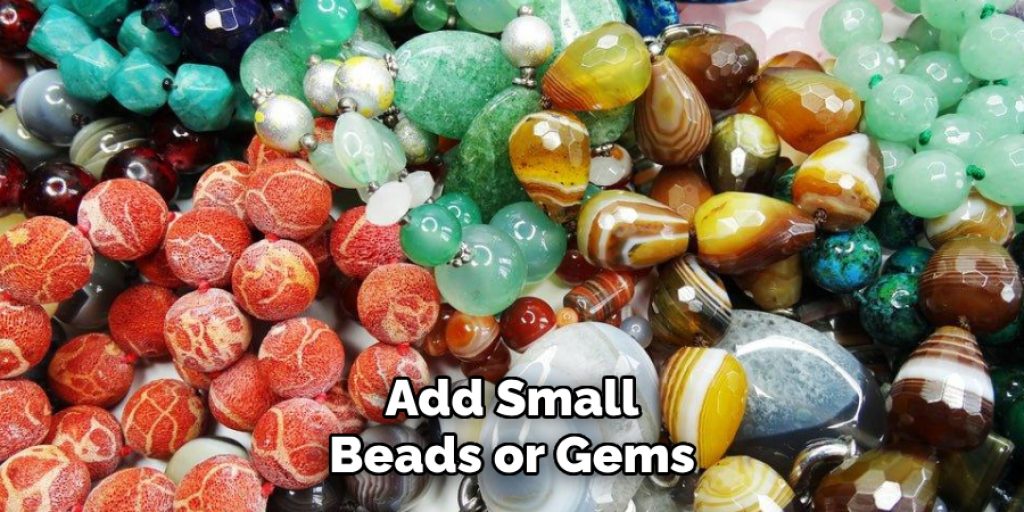
Finally, you can add any additional details or embellishments to personalize your clay ring. You can paint designs with acrylic paint or add small beads or gems for a touch of sparkle. Get creative and have fun with this step!
Once you’re happy with the final product, your unique clay ring is ready to wear or give as a thoughtful handmade gift. Following these simple steps on how to make clay ring, you can make as many clay rings as you like in various colors and designs. So gather your materials and let your imagination run wild with possibilities!
Additional Tips
- To prevent the clay from sticking to your hands and tools while working, lightly dust them with cornstarch or baby powder.
- If you want to add texture to your ring, you can press small objects like buttons or beads into the clay before baking.
- For a glossy finish, you can apply a layer of clear gloss or varnish over the baked and cooled ring.
- If your ring breaks or cracks after baking, you can repair it by using some liquid polymer clay as glue and rebaking it. Make sure to follow the manufacturer’s instructions for the proper use of liquid clay.
- Don’t be afraid to experiment with different colors, shapes, and designs when making your clay rings. It’s all about having fun and creating unique pieces!
- You can also use molds to create more intricate designs for your clay rings. Simply press the clay into the mold, remove it carefully, and bake as directed.
- If you don’t have access to an oven, you can also use a toaster oven or heat gun to bake your clay rings. Just make sure to monitor the temperature closely as they may heat up faster than traditional ovens.
- Always store your polymer clay in an airtight container to keep it soft and pliable for future use.
- Experiment with different types of polymer clay, such as translucent or metallic, for added depth and shine in your designs.
- Remember to have fun and enjoy the process of creating your own unique clay ring!
By following these steps and tips on how to make clay ring, you can easily create beautiful and personalized clay rings that are sure to make a statement. So go ahead and give it a try, and let your creativity shine! Happy crafting!
Frequently Asked Questions
Q: How Long Does It Take to Make a Clay Ring?
A: The overall process, including baking and cooling time, can take around 30-45 minutes. However, the shaping and detailing time may vary depending on your design.
Q: Can I Use Air-Dry Clay Instead of Polymer Clay?
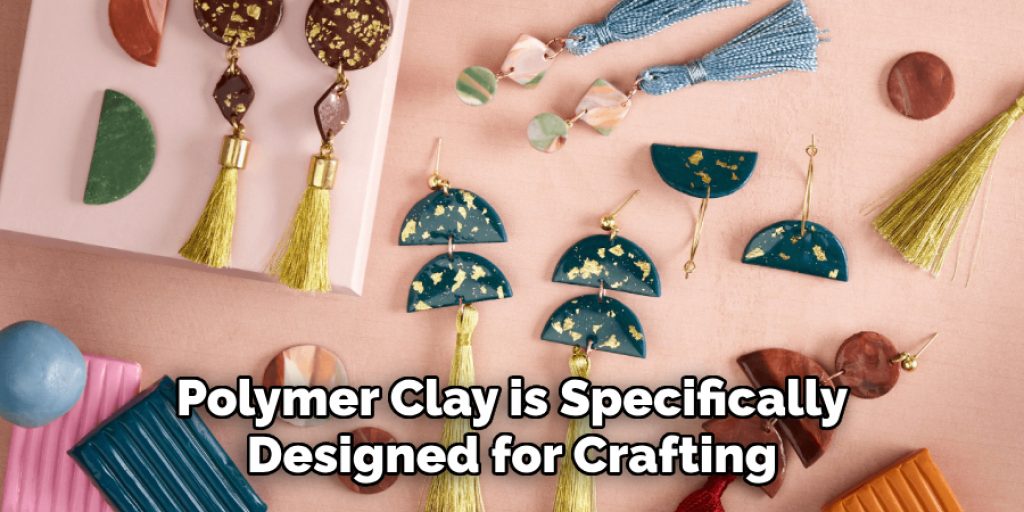
A: While you can use air-dry clay to make rings, it may not be as durable and long-lasting as polymer clay. Polymer clay is specifically designed for crafting and jewelry-making, making it a better choice for this project.
Q: Can Children Make These Clay Rings?
A: Yes, children can also enjoy making these clay rings with adult supervision. It’s a great activity to nurture their creativity and improve their fine motor skills.
Conclusion
Making a clay ring is an enjoyable and easy crafting project that allows you to create personalized accessories for yourself or loved ones. With just a few materials and simple steps on how to make clay ring, you can let your creativity flow and design beautiful rings that are truly one-of-a-kind. Experiment with different colors, shapes, and techniques to make each ring unique and special.
So go ahead, gather your materials, and start crafting your very own clay rings! It’s not only a fun and relaxing activity, but it’s also a great way to add some handmade charm to your jewelry collection. Enjoy!


