
How to Transfer Tattoo Stencil to Skin With Wax Paper
Introduction:
Tattoo stencils or paper are the modeling tools used by a tattoo artist for drawing on skin before doing a tattoo, usually in black and white and flat style; Tattoo stencils are also called transfer paper/film. It’s made of plastic mylar film with clear adhesive on top that allows drawing a design underneath it to transfer onto skin surface or flesh; Each tattoo stencil has reference numbers which will make up your final tattoo work based on the position you stick the stencil sticks from your working table onto human body area you want to ink; In this article, I will discuss how to transfer tattoo stencil to skin with wax paper. So let us get started.

Summary: Looking to transfer your tattoo stencil to skin? This blog post will show you how to do it using wax paper. First, make a copy of the stencil so that you have a clean surface to work on. Next, cover the stencil with wax paper and heat up a knife over a stovetop. When the knife is hot, carefully remove the wax paper, leaving the stencil on the skin. Carefully cut out the stencil with the knife, making sure to avoid any delicate areas. Finally, remove the stencil from the skin and enjoy your new tattoo!
A Detailed Guide on How to Transfer Tattoo Stencil to Skin With Wax Paper:
The tattoo design represents a significant part of your entire tattoo project, especially when you are just starting to learn how to outline; perhaps, this is why artists always tend to be particular about their artwork quality.
As an artist who draws on skin or canvas, you have mastered the scribing technique to make precise markings on any surface you like. Drawing out tattoos with sharp lines is no longer a challenge because of your expertise and the right kind of equipment and supplies.
Although there are many ways to transfer your artwork from paper to skin, stenciling is one of the most affordable methods that doesn’t require a long list of supplies or special tools. You can easily transfer the design onto your skin with minimal pain when done correctly with the right stencil materials.
Supplies and Equipment Needed:
Wax paper is the primary tool you need to create a perfect outline. Make sure that you get any brand or type capable of covering an area that is at least five times bigger than the tattoo design itself.
After purchasing it from your local supermarket, cut out a rectangular shape using safety scissors; do not worry if you use up many sheets until you make it as big as possible since this would help save money in the long run.
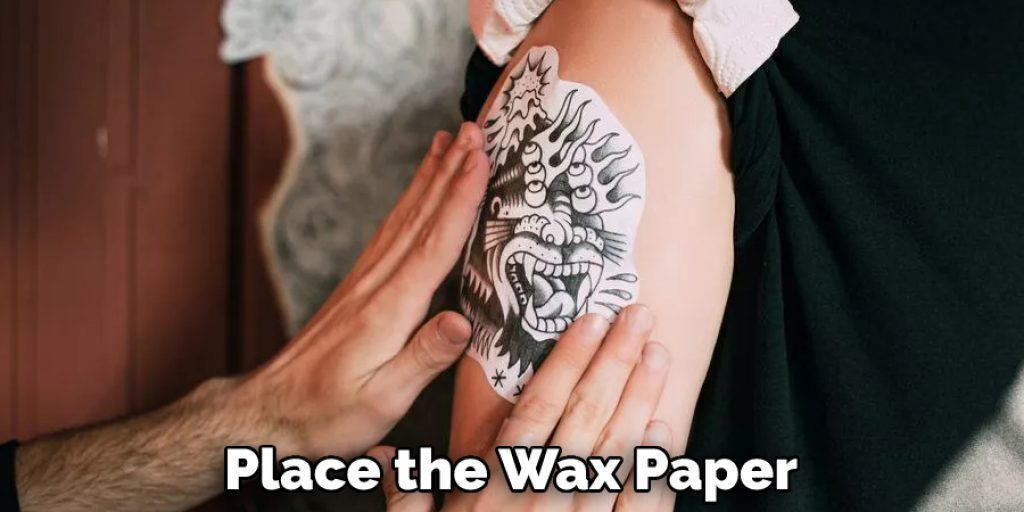
If there are small pieces of paper left over after cutting, just throw them away because they would serve no purpose. Once done, carefully place the wax paper on a flat and stable surface.
Turning the design into an original stencil is the next step; if you wish to be sure that your tattoo will turn out exactly like what you drew, it is highly recommended that you hand draw it using a black ink pen in case of any inconsistencies in printing documents or photos.
Aside from this, make sure that the image or word can fit within a 10-inch square so that there would be no need for any adjustments once transferred onto your skin. The last step is to place the stencil between two sheets of wax paper and hold them together using a rubber band.
After all these steps are finished, set up your workstation next to your sink before proceeding with the actual transfer process. It is highly recommended that you prepare everything beforehand to ensure a smooth and easy application; this would also mean that you can save more time.
For example, start by cleaning your hands with soap and water before drying them using cotton towels. When transferring tattoo stencils onto the skin, always use clean hands to avoid any infections and other complications during the healing period; it may even result in bad or crooked lines, which would not complement your overall design.

Next, apply some rubbing alcohol on a paper towel since this acts as an antiseptic agent that helps reduce bacteria and germs under your fingernails. Then, open up your bottle of rubbing alcohol and dip the cotton ball in it.
Rub it around your nail area and under the tip of each finger using gentle strokes; make sure that you work quickly since bacteria can easily grow in wet areas. Let everything dry before proceeding with the next step.
You can also use this material to clean off any foreign substances from your skin. If you are working on a bigger project, use another piece of cotton soaked in alcohol to cover an even larger area of skin, such as arms and legs.
Next, lay down flat on one side so that you can easily access the back part without any hassle; keep in mind that somebody’s parts need special attention regarding how they should be treated, such as those with thinner skin, because these areas can easily be damaged. One of the easiest choices you have is to use a hairdryer to warm up your skin; this would help open up your pores and accelerate blood flow towards the tattoo area
. This could maximize the rate through which your skin absorbs ink and minimize discomfort during the entire process. On the contrary, it may also prove to be quite excruciating, especially if you have sensitive skin or are allergic to heat.
Next, slowly remove the backing from your stencil paper, ensuring that none of it comes off because this step will allow you to check for flaws on its surface. If there are any visible smudges or uneven areas, adjust them by trimming them with sharp scissors until they are straightened out.
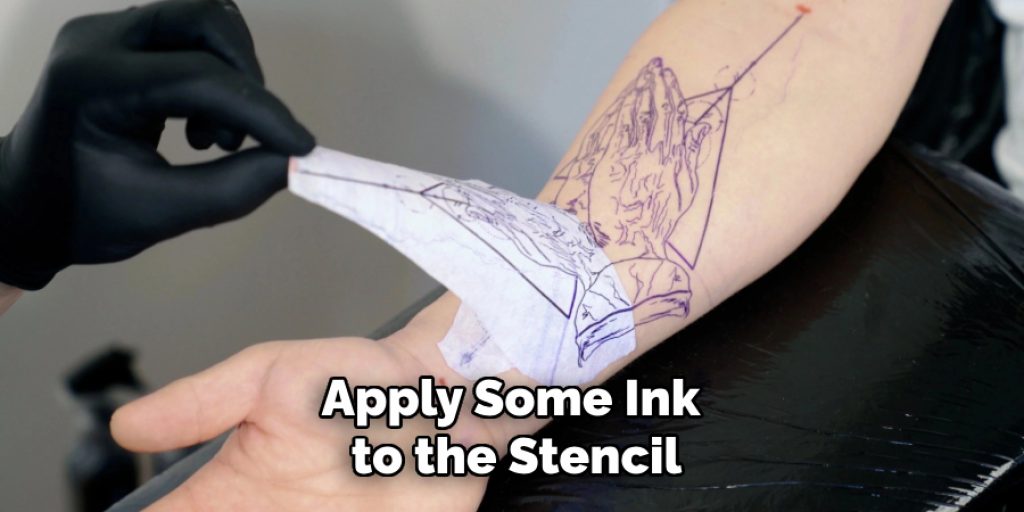
After this, apply some ink to the stencil using an ink pad as well as a paper towel to be sure that your skin would not get stained; you may also use a thin layer of Vaseline instead if you have sensitive and dry skin, which is why you need to check whether or not your tattoo artist is willing to work with any kind of moisturizer before proceeding with the actual transfer process.
Next, line the image up against your skin, making sure that the outer edges are aligned correctly since these play a vital role regarding how straight the lines on your tattoo would turn out once they have been correctly transferred onto your body; avoid placing it too close to any part of your skin because this might cause distortions, which is why it is best to apply your stencil in the same way that you would want to permanently place it as well as avoid changing its angle on different spots since this can create unevenness or misalignment issues.
Afterward, start applying the stencil using a heavy amount of force; you can use your fingers to hold it down and place it in different areas on your skin until everything has been covered. Make sure that everything has been transferred correctly before proceeding with the next step since you would not want to have an imprint from the paper on your tattoo, so make sure that there is no material left over because these will only be removed through rubbing alcohol or by peeling them off once they have dried up.
Conclusion:
I hope this article has helped me learn how to transfer tattoo stencil to skin with wax paper. Thank you, and have a nice day!
You may also read – How to Get Rid of a Pencil Tattoo


