
How to Make Cotton Watercolor Paper
Did you know that cotton watercolor paper is the most popular type of watercolor paper? But how to make cotton watercolor paper? The answer, while not a simple one, is just as beautiful. This article will guide you on creating your own sheet of pure white cotton paper that can be used for anything from sketching to painting. There are many different ways to create it both on the stovetop and in an oven!
Cotton Watercolor Paper is made by mixing fabric with starch. The result is a lightweight but strong paper that can be used for all sorts of art projects like painting, calligraphy, sketching, or even origami.
The cotton watertight paper has been widely used today because it doesn’t swell up like other watercolor papers do when they get wet, and it can be easily stretched. Here in this blog post, we have given all the tips and steps to make cotton watercolor paper.
10 Ways on How to Make Cotton Watercolor Paper:
1. Flatten and Iron a White T-shirt:
Iron a white 100% cotton T-shirt on a low setting to remove wrinkles. Shirts that contain “shaping” material may not flatten as well. If your shirt contains this material, it will probably be best to cut the shirt into pieces for papermaking instead of using it whole.
2. Add the Right Amount of Water to the Pulp:
Use a non-reactive container, such as a stainless steel or plastic bowl, to mix your pulp. First, add the right amount of water to the dry pulp by slowly pouring it into the center of your mixing bowl while stirring with your hands or a spoon. Keep adding small amounts of water until all of the pulp is evenly mixed and doesn’t form clumps.
3. Pour and Scrape:
Pour your wet pulp into a mold, scrape off any excess liquid with a squeegee or flat piece of plastic, and allow it to drain easily. A food container works great for this purpose.
4. Drain and Dry:
To make paper, you need to put a wet paper towel on top of the wet pulp in your mold. This will keep it from drying too quickly. Then, you need to put a piece of cardboard over the edge of the mold. This will be a drip guard. Allow the water to drain out through this hole for at least 30 minutes. After that, you can pull the paper away from the edge of the mold without tearing it.
5. Remove from the Mold:
Lift your newly formed sheet of watercolor paper out of the mold and gently pull it away from the screen. Next, lay it facedown on another piece of plastic (a garbage bag works well) and allow it to dry completely for 4-8 hours or overnight. It takes a long time for the watercolor paper to dry completely.
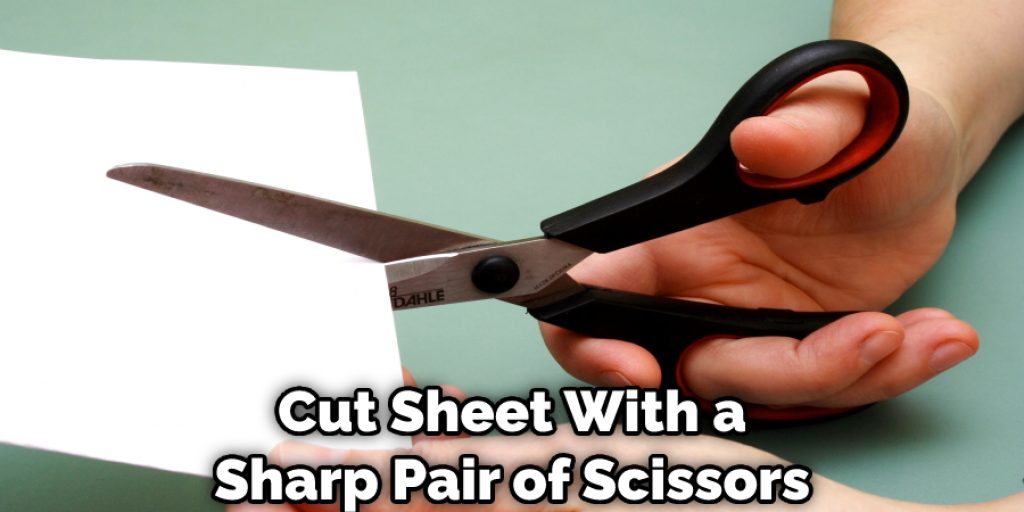
6. Trim the Edges:
Cut your sheet in half with a sharp pair of scissors, then cut each piece into 4 pieces for a total of 8 sheets per T-shirt. Stack the newly cut pieces on top of each other and use a bone folder to crease them down the middle carefully. If you don’t have a bone folder, you can use the back of a butter knife or ruler.
7. Fire Your New Paper:
If you plan to paint with watercolor paints on your paper, fire it in an oven at 200 degrees Fahrenheit for 30 minutes before painting on it. This will remove any plant-based oils that remain in the fabric and prevent the fabric from eventually rotting.
8. Paint on Your Paper:
Paint with watercolors directly onto your cotton paper or use it as an art journaling or mixed media surface. You can also create interesting backgrounds for projects by brushing watercolor paint over newsprint. At the same time, the paper is still wet, then laying pulp-based materials over the paper and allowing them to dry before painting over them.
9. Embellish Your Paper:
Paint, collage, stamp, or stencil on top of your paper with acrylic paints, permanent markers, embossing powders, etc., then coat it with a spray sealant for added durability. You can also, and other embellishments.
10. Store Your Paper:
Store your paper flat in a ziplock baggie, in an archival-safe box or bin, or folded up and stored inside an empty Tic Tac container for maximum protection.
You Can Check It Out to Make Indigo Color
Steps to Follow: How to Make Cotton Watercolor Paper
Step 1:
Soak the cotton clothes in a basin filled with water for 1 hour, so they become very wet. Squeeze as much water as possible from them, and place them on a board or other surface that will allow the paper to dry without being disturbed.
Step 2:
Cover the clothes evenly with water with a spray bottle. Let this dry for a couple of hours or overnight, then spray a second time and let it dry again.
Step 3:
Drain the water from the cotton clothes completely.
Step 4:
Place an even amount of pulp in the center of your drying board.
Step 5:
Using hands covered in protective gloves, roll the water into the cotton pulp. Keep adding water until all of it is completely absorbed, and a smooth surface is achieved.
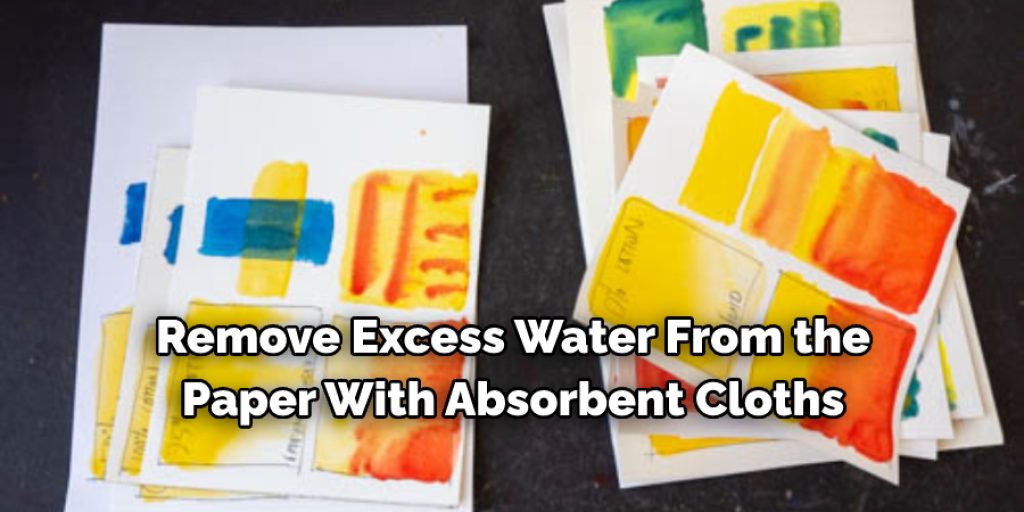
Step 6:
Remove excess water from the paper with absorbent cloths.
Step 7:
Clean your drying board, then place parchment or wax paper on top. Using a rolling pin, roll out the paper to be thinner and larger than your desired finished size.
Step 8:
Quickly take the paper off its board, and place it on a pressing device such as a gift box or other heavy object with raised edges to keep the paper in place.
What Is Required to Make Paper From Cotton?
Cotton cloth, water, and a mold for paper drying are all that’s required. There is no need to use paper pulp or other additives, as these items can be found in the first two ingredients. This is particularly nice because it means that people can control the thickness of their paper easily.
The final product after drying may be used as-is for sketching papers, or it could be cut into sheets of various sizes to make watercolor paper or other types. Papers made from cotton are stiffer than papers made from wood pulp, but they are also more durable. Depending on the weight of the paper, this stiffness may vary.
You can also check it out to Dye Cotton Rope
Frequently Asked Questions
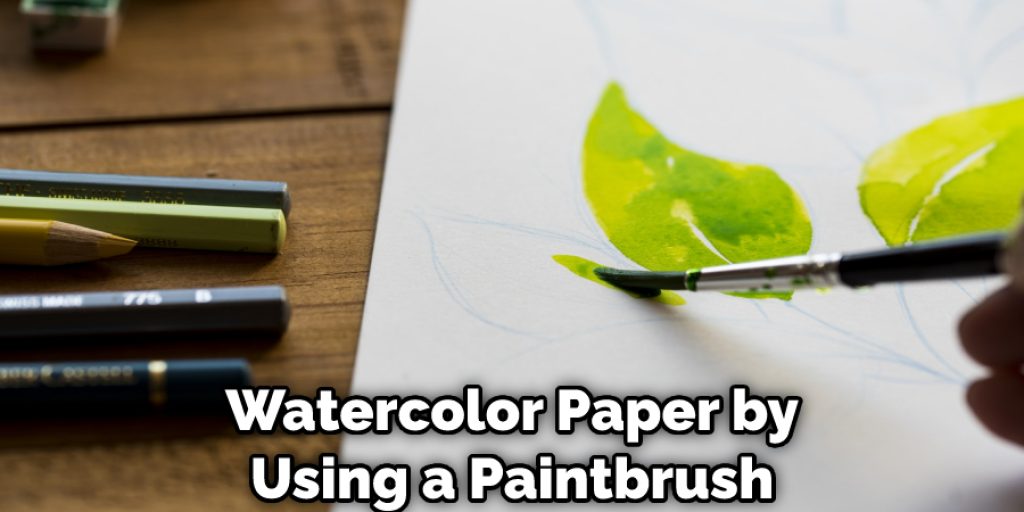
Can You Make Your Own Watercolour Paper?
Yes, you can make your watercolor paper by using a paintbrush and some colorless or white water. First, get a brush that is made for painting. Next, fill the bristles with water and apply them to the canvas. Finally, use small circular motions to create delicate patterns on the paper’s surface.
Is Cotton Paper Good for Watercolor?
Cotton paper is not ideal for watercolor painting because it absorbs the paint. Instead, you should use paper with less absorbent properties, such as card stock or bristol board.
How Do You Make Homemade Watercolor?
To make homemade watercolor, you need a few ingredients. The first thing that you will need is water. You can use tap water or distilled water, depending on your preference. Next, you will need some food coloring which can be found in any grocery store or online. You will also need some medium like white glue or paint thinner, corn syrup, and glycerin for the colors to mix together properly.
Are Handmade Watercolors Better?
Handmade watercolors are not better than commercial watercolors because they do not have the same chemical composition. Handmade watercolors also require a great deal of skill and practice to create.
There are many benefits of handmade watercolors, such as:
• They are usually made with natural dyes, so they’re healthier for you and the environment.
• They can be customized by color, size, shape, and material used.
• They allow you to express your creativity in ways that can’t be done with other types of art.
Conclusion
You know you need to get back in the art groove. But, where do you start? Let us help! We’ve created a step-by-step tutorial on how to make cotton watercolor paper that will allow for beautiful and vibrant colors when it dries.
In the end, you have a beautiful piece of watercolor paper that can be used for many purposes. The project is relatively simple to follow and yields fantastic results! It would make a great gift or addition to any art supplies collection. If you’re looking for more information on creating this type of paper yourself, we recommend checking out our other blog post.
Check out our article How to Reproduce Watercolor Painting
Elizabeth Davis
Elizabeth is a creative writer and digital editor based in the United States. She has a passion for the arts and crafts, which she developed from a young age. Elizabeth has always loved experimenting with new mediums and sharing her work with others. When she started blogging, she knew that DIYquickly would be the perfect platform to share her tutorials and tips. She's been writing for the blog from the beginning, and her readers love her helpful advice and easy-to-follow instructions. When she's not writing or editing, Elizabeth enjoys spending time with her family and friends.


