
How to Make Custom Styrofoam Cups
Creating custom Styrofoam cups is a fun and creative way to add a personal touch to your events, parties, or everyday use. Whether you’re looking to promote a brand, celebrate a special occasion, or simply express your artistic flair, custom cups can serve as a unique canvas for your ideas.
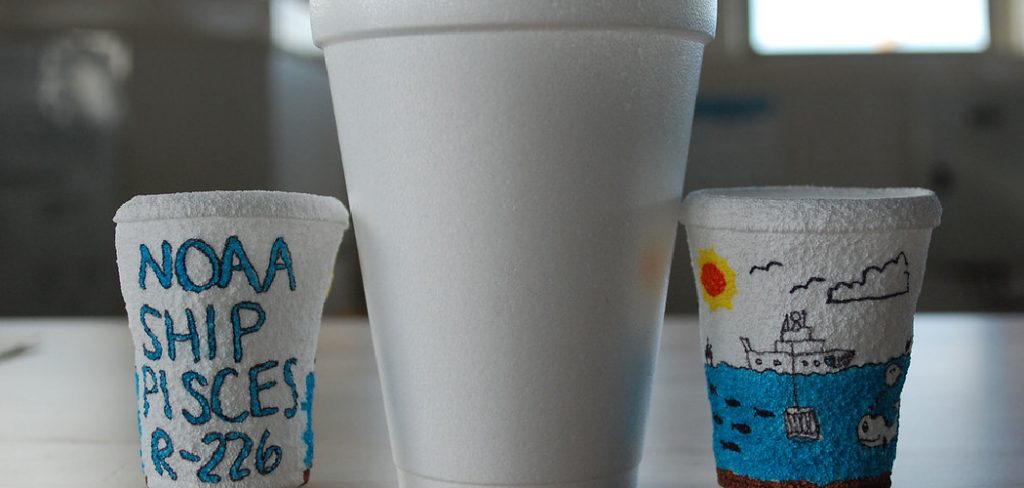
This guide on how to make custom styrofoam cups will walk you through the essential materials, techniques, and tips needed to design and craft your own Styrofoam cups, allowing you to unleash your imagination while making a practical item that reflects your style.
Why Choose Styrofoam Cups?
Before we dive into the process of making custom Styrofoam cups, let’s take a moment to explore why they are a great option for personalization. Styrofoam, also known as expanded polystyrene (EPS), is a lightweight and durable material that is commonly used for disposable cups. Here are some reasons why you should consider using Styrofoam cups for your customization project:
Cost-effective:
Styrofoam cups are relatively inexpensive compared to other materials like paper or plastic. This makes them an affordable option if you need to create large quantities of custom cups.
Insulation:
The insulating properties of Styrofoam make it a great choice for keeping hot or cold drinks at the desired temperature. This can be especially useful for events or parties where you want to keep your beverages at their intended temperature.
Customizable:
Styrofoam cups provide a blank canvas for customization, allowing you to use various techniques and materials to create unique designs and patterns.
Lightweight and easy to transport:
One of the biggest advantages of Styrofoam cups is their lightweight nature, which makes them easy to carry around and transport. This is especially beneficial if you’re hosting an event or party in a different location.
Materials Needed
Now that we’ve established why Styrofoam cups are an excellent medium for customizing let’s take a look at the materials you’ll need to get started:
- Styrofoam Cups (of Any Size and Quantity)
- Acrylic Paints or Permanent Markers
- Paintbrushes (if Using Acrylic Paint)
- Stencils (Optional)
- Clear Sealant Spray (Optional)
8 Simple Methods on How to Make Custom Styrofoam Cups
Method 1: Using Paint and Brushes
This is the most common method for customizing Styrofoam cups, and it allows for a wide range of designs and techniques. Here’s how to do it:
- Begin by selecting your desired paint colors and preparing your work area.
- Use a paintbrush or foam brush to apply the acrylic paints onto the surface of the cup. You can use stencils or freehand to create your design.
- Allow the paint to dry completely before adding any additional layers or details.
- Once you’re satisfied with your design, let the cup sit for a few hours before handling it.
- If desired, you can seal your design with a clear sealant spray to make it last longer.

Method 2: Using Permanent Markers
If you’re looking for a quick and easy way to customize your Styrofoam cups, using permanent markers is the way to go. Here’s how:
- Choose your preferred colors of permanent markers.
- Plan out your design before starting.
- Use the markers to draw directly onto the cup, keeping in mind that the ink may bleed slightly on the Styrofoam surface.
- Allow the marker ink to dry completely before handling or adding any additional details.
- You can also seal your design with a clear spray if desired.
Method 3: Using Stickers
Stickers are a fun and simple way to add some personality to your Styrofoam cups. Here’s how to do it:
- Choose stickers that are small enough to fit onto the surface of your cup.
- Plan out where you want each sticker to go before starting.
- Carefully peel off the backing of the sticker and place it onto the cup, pressing down firmly.
- If desired, you can use multiple stickers to create a cohesive design or add additional elements with markers or paints.
Method 4: Using Duct Tape
Duct tape comes in so many colors and patterns, making it an excellent choice for customizing Styrofoam cups in a unique way. Here’s how:
- Select your desired duct tape(s) and plan out your design.
- Carefully wrap the tape around the cup, smoothing out any wrinkles or air bubbles.
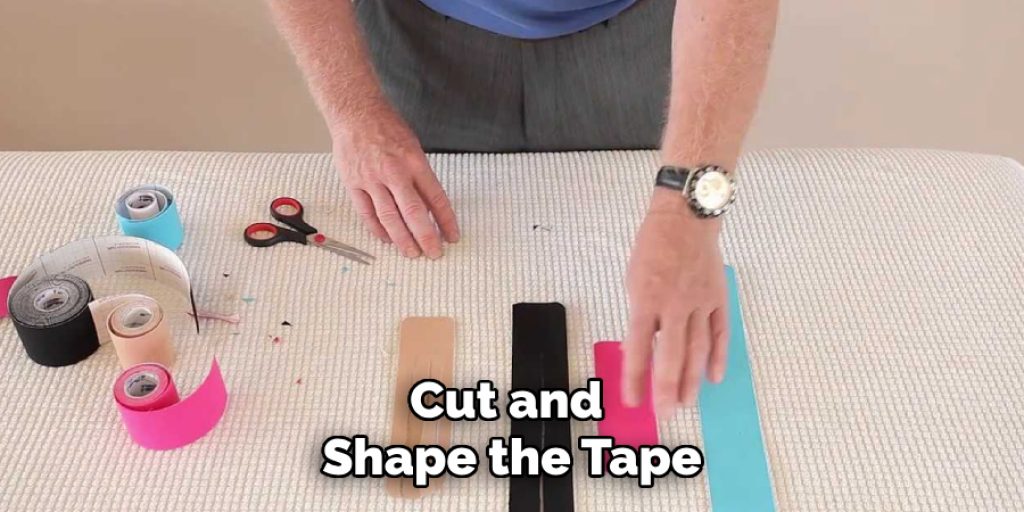
- You can use multiple tapes to create a layered effect or cut and shape the tape to create different designs.
- Once you’re satisfied with your design, seal it with a clear spray for added durability.
Method 5: Using Washi Tape
Similar to duct tape, washi tape is another versatile material that can be used to customize Styrofoam cups in various ways. Here’s how:
- Choose your favorite washi tapes and prepare your work area.
- Wrap the tape around the cup in whatever pattern or design you desire.
- You can use multiple tapes to create a layered effect or cut and shape the tape to add different elements.
- Once you’re done, seal your design with a clear spray for longevity.
Method 6: Using Fabric
If you want to take your customization game to the next level, why not try using fabric on your Styrofoam cups? Here’s how:
- Gather small pieces of fabric in various colors and patterns.
- Cut the fabric into small shapes that will fit onto the cup’s surface (e.g., circles, squares, hearts).
- Apply a thin layer of glue onto the cup and carefully place the fabric on top, pressing down gently.
- Continue adding fabric pieces until you’ve achieved your desired design.
- Allow the glue to dry completely before handling the cup.
Method 7: Using Mod Podge
Mod Podge is a popular crafting glue that can be used for various projects, including customizing Styrofoam cups. Here’s how:
- Prepare your work area and gather your materials, including Mod Podge, tissue paper, and paintbrushes.
- Cut the tissue paper into small squares or shapes that will fit onto the cup’s surface.
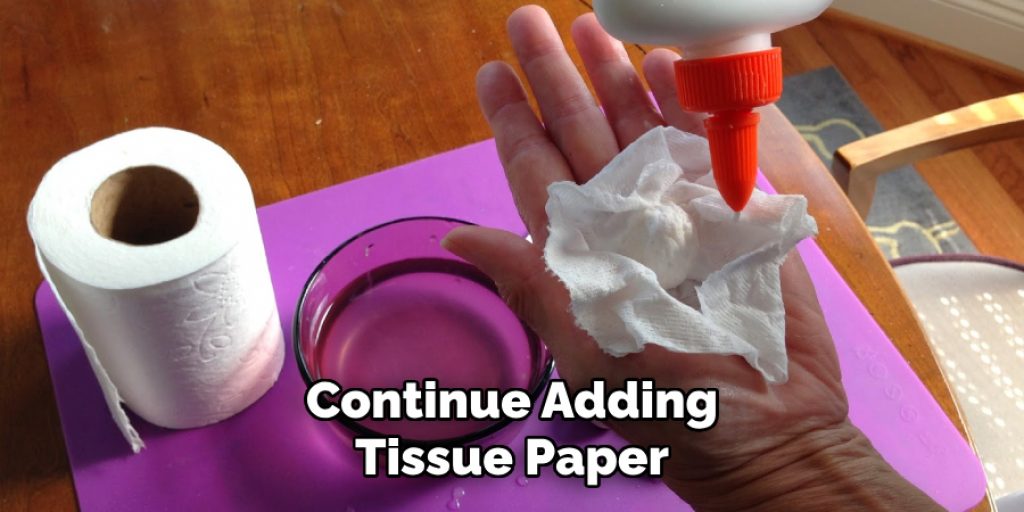
- Apply a thin layer of Mod Podge onto the cup and carefully place the tissue paper on top, smoothing out any wrinkles or air bubbles.
- Continue adding tissue paper until the entire cup is covered or your desired design is achieved.
- Once the Mod Podge has dried, you can seal the cup with a clear spray.
Note: You can also use Mod Podge to add additional details on top of any of the other methods mentioned above for added texture and durability.
Method 8: Using Heat Transfer Vinyl
For those who have access to a cutting machine, heat transfer vinyl (HTV) is an excellent option for creating intricate designs on Styrofoam cups. Here’s how:
- Use design software to create your desired image or text, making sure it will fit onto the cup’s surface.
- Cut the design onto heat transfer vinyl using a cutting machine.
- Carefully weed (remove) the excess vinyl from your design.
- Use a heat press or iron to transfer the design onto the cup, following the instructions for your specific HTV brand.
- Once cooled, carefully peel off the plastic backing to reveal your customized Styrofoam cup.
Frequently Asked Questions
Q: Can I Use Any Type of Paint on Styrofoam Cups?
A: Yes, you can use various types of paints on Styrofoam cups, including acrylic paints and spray paints. However, be cautious when using certain types of paint that may cause the Styrofoam to dissolve or melt. It’s always best to do a small test first before committing to painting the entire cup.
Q: How Do I Seal My Design on the Cup?
A: You can seal your design on the cup with a clear spray sealant, such as Mod Podge Clear Acrylic Sealer or Krylon Clear Coat. Make sure to follow the instructions for proper application and drying time.
Q: Are Customized Styrofoam Cups Safe to Use?
A: Yes, as long as you use materials that are safe for food contact (e.g., non-toxic paints and stickers). However, keep in mind that altering the surface of Styrofoam cups may affect their insulation properties, so it’s best to use them for room temperature drinks. Additionally, do not put customized cups in the microwave or dishwasher as it may damage the design and release harmful chemicals into your drink.
Q: Can I Use the Same Methods to Customize Other Types of Foam Cups?
A: Yes, you can use these methods on other types of foam cups as well. However, keep in mind that some materials may react differently depending on the type of foam used. It’s always best to do a small test first before customizing a large quantity of cups.
With these creative and easy methods on how to make custom styrofoam cups, you can now personalize your Styrofoam cups for any occasion.

Conclusion
As you can see, there are many creative and simple ways to customize Styrofoam cups. Whether you’re hosting an event, throwing a party, or just want to add some fun to your daily drinks, these methods on how to make custom styrofoam cups are sure to make your cups stand out. So gather your materials and get ready to unleash your creativity!
So go ahead and try out these methods for yourself, and have fun designing your unique Styrofoam cups. Remember to always allow the materials to dry completely before handling or adding any additional details, and consider sealing your designs with a clear spray for added durability. Happy crafting!
Elizabeth Davis
Elizabeth is a creative writer and digital editor based in the United States. She has a passion for the arts and crafts, which she developed from a young age. Elizabeth has always loved experimenting with new mediums and sharing her work with others. When she started blogging, she knew that DIYquickly would be the perfect platform to share her tutorials and tips. She's been writing for the blog from the beginning, and her readers love her helpful advice and easy-to-follow instructions. When she's not writing or editing, Elizabeth enjoys spending time with her family and friends.


