
How to Make Dog Ears for Costume
Introduction
Artificial dog ears are quite common among children for a costume party. There many ways that can be implemented to prepare them. For our readers’ betterment, we provide some easy steps that will help you make the best dog ears for the costume. The process is simplified below.

Processes on How to Make Dog Ears for Costume
Process One:
- Materials needed to make dog ears for costumes are foam or felt sheets, scissors, and tape. You can also use craft glue if you want permanent ones but be careful as it may bleed through the fabric.
- Fold a piece of paper in half lengthwise, then cut along one edge so that it forms an ear shape with straight edges on either side when unfolded. Cut out two pieces like this from your chosen material (one is enough for most adults)
- Glue the long edge together, overlapping one over the other by about 50mm (about 20 inches). Tape down until dry and allow another 30 minutes to set fully before removing the tape
- Trim off excess where they overlap at each end – these will be the dog’s ‘ear flaps.’
- Cut out a small hole in the center of both ears so that you can insert your head and leave enough overhanging at each side to make them wiggle when worn. Glue or tape down if desired
- Pinch off one end of the material where it overlaps on its short edge – this will become the back ‘stabilizer’ for your ear once worn. Repeat with another piece, gluing together and taping into place, then trimming any excess
- Decorate as desired by adding fabric scraps, buttons, or felt pieces cut into shapes such as hearts or stars; these could represent something about what type of pet is being portrayed (for example, a red heart would represent a loveable puppy)
- Take the back stabilizer, place it where you want to wear your ears, and then hold in place by attaching it with glue or tape.
- You could also sew each piece around its edge if desired.
Procedure Two
The process requires some essential elements like some fur sheets, which you can get from a departmental store. You will need a scissor, a pencil, and a trimmer. You will also need some craEnsurefting paper, a glue gun, cut, some small diameter wires, and a 14 gauge wire to hold the ears. Once you have gathered them, you can start the process. It is necessary to make a pattern for the ears. You can make it using the craEnsurefting paper or buy them. Once you have the pattern, take the fur sheet and cut it accordingly. This ear would be the outside ear of the dog.
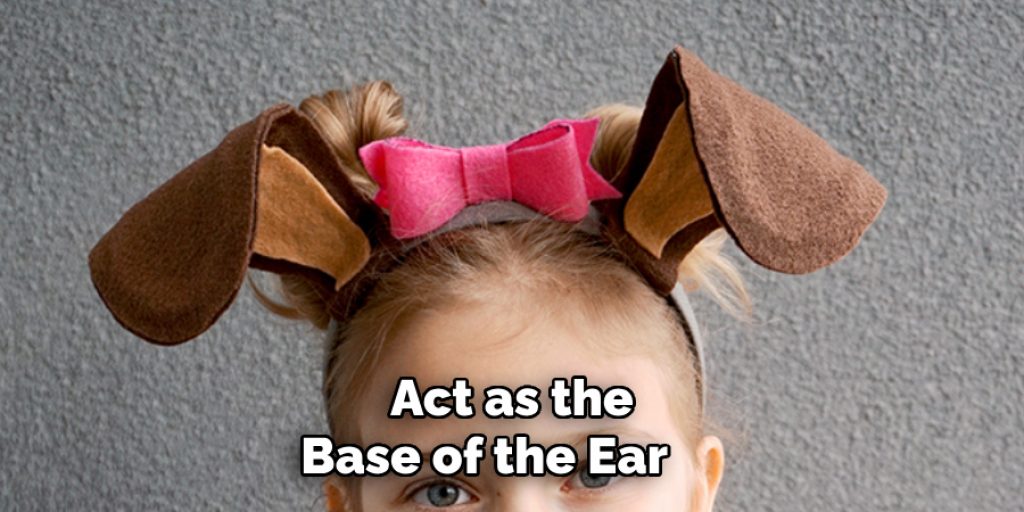
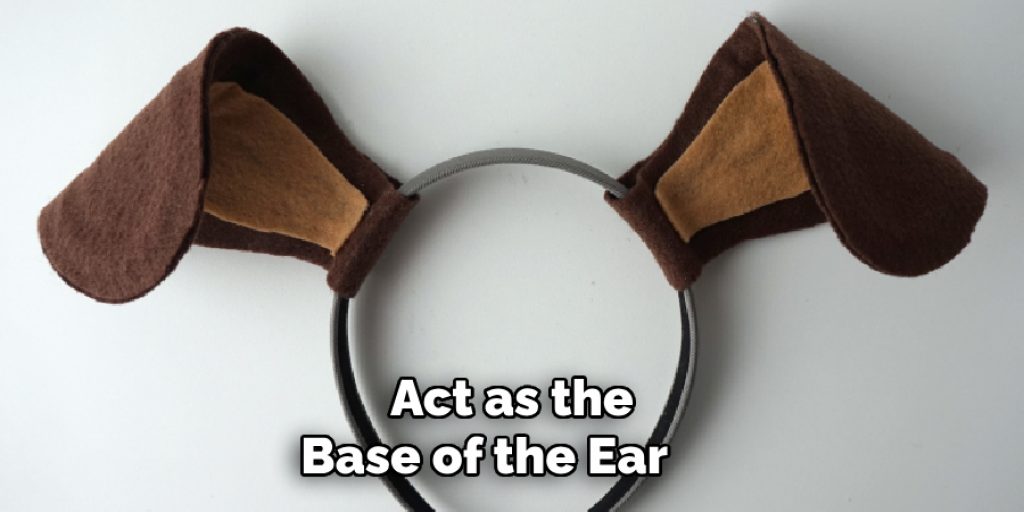
First, you need to take the craft paper, and then you have to outline the dog ear. For the outline, you can use any suitable picture from the internet. After the system is drawn, you can cut the piece out from the paper using a cutter. This will act as the base of the ear. Now you have to take the ground, place it on the fur sheet, carve the ear shape on the sheet, and cut it. We have to cut two fur earpieces.
In order to make artificial dog ears, you will need to take a sheet of paper and place a part of the fur sheet onto it. Then, using a glue gun, you will glue the paper to the fur sheet. Next, you will need to take the other pair of fur and glue it to the paper. In this way, you will have two ears. Finally, you will need to use the wires and the glue gun to attach the ears to the elastic wore gauge.
Precautions
- Be sure to use a non-allergenic material.
- No pins or glue should be used when making the ears as this can irritate some people and animals.
Which Fabric Will Suit My Dog?
You will need a few yards of fabric, which depends on your dog’s size and breed. You want to pick something that matches their fur type – dogs with short hair can get away without having any coverage at all! Dogs with long, thick fur usually require padding or lining to keep it from sticking out too far. Most people use a denim or felt fabric for their project. Denim is easy to find and comes in many colors, but it can be itchy if your dog has sensitive skin.
For five-pound Yorkies, you’ll only need one yard for each ear plus two more inches for seams and overlap (you don’t want them getting tangled). A 100-lb German Shepherd would be around seven yards per side. The thickness of fabric varies by weight as well—the heavier the dog, the thicker they will need it. For dogs under 10 pounds, you’ll need 1 yard for each ear. For dogs between 10 and 25 pounds, you’ll need 1.5 yards per ear. For dogs between 25 and 60 pounds, you’ll need 2 yards per ear.
Conclusion
We hope that the technique we have stated here has been helpful for the beginners to make their dog ears for a costume. The process should be followed chronologically, and this will surely enhance their have a nice day!! Thank you for your day!!
You May Also Read-
Nancy Behan
Nancy is an embroidery artist, fashion blogger and a full time editor at DIY quickly. Nancy edits the fashion section on DIY quickly, focusing on the embroidery and cross stitch articles, alongside with fabric and other costume design elements. She graduated from the University of Michigan with a Bachelor of Arts in Art History. She loves to work on her own projects, read books and watch romantic movies in her spare time.


