
How to Make Fabric Bookmarks
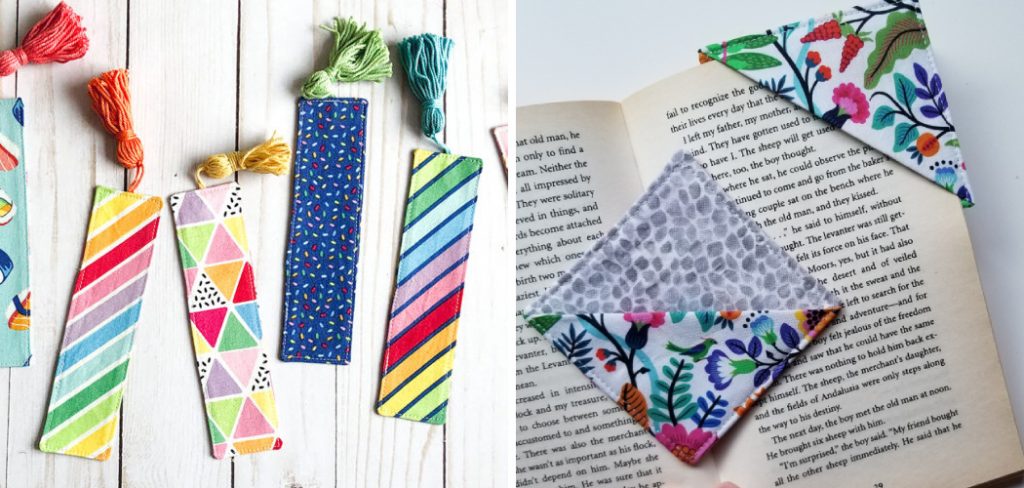
If you’re looking for a quick and easy sewing project, then you’ve come to the right place! In this tutorial, we’ll show you how to make fabric bookmarks. These bookmarks make great gifts for book lovers, and they’re also perfect for stocking stuffers. Best of all, they only take a few minutes to sew up. So grab your scraps of fabric, and let’s get started!
Can You Make Fabric Bookmarks?
Crafting your own fabric bookmarks can be a great way to express yourself and add some personalization to your library. Many DIYers use fun prints of fabric to create vibrant, cheerful bookmarkers that can make a dull book much more interesting as you read it.
With just basic sewing knowledge and simple tools like scissors, fabric, and thread, you can easily make a personalized accessory for your bookshelf. Think outside the box with creative designs or shapes like animals or flowers. They also make excellent gifts for any avid reader. Crafting your very own fabric bookmark is an immensely satisfying activity!
Why Should You Make Fabric Bookmarks?
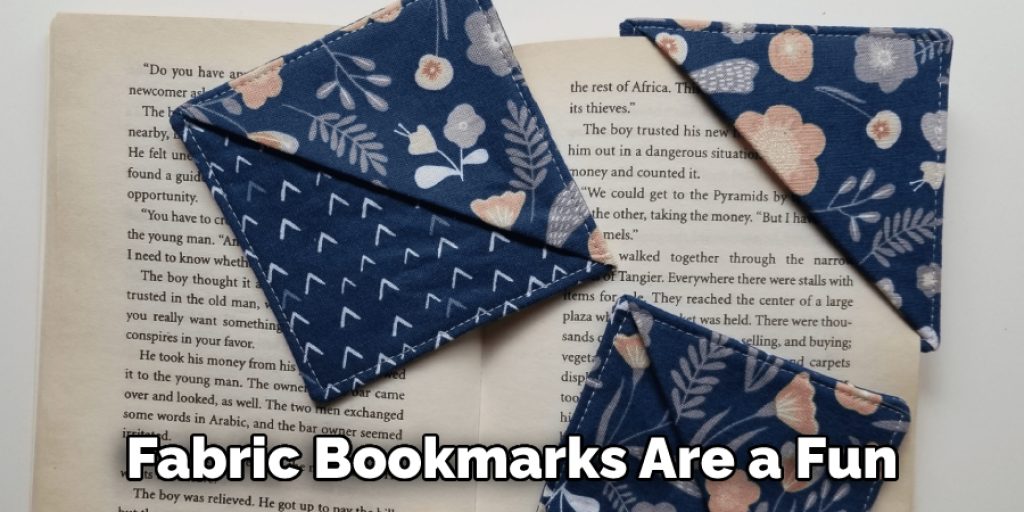
Fabric bookmarks are a fun, creative way to keep track of what page you’re on in your favorite books. Not only can they show off your individual style, but they also make great gifts for the literature lovers in your life.
Making fabric bookmarks is an easy task that requires minimal materials and time investment; simply choose your fabric, sew it up, and enjoy personalized bookmarks for yourself or someone else.
Whether you’re looking for something to brighten up your study habits or help share the gift of reading with others, homemade fabric bookmarks are always a unique and wonderful choice.
What You’ll Need
- Fabric scraps (you can use any type of fabric, but we recommend using cotton)
- Needle and thread
- Scissors
- Ribbon or bias tape (optional)
- Embellishments (optional)
7 Tips to Follow on How to Make Fabric Bookmarks
1. Choose the Right Fabric
The first step in making fabric bookmarks is to choose the right fabric. You will want to use a fabric that is lightweight and easy to sew. Some good choices include cotton, linen, or silk.
2. Cut Out the Bookmark Shape
Once you have chosen your fabric, you will need to cut out the bookmark shape. Again, you can use a template or simply freehand the shape. Be sure to leave a seam allowance of about 1/4 inch.
3. Sew the Bookmark Together
After you have cut out your bookmark shape, it is time to sew it together. Start by sewing the top and bottom of the bookmark together, then sew the sides together. Be sure to use a needle and thread that match your fabric so that the stitches are not visible.
4. Embellish the Bookmark
Once you have sewn your bookmark together, you can embellish it with any number of things, such as buttons, beads, or embroidery. This is a great way to add your own personal touch to the bookmark.
5. Finish the Bookmark
After you have embellished your bookmark, you will need to finish it by adding a backing. This can be done by simply sewing a piece of felt or another fabric to the back of the bookmark.
6. Attach the Bookmark to the Page
Once you have finished your bookmark, you will need to attach it to the page of your book. This can be done by using a needle and thread or by using adhesive tape or glue.
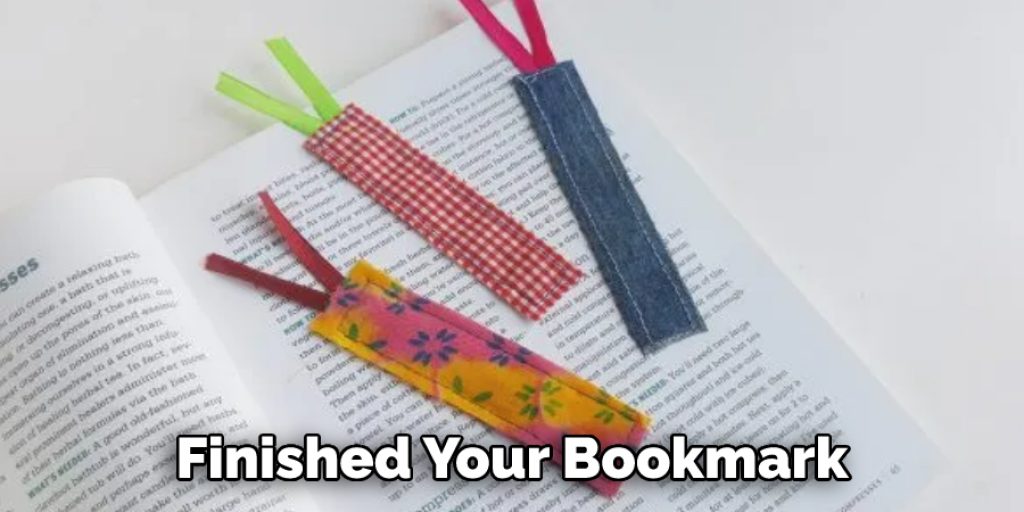
7. Enjoy Your Bookmark!
Once you have followed all of these steps, you will have a beautiful, custom-made fabric bookmark! Whether you make them for yourself or gift them to a friend, these bookmarks will surely bring some extra fun and personality to your reading experience.
That’s it! You’ve now learned how to make fabric bookmarks and how to customize them for any occasion. You can transform any fabric into a functional and fashionable bookmark with creativity and some basic sewing skills. So get sewing!
Things You Need to Know Before Making Fabric Bookmarks
Making fabric bookmarks can be a rewarding and fun craft. However, there are a few things that you need to know before embarking on your fabric bookmark-making journey.
First, some fabrics may fray more than others. To avoid this, you should use fraying adhesive or another type of sealant to keep the ends from unraveling. Also, if you plan to use interfacing with your fabric, read the instructions thoroughly.
Furthermore, consider which type of binding will fit best for your project. For example, ribbon and embroidery thread are popular choices for tying off the ends and adding charm to the finished product.
Lastly, embellishments such as beads and buttons can add an extra special touch – just make sure not to get carried away! Considering all of these tips should help get your fabric bookmark projects off to a successful start.
5 Benefits of Making Fabric Bookmarks
1. They’re Inexpensive
One of the great things about fabric bookmarks is that they’re very inexpensive to make. All you need is some fabric, a needle and thread, and some ribbon or other decorative trim. If you don’t have any fabric on hand, you can often find it at your local craft store for a very reasonable price.
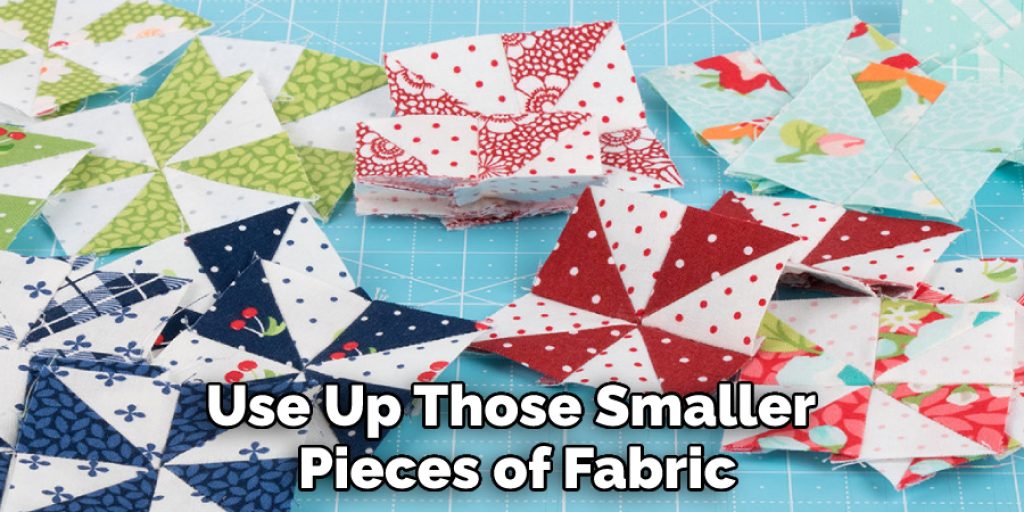
2. You Can Use Scraps of Fabric
If you’re a quilter or sewist, chances are you have plenty of fabric scraps on hand. So rather than throwing them away or letting them languish in a drawer, put them to good use by making fabric bookmarks! This is a great way to use up those smaller pieces of fabric that you might not otherwise know what to do with.
3. They Make Great Gifts
Fabric bookmarks also make great gifts for just about anyone. Of course, they’re perfect for book lovers, but they also make nice gifts for teachers, librarians, and anyone who appreciates a handmade item. Best of all, they’re relatively quick and easy to make, so you can easily make a bunch if necessary.
4. They’re Easy to Personalize
Another great thing about fabric bookmarks is that they’re very easy to personalize. If you’re making them as gifts, you can easily choose fabrics and trims that reflect the recipient’s personality or interests. You can also add embroidery, applique, or other embellishments to really make them your own.
5. They’re Durable
Unlike paper bookmarks, which can tear or get lost easily, fabric bookmarks are much more durable and long-lasting. If made properly, they should be able to withstand being used regularly without falling apart. This makes them ideal for people who are hard on their belongings or who simply want a bookmark that will last for years to come
Some Common Mistakes People Make When Trying to Make Fabric Bookmarks
Many people are drawn to the craft of creating fabric bookmarks, yet many encounter errors or issues when attempting the project. For example, one common mistake is not testing out a stitch after sewing – this can result in incorrect tension, creating an uneven seam.
Another gaffe people make is purchasing fabric with a width narrower than the desired length – this will limit the number of folds and lead to limited options for decorative treatments such as piping.
A good habit to get into before beginning any fabric project is checking its washability first because there is nothing worse than having your bookmark shrink in size after one wash. Lastly, always check how much your supplies will cost before you start so you won’t be disappointed if it goes over budget!
With some forethought and conscious effort, anyone can create a beautiful bookmark made with cloth.
Some Different Ways to Style Your Fabric Bookmarks
Fabric bookmarks can be more than just a practical way to mark your spot in a book. With a few embellishments and creative ideas, you can transform them into stylish pieces of art.
For example, add lace or ribbon around the edge for a romantic look, or go bold with colorful fabric markers and draw words, flowers, or other shapes directly onto the bookmark. You could also sew two different fabrics together – perhaps one patterned and one solid – to give your bookmark an eye-catching quilted feel.
Whatever style you choose for your custom bookmark, it’s sure to make reading time even more enjoyable!
How to Make a Fabric Bookmark with Bias Tape
Adding a pretty fabric bookmark to your favorite book can be the perfect way to accessorize it, and the best part is that it is easy to make one! All you need is bias tape, scissors, and a bit of creativity. You can make a delightful bookmark in no time with just a few simple steps.

First, cut a length of bias tape long enough to wrap around your book. Then Measure your book’s width and double that measurement with the bias tape before cutting. Next, fold in the edges of the bias tape until they meet in the center and secure with iron-on adhesive or stitches. Finally, embellish however you like and start using your new fabric bookmark!
Conclusion
If you’re looking to add some creative flair and personal touch to your book reading, making fabric bookmarks is a great way to do it! With just a few supplies, you can easily create unique bookmarkers that are sure to spruce up any bookshelf.
Plus, they make wonderful handmade gifts for friends and family members that are sure to be cherished. So, what are you waiting for? Grab your materials and get creative! Thanks for reading our post about how to make fabric bookmarks.
Angela Ervin
Angela is the executive editor of DIY quickly. She began her career as an interior designer before applying her strategic and creative passion to lifestyle and home. She has close to 15 years of experience in creative writing and online content strategy for housekeeping, home decorations as well as other niche efforts. She loves her job and has the privilege of working with an extraordinary team. She lives with her husband, two sons, and daughter in Petersburg. When she's not busy working she spent time with her family.


