
How to Make Fabric Patterns
Are you interested in creating your own fabric patterns? Whether you’re a beginner tailor or an experienced crafter, this post provides step-by-step instructions on how to make fabric patterns. From choosing the right fabric and selecting appropriate tools and materials to piecing together blocks of colors and textures to form the design – you’ll learn all the steps necessary for making stunning fabric prints.
If you’re looking to make a one-of-a-kind fabric pattern, the sky is the limit in terms of design possibilities. Before you start creating, though, it’s important to define what type of fabric pattern you’d like to make and find the right tools and materials for the job.
With just a few pieces of equipment and some patience, anyone can satisfy their creative urges while maximizing efficiency. So how about getting started with pattern-making today? Let’s dive right in!
What Will You Need?
To make fabric patterns, you’ll need a few essential supplies:
- The Fabric of Your Choice: Choose from lightweight cotton, linen, silk, and wool fabrics that are easy to sew. Consider incorporating color and texture into your fabric selections for an extra creative touch.
- Scissors or Rotary Cutter: For cutting fabric into smaller pieces, as well as for trimming seams.
- Measuring Tape: For accurately measuring fabric and checking seam allowances.
- Pins/marking Tools: For marking seam lines and keeping your fabric pieces in place while sewing.
- Iron and Ironing Board: To press the seams once they are stitched.
- Thread: All-purpose thread should do the job for most pattern projects.
- Sewing Machine and Hand Sewing Needles: Depending on the type of project you are working on, select either a sewing machine or hand stitching needles to complete the pieces together.
Once you have gathered all these tools, you can now begin crafting your fabric pattern!
10 Easy Steps on How to Make Fabric Patterns
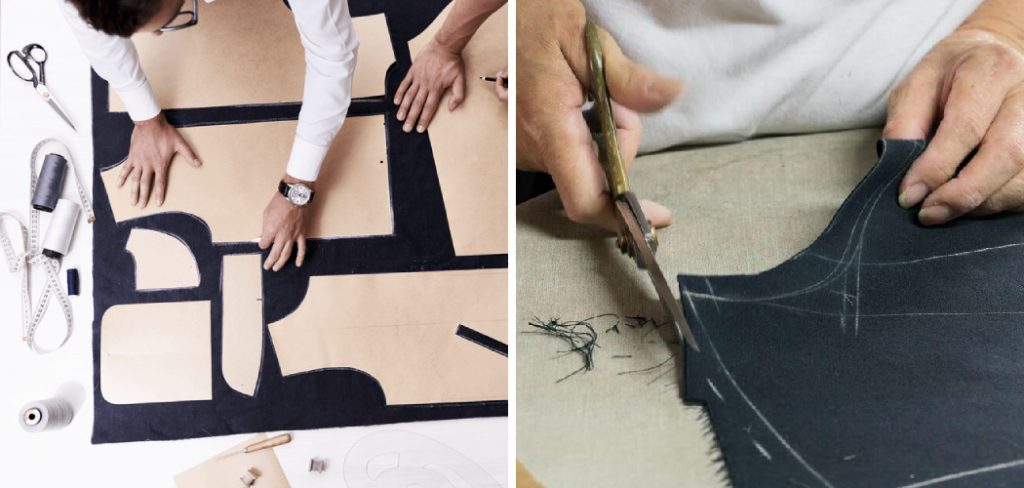
Step 1. Draw the Shape:
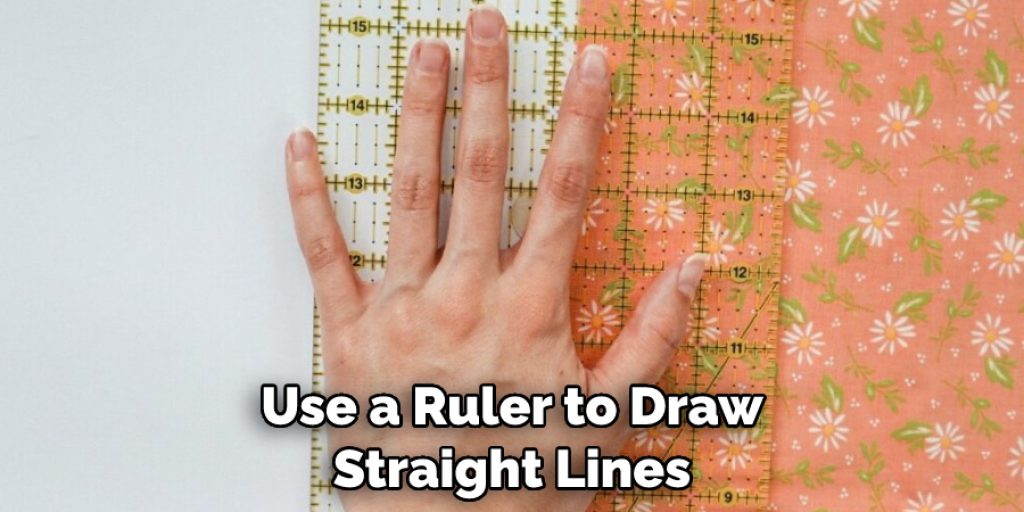
Start by drawing the desired shape of your fabric pattern onto a piece of paper. Make sure the size and dimensions are exact, as this will be used to create the blocks that make up the design or pattern. Use a ruler to draw straight lines and sharp corners to make perfect squares.
Step 2. Cut the Pieces:
Carefully cut out the shape from paper using scissors or a rotary cutter. Once you have your template ready, trace it onto the back of your fabric, then cut out all the pieces that will make up the design. If you are working with multiple colors, cut out more than one piece of each shape.
Step 3. Place and Pin:
Place the fabric pieces on a flat surface in the desired order and position. Use pins or marking tools to keep them all in place while sewing. Try to keep the edges of the fabric even and straight so that they line up perfectly when sewn together.
Step 4. Sew Pieces Together:
Before you start stitching, make sure all the fabrics are evenly placed. Then, use a sewing machine or hand sew each piece together with a running stitch along the marked lines. Make sure to leave a small gap between the edges of the fabrics, as this will help create a larger seam allowance.
Step 5. Press Seams:
Once all the pieces are sewn together, use an iron and ironing board to press the seams flat and open. This will give your fabric pattern a professional finish and make it easier to sew. Additionally, pressing the seams will help to reduce puckering and bunching.
Step 6. Trim Seams:
Trim any excess fabric from the seams with scissors or a rotary cutter. Doing so will reduce bulk and give a more clean finish. Be careful not to cut too close to the stitches, as this could loosen or unravel them.
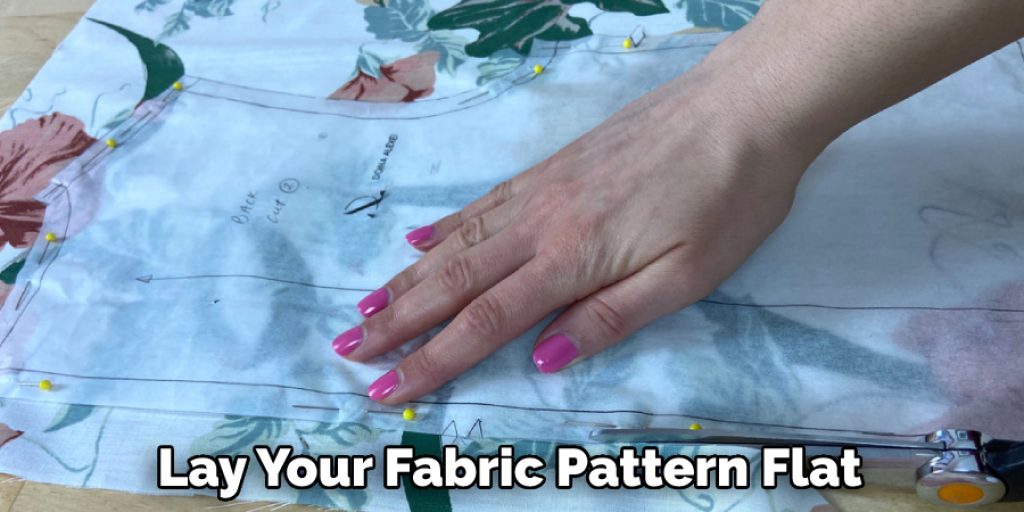
Step 7. Lay Flat and Secure:
After trimming the edges, lay your fabric pattern flat on a clean surface and secure it with pins or clips. Ensure all the seams are properly aligned before proceeding with the next step. You can also use a fabric marker to trace the outline of your pattern onto the fabric.
Step 8. Baste Seams:
Baste all the seams together using a hand sewing needle and thread. This will help keep your fabric pattern in place while sewing by machine. Start from one corner and work your way around until you have basted all the seams together.
Step 9. Sew by Machine:
Using a sewing machine, sew along the basted lines to combine all the pieces. Make sure to backstitch at the beginning and end of each seam for extra security. Be careful not to stretch the fabric while sewing, as this could cause the seams to pucker and create an uneven finish.
Step 10. Finish Seams:
Once all the seams are sewn, finish them off with an overcast stitch or a zig-zag stitch for added durability. Then, press the seams open using an iron and ironing board once again before moving on to your next project! Remember to follow the washing instructions for your fabric so that your patterns stay looking good for a long time.
And there you have it! You just learned how to make fabric patterns with your own two hands! So why not get creative and start crafting something unique today?
5 Additional Tips and Tricks
- To ensure the best results, use a thread that matches the fabric color.
- Use interfacing for more structure and stability when sewing thicker fabrics.
- Using a color wheel to create interesting combinations when working with multiple colors.
- To keep fabrics from slipping while sewing, spray them lightly with spray starch or basting glue.
- use a craft knife or rotary cutter instead of scissors for more precise cutting.
With these tips and tricks, you’ll be able to make beautiful fabric patterns in no time! Have fun and happy crafting!
5 Things You Should Avoid
- Don’t forget to pre-wash your fabrics before cutting and sewing. This will help prevent shrinkage and color fading.
- Avoid using pins that are too big, as this can create holes in the fabric.
- Don’t stretch fabric while sewing, as this may cause puckering or uneven seams.
- Avoid using polyester thread for lightweight fabrics, as it can cause the seams to be bulky or wavy when pressed open.
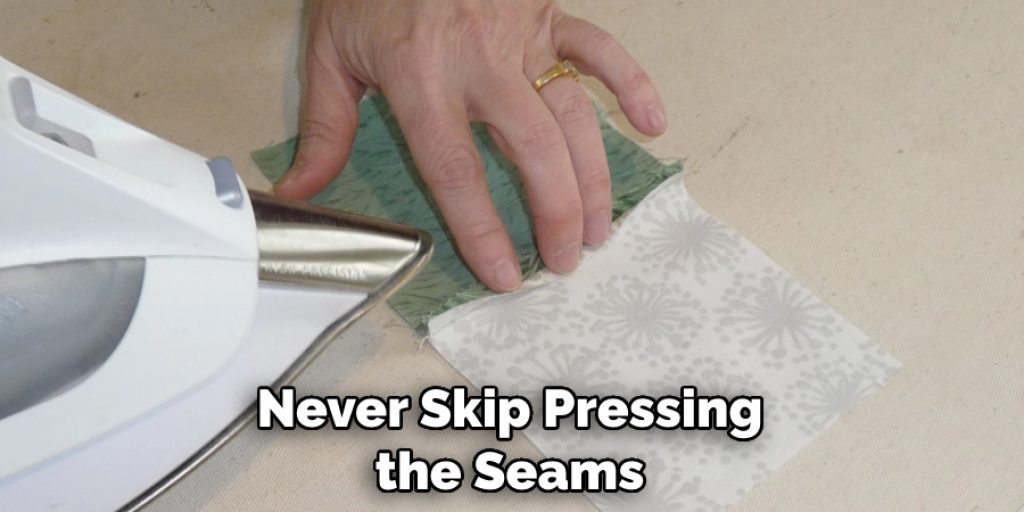
- Never skip pressing the seams after each step of the process; this will ensure a professional finish and reduce puckering or bunching of the fabric patterns.
Avoiding these mistakes will help you make beautiful fabric patterns that you can be proud of! Happy Crafting!
What Are the 3 Methods of Pattern Making?
1. Drafting: In drafting, you use a set of tools to draw outlines of the pattern pieces on paper or fabric. This is the most popular method for beginners as it allows them to make adjustments and changes easily without having to start from scratch every time.
2. Draping: In draping, you use muslin fabric and fit it over a dress form in order to create the pattern piece’s shape. This method is great for creating unique and complex designs that can’t be achieved with drafting alone.
3. Grading: In grading, you adjust existing patterns by adding length or width measurements in order to create different sizes for larger scales of production. Large clothing companies often use this method to mass-produce patterns in different sizes.
Using these three methods, you can create a wide variety of pattern pieces for any project! Have fun and happy crafting!
What Fabric Should You Use?
The type of fabric you choose to use depends on the project. Generally, lightweight and mid-weight fabrics are best for making clothing patterns. Cotton, linen, silk, rayon, and polyester are popular clothing choices like dresses and shirts.
Consider using heavier fabrics such as canvas or denim for more structured projects such as bags or home decor items. Consider the intended purpose of your pattern when selecting a piece of fabric in order to achieve the best results!

Additionally, be sure to read the care instructions on the fabric before you begin your project. This will ensure that your pattern pieces remain to look great for years to come!
Conclusion
In conclusion, creating fabric patterns can be an enjoyable hobby or a professional business. With a few simple steps and materials, anyone can make beautiful designs to be used in their home décor or for their own handmade craft item. The possibilities are endless when it comes to making fabric patterns, and the challenge of taking something ordinary to extraordinary is endlessly rewarding.
Whether you’re a beginner who has never sewn before or a professional sewist, fabric patterns offer countless ways to use your creativity and design something unique that you can call your own. Have fun adding some great colors and shapes into your crafting world – you just might surprise yourself with what you make!
Hopefully, the article on how to make fabric patterns has offered you some useful tips and tricks. With just a few simple steps, you’ll be able to make beautiful fabric patterns in no time! So don’t hesitate – get started today and see how amazing fabric patterns can be!
Nancy Behan
Nancy is an embroidery artist, fashion blogger and a full time editor at DIY quickly. Nancy edits the fashion section on DIY quickly, focusing on the embroidery and cross stitch articles, alongside with fabric and other costume design elements. She graduated from the University of Michigan with a Bachelor of Arts in Art History. She loves to work on her own projects, read books and watch romantic movies in her spare time.


