
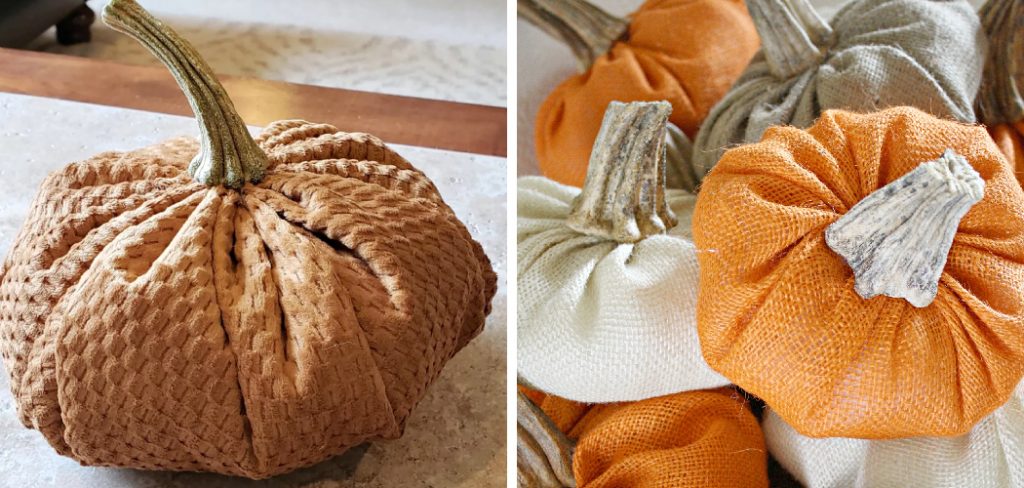
How to Make Fabric Pumpkins with Real Stems
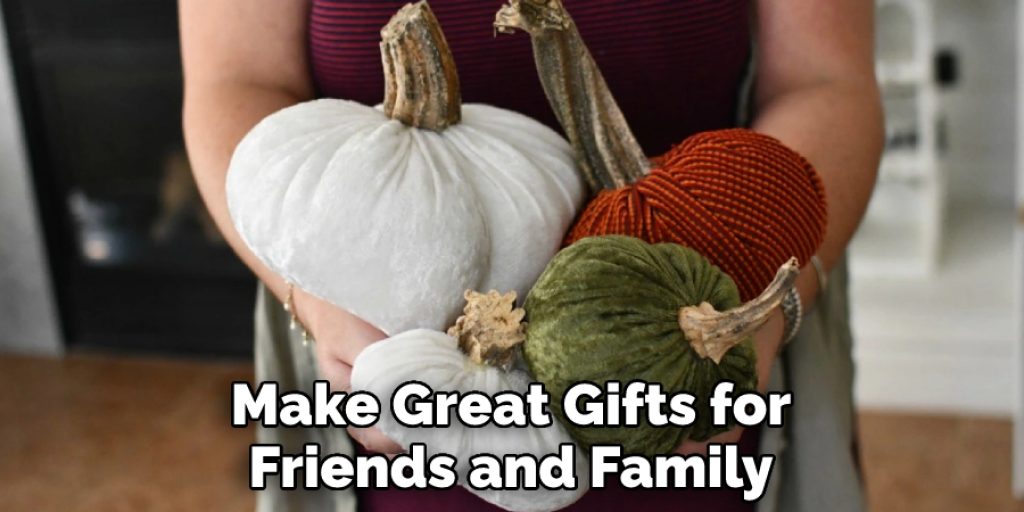
If you’re looking for a fun and easy DIY project this fall, look no further than this tutorial on how to make fabric pumpkins with real stems! These cute little pumpkins are perfect for decorating your home for the autumn season, and they make great gifts for friends and family too.
Best of all, they’re incredibly simple to make – all you need is some fabric, stuffing, and a few craft supplies. Read on for step-by-step instructions on how to create your own fabric pumpkins.
Can You Make Fabric Pumpkins with Real Stems?
Fabric pumpkins are a popular craft project, and they can be made with or without real stems. If you choose to add a stem to your pumpkin, it’s important to use a stem that is strong enough to support the weight of the fabric. For example, a twig from a real pumpkin would be too fragile and would snap easily.
A better option would be to use a dowel rod or something similar. Once you have your materials, you’ll need to cut a circular opening in the bottom of the pumpkin and insert the stem.
Secure it in place with hot glue, and then you’re ready to start stitching up the fabric. When you’re finished, you’ll have a cute fabric pumpkin that will last for years to come.
Why Should You Make Fabric Pumpkins with Real Stems?
Fall is the perfect time to add some cozy, warm touches to your decor. One way to do this is to make fabric pumpkins with real stems. Real stems add a touch of realism to your pumpkins, and they also give them a rustic look.
Moreover, using real stems helps to support the pumpkin so that it keeps its shape. Additionally, real stems can be used to create different heights for your fabric pumpkins, adding interest and dimension to your display. Finally, real stems can also be used as a natural way to secure the pumpkin in place.
So, if you are looking for a way to add some warmth and charm to your home this fall, consider making fabric pumpkins with real stems.
What You’ll Need
- Fabric (one fat quarter is enough for one small pumpkin)
- Stuffing (you can use a polyester filling or old clothes/towels)
- Scissors
- Needle and thread or a sewing machine
- A real pumpkin stem (optional)
- Hot glue gun (optional)
7 Steps to Follow on How to Make Fabric Pumpkins with Real Stems
Step 1. Choose the Right Fabric.
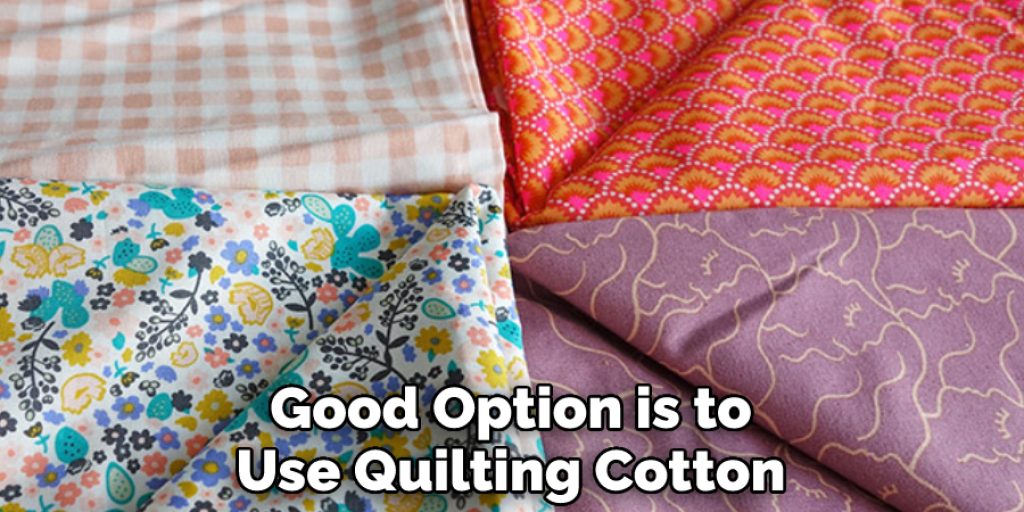
The first step in making fabric pumpkins is to choose the right fabric. You want to choose a fabric that is sturdy enough to hold its shape but also soft enough to be comfortable to the touch. A good option is to use quilting cotton or linen.
Step 2. Cut out Your Pumpkin Templates.
Once you have chosen your fabric, you will need to cut out two pumpkin templates. One template should be about 6 inches wide, and the other should be about 4 inches wide.
Step 3. Sew the Two Pumpkin Templates Together.
After you have cut out your pumpkin templates, it is time to sew them together. First, place the two templates’ wrong sides together and sew around the edges, leaving a small opening for turning.
Step 4. Turn Your Pumpkin Right Side out And Stuff it with Polyfill.
Once you have sewn your two pumpkin templates together, it is time to turn your pumpkin right side out and stuff it with polyfill. Use a chopstick or other sharp object to help push the corners of your pumpkin out. Then, stuff your pumpkin with polyfill until it is as plump as you would like it to be.
Step 5. Sew the Opening of Your Pumpkin Closed.
Once you have stuffed your pumpkin with polyfill, it is time to sew the opening closed. Use a needle, thread, or sewing machine to shut the opening. Be sure to backstitch at the seam’s beginning and end to ensure it is secure.
Step 6. Attach Your Stem.
The next step is to attach your stem. You can use a real stem or create one from wire wrapped in green floral tape. If using a real stem, insert it into the top of your pumpkin and secure it with hot glue or sewing stitches.
If creating a wire stem, make a coil from 20-gauge green floral wire and wrap it in green floral tape until it resembles a stem. Insert the stem into the top of your pumpkin and secure it with hot glue or sewing stitches.
Step 7. Enjoy Your Fabric Pumpkin.
Once you have finished attaching the stem, your fabric pumpkin is ready to display! Place it in a bowl or on its own, and enjoy the cozy fall decorations. You can make all kinds of sizes and shapes using different fabrics, stems, and stuffing materials. The possibilities are endless!

That’s it! You’ve now learned how to make fabric pumpkins with real stems. So get creative and have fun crafting your own cozy fall decorations! Happy crafting!
Things You Need to Know Before Making Fabric Pumpkins with Real Stems
Making fabric pumpkins is a great way to add a touch of autumnal decor to your home without dealing with the mess of real pumpkin guts. However, there are a few things you need to know before getting started.
First, choose a sturdy fabric to hold its shape but not too stiff. Second, cut your fabric pieces slightly larger than you want the finished pumpkin to be. This will give you some wiggle room to work with when you are stitching everything together.
Finally, use a strong thread so that your stitches will hold up over time. With these tips in mind, you’ll be sure to create beautiful and long-lasting fabric pumpkins that will bring a bit of fall cheer to your home for years to come.
5 Benefits of Making Fabric Pumpkins with Real Stems
1. They Last Longer
Fabric pumpkins made with real stems will last much longer than those made with fake stems. This is because the real stems are stronger and more durable, so that they won’t break as easily. Additionally, the fabric pumpkins won’t absorb water from the stems, so they won’t become waterlogged and start to rot.
2. They Look More Realistic
Fabric pumpkins made with real stems also look more realistic than those made with fake stems. This is because the real stems add texture and dimension to the pumpkins, making them look more like actual pumpkins.
3. You Can Use Them Year After Year
Another great benefit of fabric pumpkins made with real stems is that you can use them year after year. Unlike fake stems, which can break easily and end up in landfill, real stems can be reused repeatedly. This makes fabric pumpkins made with real stems a more sustainable option.
4. They’re Easy to Make
Despite their realistic appearance, fabric pumpkins made with real stems are quite easy to use. All you need is some fabric, stuffing, and a hot glue gun. Once you have all of your materials, simply follow the instructions in this tutorial, and you’ll have a beautiful pumpkin in no time!
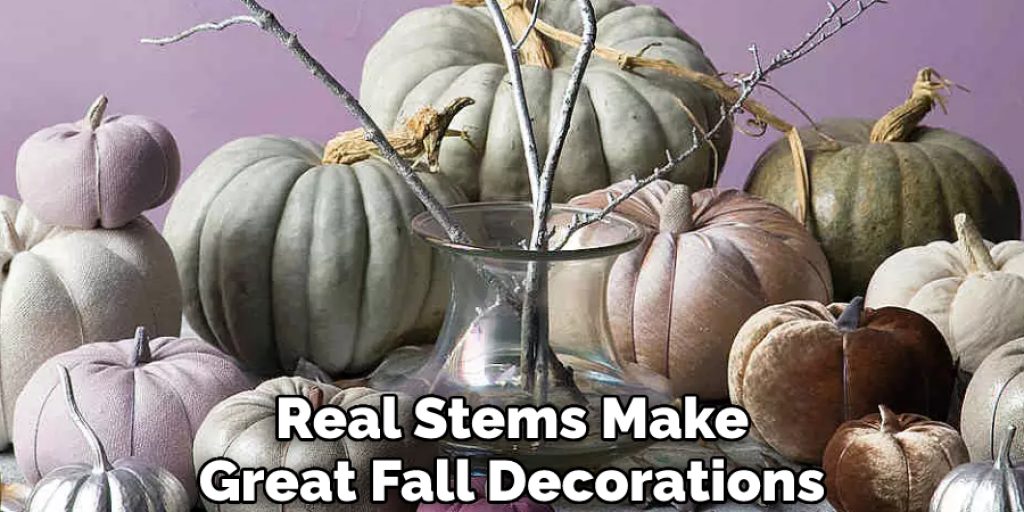
5. They Make Great Fall Decorations
Lastly, fabric pumpkins made with real stems make great fall decorations. They’re perfect for adding a touch of autumnal flair to your home and make great gifts for friends and family members.
Some Common Mistakes People Make When Trying to Make Fabric Pumpkins with Real Stems
Fall is in the air, and that can only mean one thing: it’s time to break out the fabric pumpkins! These festive decorations are a great way to add a touch of autumn to your home, but they can also be tricky to make. Here are some common mistakes people make when trying to create fabric pumpkins with real stems:
1. Not using the right type of pumpkin. When it comes to fabric pumpkins, not all pumpkins are created equal. Choose a small and round pumpkin with smooth, evenly-sized sides for the best results. Avoid large and misshapen Pumpkins, as they will be more difficult to work with.
2. Not cutting the stem correctly. The key to a successful fabric pumpkin is a well-cut stem. Start by cutting a circular opening at the top of the pumpkin, then use a sharp knife to make a slit down the center of the stem. Next, use your fingers to pull the two halves of the stem apart gently. Finally, use a paring knife to trim away any excess stem material.
3. Not securing the stem properly. Once you’ve cut and primed the stem, it’s time to secure it in place. The easiest way to do this is with hot glue, but you can also use sewing pins or tape. Just be sure to position the stem to point straight up and not at an angle.
4. Not using enough stuffing. One of the most common mistakes people make when making fabric pumpkins is not using enough stuffing. This will result in pumpkins that are flat and sad-looking. To avoid this problem, stuff your pumpkin generously with batting or fiberfill until it is nice and plump.
5. Not picking the right fabric. When it comes to choosing fabric for your pumpkin, there are endless possibilities. But stick with lightweight fabrics such as cotton or muslin for best results. Avoid heavier fabrics like wool or denim, as they will be more difficult to work with and could end up weighing down your pumpkin.
By following these simple tips, you’ll be on your way to creating beautiful fabric pumpkins that will add a touch of fall cheer to your home for years to come!
Conclusion
Now that you have learned how to make fabric pumpkins with real stems, you can start crafting your own beautiful autumn decorations in no time. Not only are these pumpkins a great way to decorate for the season, but they also make great gifts for friends and family.
With just a few simple supplies and some creative thinking, you can create some truly stunning fabric pumpkins that will add a cozy, seasonal touch to your home. So have fun with your pumpkin-making creations!
Nancy Behan
Nancy is an embroidery artist, fashion blogger and a full time editor at DIY quickly. Nancy edits the fashion section on DIY quickly, focusing on the embroidery and cross stitch articles, alongside with fabric and other costume design elements. She graduated from the University of Michigan with a Bachelor of Arts in Art History. She loves to work on her own projects, read books and watch romantic movies in her spare time.


