
How to Make Fabric Stiffener
Do you have a fabric or textile creation that could use some added stiffness? Crafting with fabrics and textiles is fun and rewarding, but sometimes you need to add extra body and stability to your project. Whether you want something for cosplay, an imagined costume design, or a simple home decor piece, using fabric stiffener is the perfect way to make sure your creations stay put.
In this blog post on how to make fabric stiffener we’ll discuss exactly what fabric stiffener is as well as how to make it at home so that you can get the look and feel just right every time– no matter which type of craft project you’re tackling! Keep reading on for more information about how easy making your own fabric stiffener really can be.
Step-by-step Guidelines on How to Make Fabric Stiffener
Step 1: Gather the Ingredients
To make your own fabric stiffener, you’ll need one cup of white glue, one tablespoon of white vinegar, and one cup of cold water. This should be enough to stiffen approximately one yard of fabric. This stiffener is ideally suited for lightweight fabrics such as cotton, silk, and polyester. It should not be used on heavier fabrics such as velvet, denim or wool. This is because they need more stiffness than the glue solution can provide.
Step 2: Mix the Ingredients
In a bowl, combine the glue, vinegar and water. Whisk the ingredients together until they form a smooth liquid. If there are any lumps, use a spoon or spatula to break them up. But make sure the mixture is completely blended before you move on to the next step. This will help ensure that your fabric stiffener is evenly applied to the fabric.
Step 3: Heat the Mixture
Transfer the mixture to a saucepan and heat it over medium-low heat. Stir constantly, using a wooden spoon or rubber spatula, until the mixture thickens and becomes sticky (about 5 minutes). This will help the fabric stiffener adhere to the fabric better and ensure it stays in place. If you want, you can add a few drops of essential oil to the mixture for an additional scent.
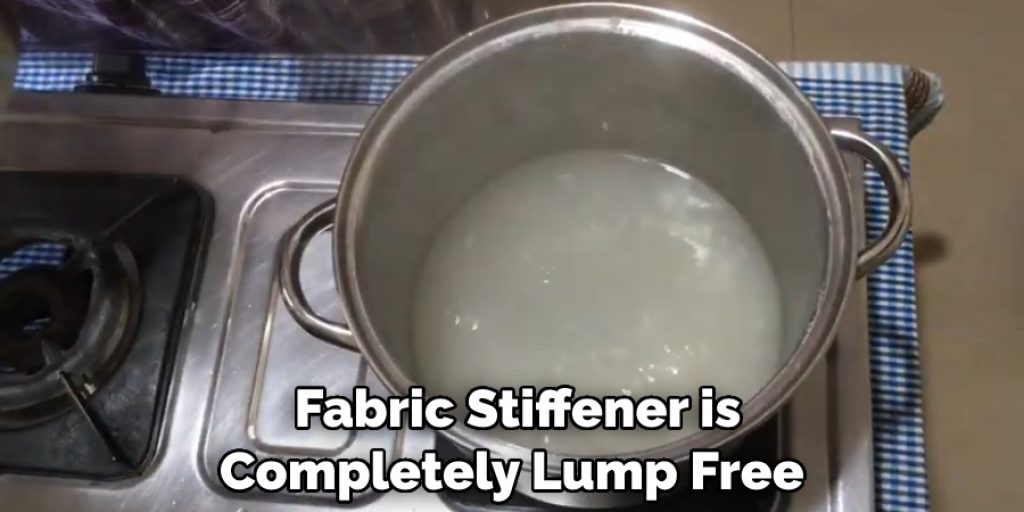
Step 4: Strain the Mixture
Once the mixture has thickened, strain it through a fine mesh sieve into a bowl. This will remove any lumps that may have formed during heating. It is important to make sure the strained fabric stiffener is completely lump-free before you use it. But don’t throw away the lumps; you can add them back into the fabric stiffener when you’re ready to use it.
Step 5: Cool the Mixture
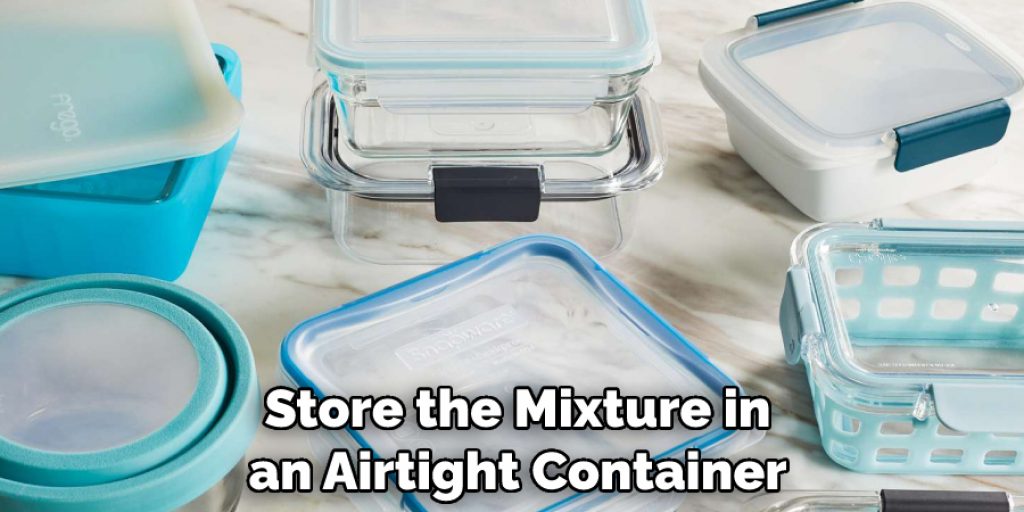
Let the mixture cool for at least 15 minutes before use. You can also transfer the cooled mixture to an airtight container and store it in the refrigerator for future use. It should keep for up to one month. You’ll need to give the mixture a good stir before using it. Otherwise, it may not stiffen the fabric evenly.
Step 6: Prepare Your Fabric
Before using your fabric stiffener, make sure your fabric is clean and dry. Press out any wrinkles or creases with an iron set to a low heat setting. If the fabric is delicate, you may want to use a pressing cloth. This will help to avoid burning or discoloring the fabric. It’s also important to make sure that all edges are trimmed neatly. This will help the fabric stiffener adhere better and prevent it from fraying
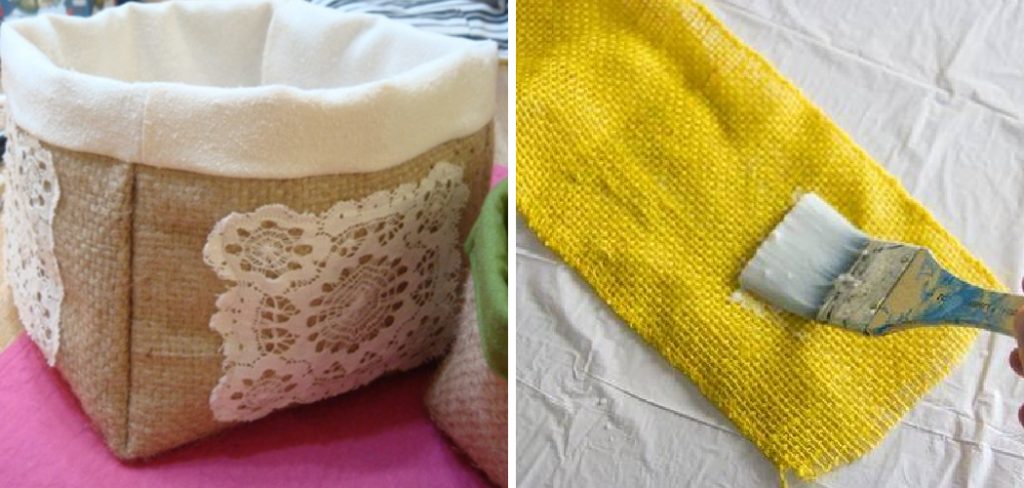
Step 7: Apply the Fabric Stiffener
Dip your fabric into the cooled stiffener mixture, making sure that all areas of the fabric are evenly coated. You can also use a brush to apply the mixture to specific areas if desired. If you’re working with a large piece of fabric, use a wooden spoon to help spread the mixture. Let the fabric dry for at least four hours.

Step 8: Hang Your Fabric
Hang your fabric over a clothesline or other drying apparatus so that it’s not touching anything else and allow it to drip-dry for at least one hour. It’s important to make sure the fabric is completely dry before you move on to the next step. But be careful not to let the fabric dry for too long; otherwise, it may become brittle and crack.
Step 9: Rinse Your Fabric
Once your fabric is dry, rinse it in cold water until all traces of the glue mixture have been removed. This will help to ensure that your fabric is flexible and pliable. Then, lay it out on a towel to dry. You can also press the fabric with an iron set to a low heat setting. This will help remove any wrinkles and give it a neat, finished look.
Step 10: Hang Your Fabric to Dry Again
Hang your fabric back up and allow it to air-dry completely before moving on to the next step. But make sure that it’s not touching anything else during this process. This will help to ensure that your fabric stiffener remains evenly distributed and doesn’t leave any streaks. It should take about one to two hours for the fabric to be fully dry.
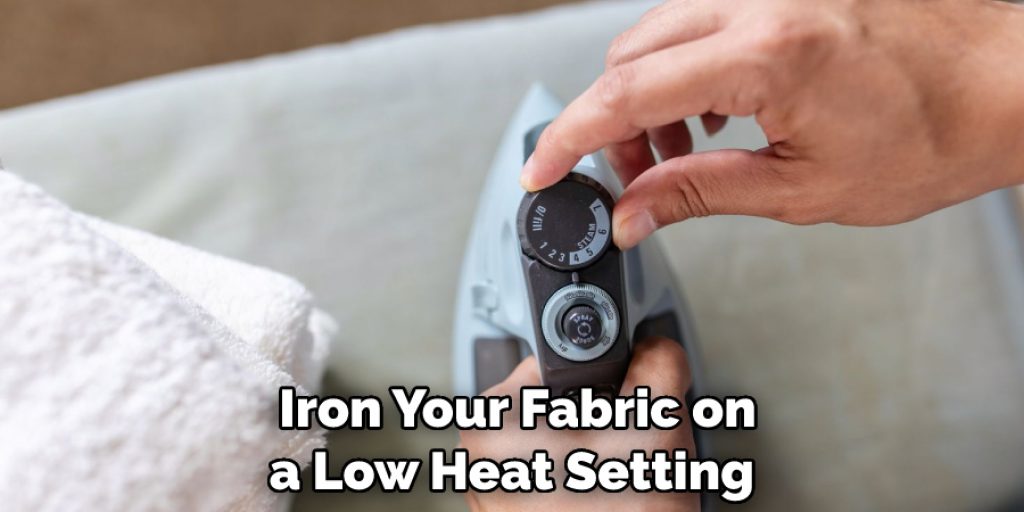
Step 11: Iron Your Fabric
Iron your fabric on a low heat setting until it is completely dry. This will help ensure that your stiffener has taken effect and that all of the glue mixtures are gone. Always use a pressing cloth to prevent any burning or discoloring of the fabric. However, if your fabric is particularly delicate, you may want to avoid ironing it altogether. It’s best to let it air-dry completely.
Making your own fabric stiffener is a great way to add extra body and structure to any project without having to invest in expensive materials or tools. All you need are a few simple ingredients and you’ll be on your way to creating something truly unique! Have fun creating!
We hope this blog post has been informative and useful in helping you learn how to make fabric stiffeners. With these easy steps, you’ll be able to confidently create projects that have the perfect amount of stiffness every time! So don’t be afraid to experiment with different fabrics, colors, textures, and more– just remember, if it needs a little bit of added stiffness, make your own fabric stiffener! Good luck and happy crafting!
Do You Need to Use Professionals?
No, fabric stiffener can easily be made from simple ingredients found in your home. You don’t need to hire professionals or invest in expensive tools or materials. All you need is a bit of time and effort to make your own fabric stiffener that will last. So don’t hesitate to give it a try! You might be surprised at what you can create. Best of luck!
Frequently Asked Questions
Q: How Long Does Fabric Stiffener Last?
A: Your fabric stiffener should last for up to several weeks. Since you are making it yourself, you can always make smaller batches that will expire sooner if needed. However, it is important to store the mixture in an airtight container in the refrigerator when not using it so as to prevent spoilage.
Q: How Do I Know When My Fabric Is Ready?
A: You’ll know that your fabric is ready when it has reached the desired stiffness and there are no traces of the stiffener mixture left behind. To check, take a small piece of the fabric and try to bend or twist it—if it remains rigid then you can consider it finished.
Q: Can Fabric Stiffener Be Used on Other Fabrics?
A: Yes, fabric stiffener can be used on other fabrics such as cotton, linen, silk, and wool. However, keep in mind that each type of fabric may require different amounts of time for drying and may need to be treated differently when applying the stiffener. Be sure to research the best methods for treating each type of fabric before proceeding with your project.
Q: Is Fabric Stiffener Harmful?
A: No, when used correctly fabric stiffener is not harmful as it’s made from ingredients that are safe and non-toxic. However, be sure to always wear gloves and a face mask when making and applying the mixture just in case of any skin or respiratory irritation. It’s better to be safe than sorry!
Conclusion
Creating fabric stiffener at home is not only an economical alternative compared to storefront purchases, but it is also a fun and creative way to explore alternative textile options. You are now equipped with the essential knowledge of working with fabric stiffeners. Since you can customize the solution’s smell and color, it also makes for a great craft project; not just a tool to create beautiful crafts, but also an opportunity to discover something new about yourself!
With this newfound knowledge on how to make fabric stiffener, have fun! Let your creativity soar and see where it takes you. Don’t forget to share your finished project with us or tag us on social media – we would love to admire your work!


