How to Make Fake Water With Clear Glue
Whether you have a DIY project or you want to make something interesting to attract your guests, fake water can play a significant role. Yes, if you want, you can surely use real water, but that can ruin the mobility. With real water, you won’t be able to move your project from one place to another. Also, it is quite risky and difficult to handle. However, if you use fake water, you can easily move your project from one place to another without any trouble.
In some cases, your project’s material may also not allow you to use real water. But that doesn’t mean you can’t use its illusion. You simply use your regular glue to create an illusion of water and accomplish your project with a breeze. Wanna learn how to do that? In this article, I am going to show you how to make fake water with clear glue.
Some people struggle to make this water illusion on their projects. It is because they don’t have all the needed products around them, and that creates a great hassle. Maybe you are also one of them and looking for the simplest way. So, here is the simplest trick of all time that you can use to create a water illusion on your products. All you need to do is to buy the best quality paper for it.
Well, you are welcome here because I have chosen to show you the simplest technique for this project. All you need is PVA glue and color; there is nothing special. Sounds great, right? So, let’s get started. First, you need to get everything you need together.
What is PVA glue?
PVA glue is a type of adhesive that stands for polyvinyl acetate. It is known for its strong bonding properties and versatility in various crafts and DIY projects. You can easily find it in any craft store or even at your local stationery shop. Its clear consistency and transparent drying make it perfect for creating fake water with clear glue.
Once you have your PVA glue, the next step is to choose a color for your fake water. You can use any type of liquid or powder color that will give you the desired effect. Common options include blue, green, and turquoise colors for creating a realistic water illusion.
Needed Materials:
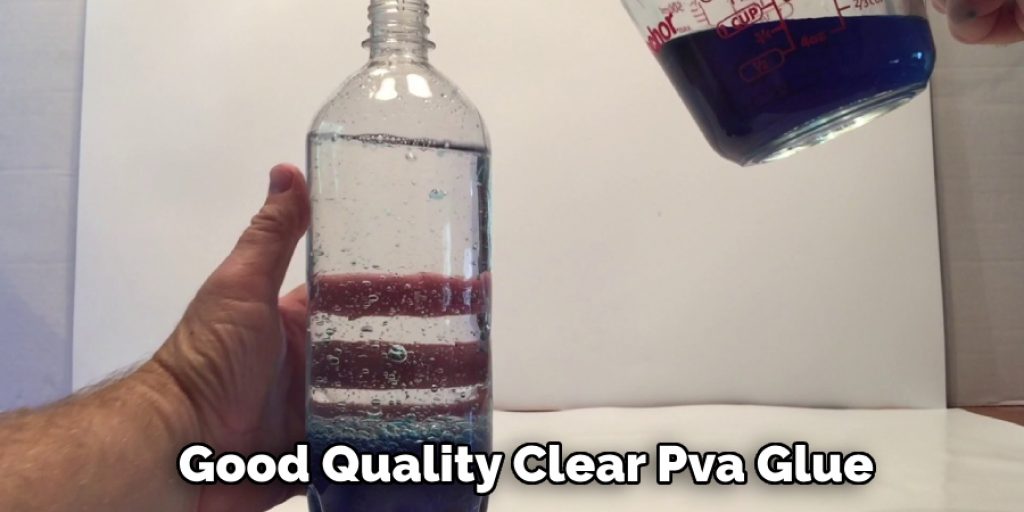
PVA Glue (Clear):
Make sure to buy a good quality clear PVA glue from a trusted brand. You can also buy it online or at your local craft store.
Color:
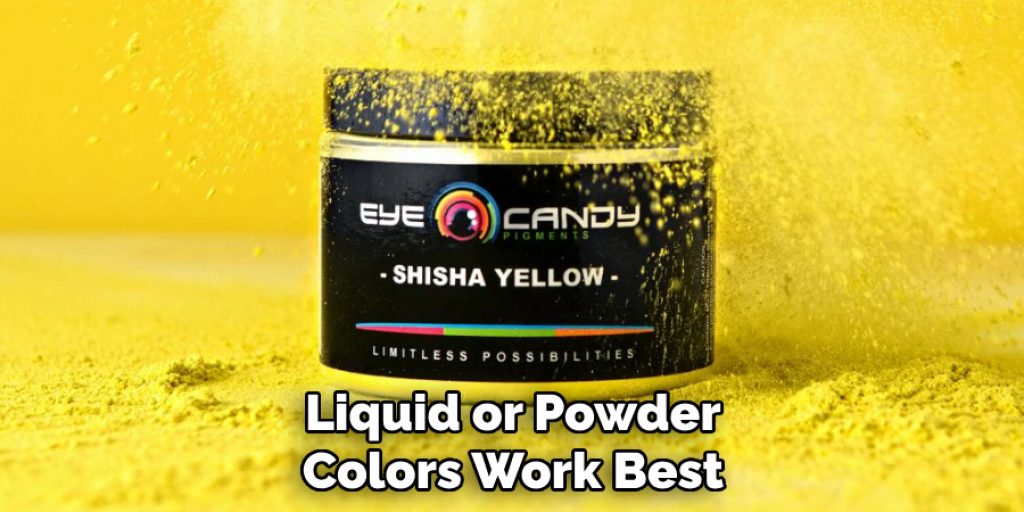
Choose a color that will give you the desired effect for your fake water. Liquid or powder colors work best for this project.
Container:
You will need a container to pour and create the fake water in. Make sure to choose a container that is suitable for your project and has enough space for the fake water.
Stirrer:
You will need a stirrer or something similar to mix the PVA glue and color together. A small wooden stick or plastic spoon can work well for this purpose.
Craft Knife:
A craft knife can come in handy when creating intricate designs or removing the fake water from your project.

10 Steps on How to Make Fake Water With Clear Glue
Step 1: Paint
The first thing you have to do is paint the section where you want to show the water illusion. For my project, I have created a black section where I would like to show some water in AC-colored water because it is SC.
So, for that, I have chosen Tamiya Dark green. This color is saying it to be C green, but this actually slightly inland, so I had to pay a little more concentration while applying in the sea area. There are several types of expensive paints out there. It is mostly used on small-scale models and they are of good quality. I will be using it in medium scale.
You can easily choose one from there to acquire your desired color. You can craft your project with anything you like, really. But as I have said before, I am going to accomplish the process in an expensive way and with readily available products, so I am going to use the Tamiya Dark Green paint. Painting Show All Items The process is pretty easy, you just have to cover your print with the paint. But of course I am going to show you some tips.
However, you have to start coloring the river or sea area and make sure that it looks nice and even. In order to end up on the edges, I recommend that you use a thin brush. Once you apply the first coat, let the color dry properly. After that, apply the second coat with the brushstrokes in a different direction so that you can get better coverage. It won’t be a matter if it looks a bit uneven because, in the end, these brushstrokes will hide.
Step 2: Applying the PVA
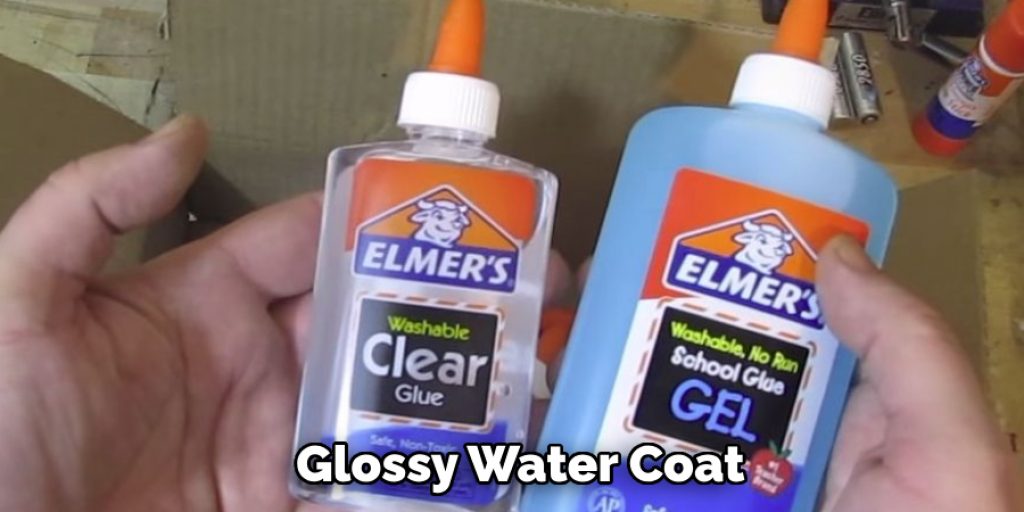
Now, it is time to add some glossy water coat to it, and for this, I am going to use PVA. It does level itself quite a bit. For applying the PVA, you are gonna need a fan brush. So, take out the fan brush and put it into PVA glue and start applying a thick layer on the river or sea area of your project.
The thick layer will not only help you to create the illusion properly; it will also help you to fill the gap (if any). My project does have a gap along the wall, so I am pushing the glue inside to fill the gaps. If you don’t have any gaps, then you can ignore this process.
The PVA glue may look milky when you are applying once it dries up, it will provide you with a clear water-like texture. I was required to do three coats to acquire my desired look on the surface. Even after applying it properly, some lines will still be visible. But don’t worry; you will be able to hide them by putting some ripples on them.
You may check the following products to make your fake water:
Step 3: Ripple
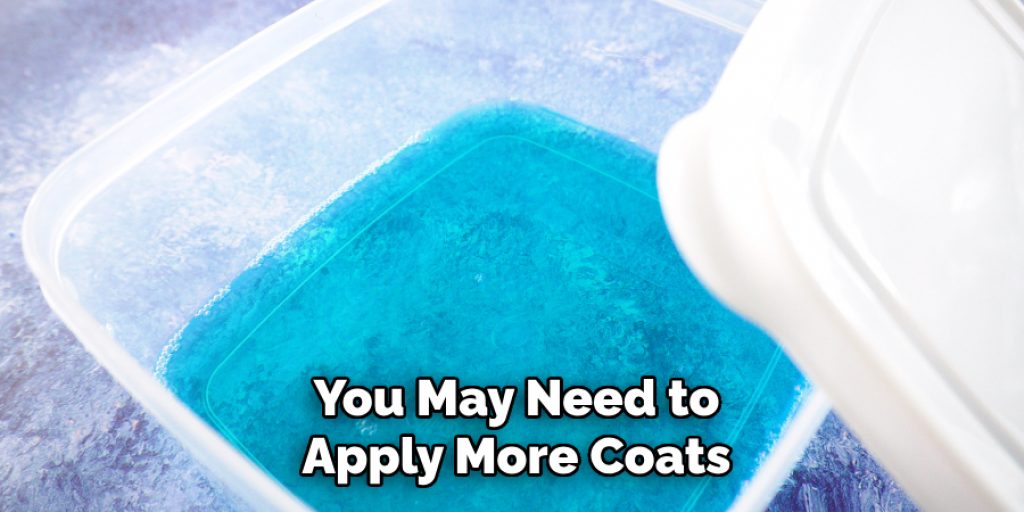
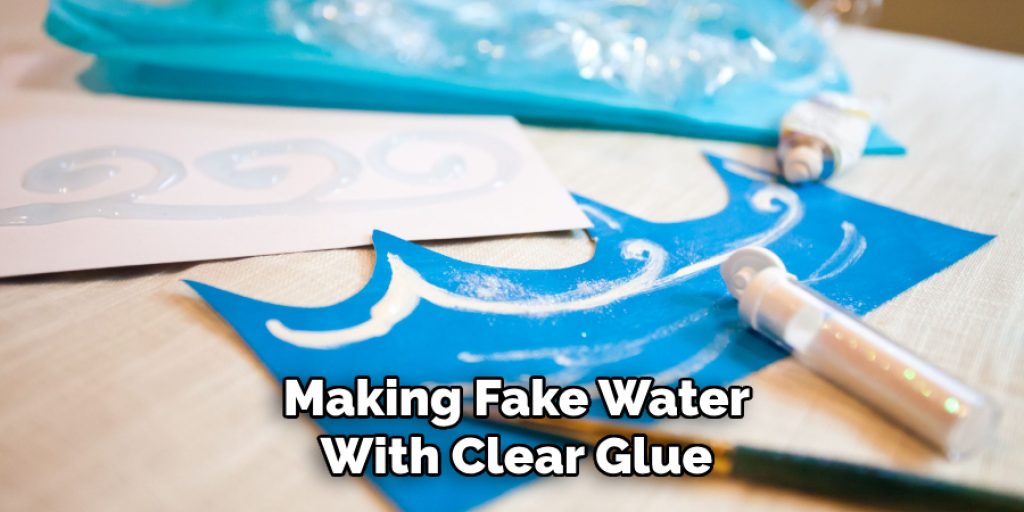
In this step, I am going to use a thicker white glue. It is a PVA white glue, but it is formulated to be tackier. You can get it from all sorts of places. Applying the ripples is really simple. First, you have to decide from where the wind will be blown and put the ripples in that way. Make sure that the ripples don’t blob, and for that, I recommend you use a little amount of it. You can also use a toothpick to spread the ripples more evenly. Once you complete the process, your fake water illusion will be ready. You may need to apply more coats, so apply that if needed.
Step 4: Adding Color
Now, it is time to add some color to your fake water. You can use any type of food coloring or acrylic paint for this purpose. But make sure the color you choose matches the original source and looks realistic. Simply mix the color with water in a separate container, and then carefully pour it onto your fake water surface. Use a small brush to spread the color evenly and create a gradient effect if desired.
Step 5: Finishing Touches
Once your fake water is dry, you can add any finishing touches to enhance the realism. This could be adding small details like rocks or sand at the bottom of the water or even some floating items like leaves or flowers. You can also use clear nail polish to give your fake water a shiny and wet look or use a matte finish spray to give it a more natural appearance. Get creative and make your fake water look as realistic as possible!
Step 6: Using Different Types of Glue
If PVA glue is not available to you, don’t worry! You can also use other types of clear glue such as Elmer’s Clear Glue or Aleene’s Clear Gel Tacky Glue. Just make sure to test it out first on a small area before using it on your project. You can also mix different types of clear glue together to get a texture and consistency that works best for you. It’s all about experimenting and finding what works best for your project. It’s also important to note that different types of glue may have different drying times, so make sure to read the instructions and leave enough time for your fake water to dry completely.
Step 7: Experiment with Different Colors
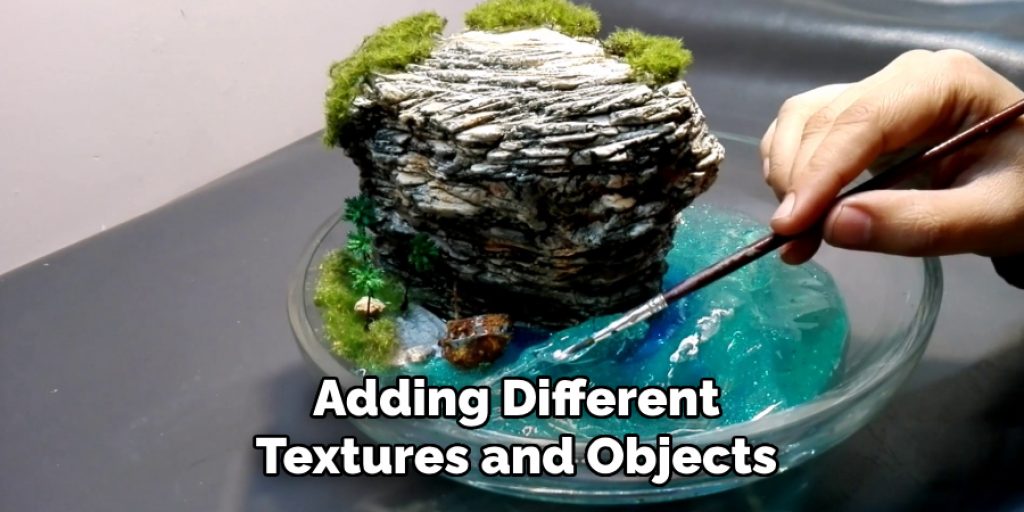
Don’t limit yourself to just one color for your fake water. Play around with different shades and tones to create a more dynamic and realistic look. You can also mix colors together to create a unique color for your fake water. Remember to always test it out first on a small area before committing to the entire surface. You can also add multiple layers of color for a more realistic depth. Just make sure to let each layer dry completely before adding the next. You can also experiment with adding different textures and objects to your fake water, such as glitter or small beads, to simulate bubbles or fish.
Step 8: Adding Textures
If you want to make your fake water surface look more interesting, you can add some textures using items like sand, glitter, or even small pebbles. Simply sprinkle them on the wet glue and let it dry before adding any color. This will give your fake water a more realistic look and add depth to the surface. You can also use different types of textures for different areas, such as fine sand for the shoreline and larger pebbles for the deeper areas of the water.
Step 9: Making Waves
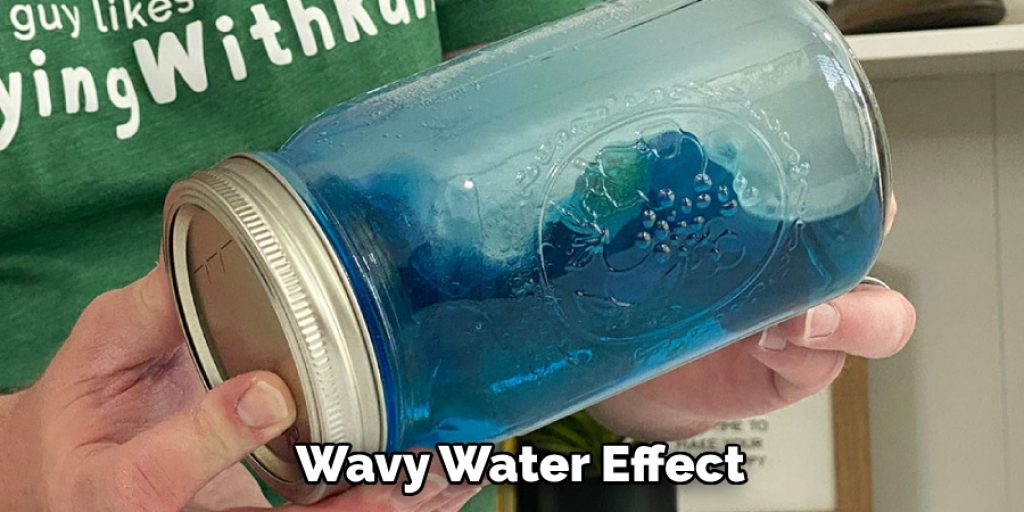
If you want to create a stormy or wavy water effect, you can use a toothpick to gently push and drag the wet glue in different directions. This will create a realistic wave pattern and add more dimension to your fake water surface. It may take some practice to get the desired effect, so be patient and keep experimenting until you achieve the look you want. You can also use a hairdryer on a low setting to gently blow the wet glue in different directions for a more natural-looking wave effect.
Step 10: Using Resin
For an even more realistic look, you can use resin instead of clear glue. Resin is a type of epoxy that hardens into a clear, glossy surface, making it perfect for creating deep and realistic-looking water scenes. However, using resin can be more challenging and requires careful measurements and mixing, so make sure to follow the instructions carefully. You may also need to use a heat gun or torch to remove any bubbles that may form while the resin is drying. Be patient and take your time, as working with resin can be a bit tricky, but the end result is definitely worth it!
Following these steps on how to make fake water with clear glue, you can create your own fake water for any project or diorama. Play around with different techniques and materials to find the perfect look for your desired scene. Remember to have fun and let your creativity flow!
Do You Need to Get Help From a Professional?
Making fake water with clear glue is a simple and fun DIY project. However, if you are working on a large or complex project, or simply do not have the time or resources to make fake water yourself, you may want to consider hiring a professional. There are many talented artists and model makers who specialize in creating realistic water effects for dioramas, movie sets, and other projects.
They have the knowledge, skills, and materials to bring your vision to life and create a truly stunning result. So, if you want a truly professional-looking fake water effect, don’t hesitate to seek help from the experts!
How Much Harder is It to Make Fake Water With Resin Instead of Clear Glue?
Making fake water with resin can be more challenging compared to using clear glue. It requires precise measurements and mixing, as well as additional tools such as a heat gun or torch to remove any air bubbles. However, the end result with resin can be more realistic and glossy compared to using clear glue. It also allows for more depth and texture in your fake water surface. So, while it may be a bit harder, the end result is worth the extra effort!
Overall, it’s up to personal preference and what works best for your project. Both clear glue and resin can create stunning fake water effects, so don’t be afraid to experiment and find what works best for you. With these tips and techniques, you can create lifelike water scenes for any project.
Frequently Asked Questions
What Can You Use to Make Fake Water?
There are many ways to make fake water. One way is by using water balloons filled with baking soda and vinegar. Another way is by placing a thin layer of colored cellophane over a cup of water and then submerging it in a bowl of a clear solution, usually consisting of equal parts bleach and water.
Another way is by taking an empty paper towel roll and poking holes in the paper towel tube about 1 inch apart all around the line so that you can drive your finger through them. Then, fill the pipe with water from a sink or faucet until it’s full enough to fit on top of the toilet tank.
The last option would be a small plastic container (like a baby food jar) with two holes punched into it at opposite ends. Fill one gap with white vinegar, place the other end inside your drinking glass, and put some ice cubes inside the jar until they start floating.
Can I Use Clear Glue for Fake Water?
Yes, you can use clear glue for fake water. The adhesive is made of polyvinyl acetate, and it will be able to hold the particles together for a long time. It also won’t leave any residue on your skin or hands after applying.
How Do You Get Fake Water Out of a Vase?
There are two ways you can get fake water out of a vase.
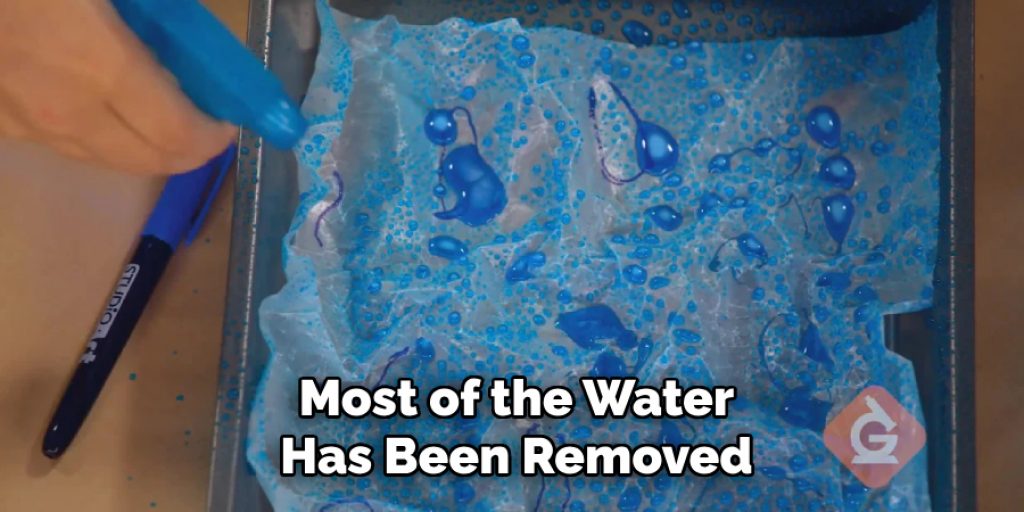
The first way is by filling the vase with water and then holding it upside down over the sink and letting gravity drain the water from the vase. The second way is by using a sponge or cloth and rubbing in circles until most of the water has been removed.
Conclusion:
Making fake water with clear glue is a fun and creative way to add realism to any project or diorama. Whether you are creating a peaceful lake, a stormy sea, or an underwater scene, these techniques will help you achieve the perfect look for your desired water effect.
Don’t be afraid to experiment with different materials and techniques to find what works best for you. Remember to have fun and let your imagination run wild! So go ahead and make a splash with your next project using these tips on how to make fake water with clear glue. Thanks for reading this article on how to make fake water with clear glue.


