How to Make Garland Balloons
Are you seeking a unique and eye-catching decoration for your next party or event? Look no further than garland balloons! These fun and festive decorations are easy to make and can add the perfect touch to any celebration. In this tutorial, we will show you how to make garland balloons in just a few simple steps.
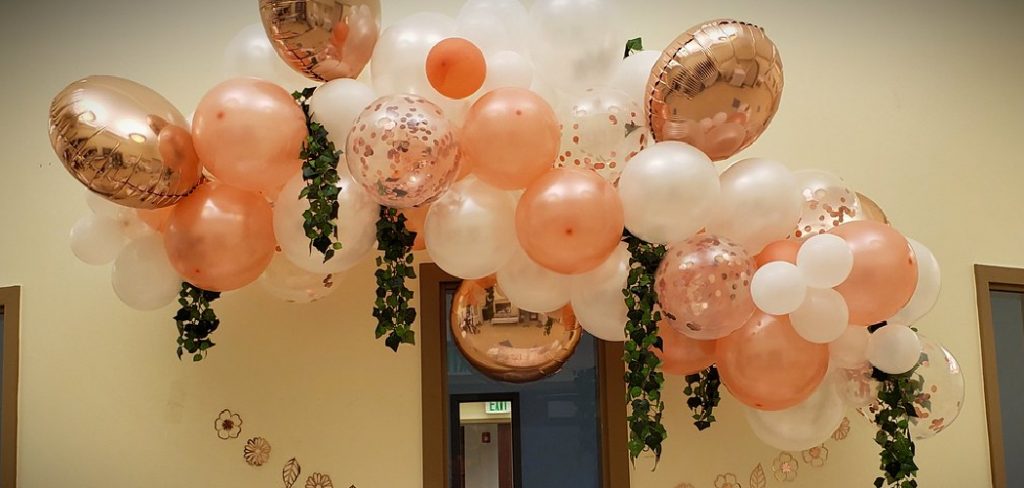
Garland balloons are a popular and visually stunning way to enhance any celebration or event, adding an element of whimsy and color. Whether you’re preparing for a birthday party, baby shower, or wedding, a garland made from balloons can serve as a striking focal point or backdrop.
This guide will walk you through the steps to create your garland balloons, offering tips on selecting the right balloons, tools, and assembly techniques to ensure a professional-looking display. Get ready to transform your space with this delightful and creative décor!
What Will You Need?
To get started, you will need the following supplies:
- Balloons (in different colors and sizes)
- Air pump or helium tank
- String or fishing line
- Scissors
- Tape or glue dots
Optional items to consider for added flair:
- Tassel garland
- Paper flowers
Now that you have all your materials let’s dive into creating stunning garland balloons!
10 Easy Steps on How to Make Garland Balloons
Step 1: Select Your Balloons
Choosing the suitable balloons is crucial for achieving a visually appealing garland. Start by selecting a mix of colors that complement your event’s theme. Consider combining matte and glossy finishes to create depth and texture. Different sizes of balloons can also enhance the overall look—a blend of large, medium, and small balloons will make an interesting visual dynamic.

Opt for 12-inch balloons as the standard size, then incorporate a few more enormous 18-inch balloons for a fun contrast. Don’t avoid experimental shapes, like hearts or star balloons, if they fit your theme! Once you’ve gathered your balloons, it’s time to inflate them. If you’re using an air pump, be careful not to overinflate; a little give will help shape them later. If you’re opting for helium, ensure you have a steady supply and be aware of how long they’ll float—this can impact when you need to assemble your garland.
Step 2: Inflate Your Balloons
Once you have selected your balloons, the next step is to inflate them carefully. The approach will vary slightly depending on whether you’re using an air pump or a helium tank. For air pumps, begin by placing the nozzle into the balloon’s opening and pumping air steadily, watching the size as you go. Aim for a firm but not overly stretched size, as flexibility will aid in the shaping process later. For helium, follow the same process, but be cautious not to let the balloon slip from your grip once inflated, as it tends to ascend quickly.
As you inflate your balloons, try to create a variety of sizes to add visual interest to your garland. For instance, some can be inflated to their full 12-inch diameter, while others can be slightly deflated to achieve a smaller size. Keeping a few balloons semi-inflated’s also a good idea—this variation adds texture and depth to the final garland.
Step 3: Prepare Your String
Before you start assembling your garland, cut a string or fishing line to your desired length. The size will depend on how long you want your garland to be and how closely you plan to space the balloons. A good starting point is around 8-10 feet, allowing for some flexibility in arrangement. Once cut, tie a knot at one end of the string to secure your balloons later.
Step 4: Start Assembling Your Garland
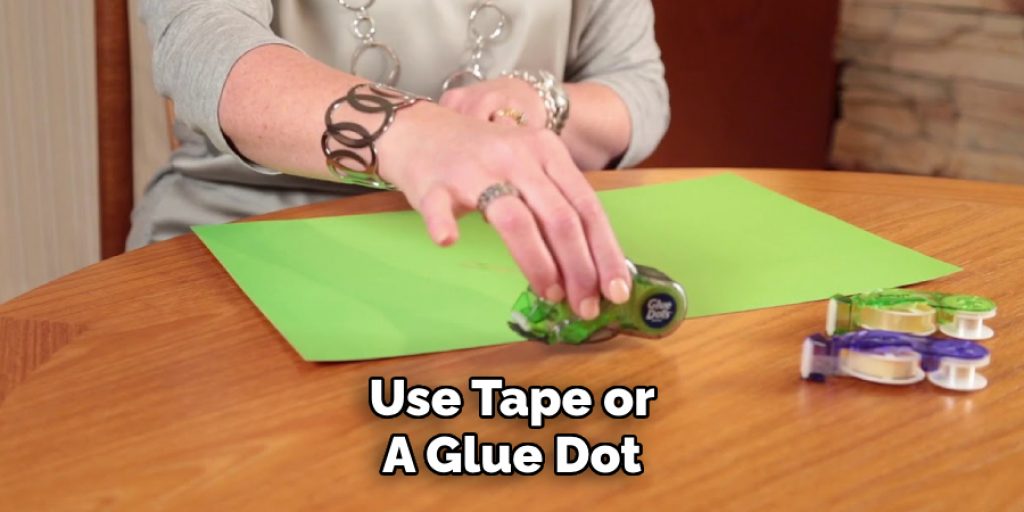
Begin the assembly process by positioning your first balloon near the knotted end of the string. Use tape or a glue dot to secure the balloon to the string. Consider grouping balloons in clusters, alternating sizes and colors to create a more cohesive look for an eye-catching effect. As you add each balloon, be sure to space them evenly while considering the overall design you envision.
Step 5: Create Clusters
To achieve a fuller and more dynamic garland, cluster several balloons together. Start by grouping two or three balloons of varying sizes and colors, then secure them together using the string. You can use additional tape or glue dots between the balloons to help them hold their shape. Once clusters are complete, attach them to the main string and continue building the garland by alternating clusters and single balloons.
Step 6: Fill in the Gaps
Assess your garland as you work to identify any gaps or empty spaces. Inflate a few smaller balloons to fill these areas, ensuring the overall look is balanced. You can also incorporate any optional decorative items, such as tassel garlands or paper flowers, to further enhance your garland and add texture and visual interest layers.
Step 7: Final Adjustments
Once you have finished assembling your garland, take a step back and evaluate the overall appearance. Adjust any balloons that may have shifted during the assembly process, ensuring that the colors and sizes are evenly distributed. Fluff out any balloons that may appear deflated or squished to give your garland a polished finish.
Step 8: Attach to Display
Now that your garland is complete, it’s time to display it! Choose a location highlighting your beautiful creation, such as above a party table, along a wall, or as a backdrop for a photo booth. Using a fishing line, you can easily hang the garland from hooks or nails by threading the line through and securing it. Use tape or command hooks that won’t damage your walls for stronger adhesion.
If you’re working with a more oversized garland or planning to hang it outdoors, consider securing it with balloon weights or additional string to prevent it from blowing away. Ensure the attached garland is positioned at eye level or slightly above for maximum impact, drawing guests into the vibrant atmosphere you’ve created. With everything ideally in place, your stunning garland of balloons will add joy and colour, providing an ideal backdrop for memories to be made during your special celebration!
Step 9: Enjoy Your Creation
Finally, take a moment to step back and admire the handiwork you’ve put into creating this decorative garland. Not only will it brighten up your event, but it will also serve as a conversation starter for guests. Encourage everyone to take photos in front of the garland to capture the festive spirit of your occasion.
After the event, consider repurposing the garland for future celebrations or even incorporating it into your home décor. With some creativity, your garland can continue to bring joy and color long after the event ends.
Step 10: Clean Up and Recycle
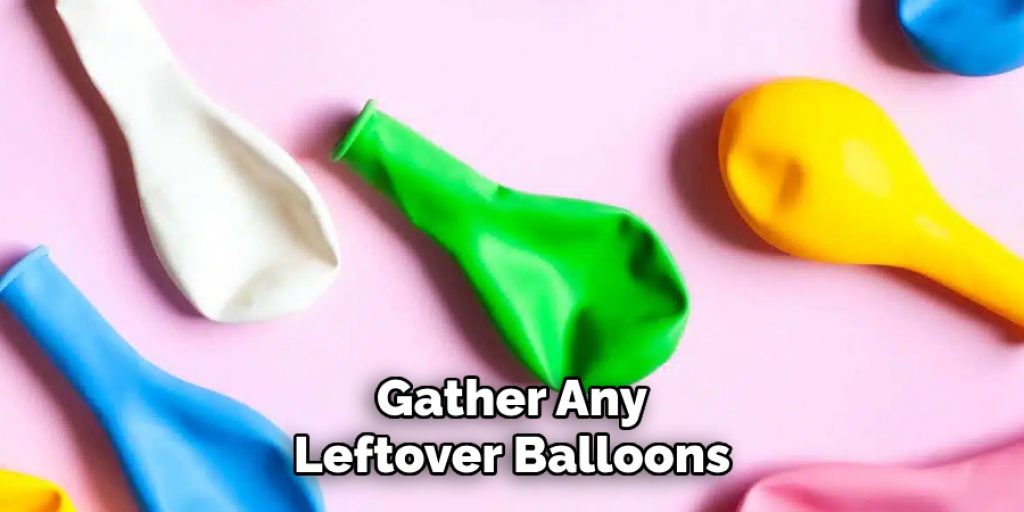
After your event has concluded, it’s essential to clean up and dispose of your decorations properly. Gather any leftover balloons and their remnants, ensuring not to leave small pieces behind as they can pose a hazard, especially to children and pets. If you use helium-filled balloons, make sure to deflate them safely before disposal.
Many balloon manufacturers encourage recycling their products; check for local recycling programs that accept balloons. This step not only helps keep your environment clean but also supports eco-friendly practices. Taking the time to clean up demonstrates your responsibility as a host and ensures your celebration leaves a positive impact.
By following these easy steps, you can create a stunning garland of balloons that will elevate the atmosphere at your next event.
5 Things You Should Avoid
- Overinflating Balloons: While it might be tempting to fill each balloon to its maximum capacity, overinflation can cause balloons to pop or lose their shape. Instead, aim for a consistent size that allows for some elasticity.
- Neglecting Color Balance: Ignoring the distribution of colors can result in a garland that looks uneven or chaotic. Plan your color scheme and alternate colors thoughtfully to create a harmonious design.
- Using Weak Adhesives: Relying on insufficient adhesives like standard tape can cause your balloons to fall out of place. Opt for more vital options such as glue dots or double-sided tape to securely hold the balloons.
- Skipping the Clustering Technique: Avoid constructing a garland with isolated balloons only. Clustering different sizes and colors adds depth and gives the arrangement a more polished and professional appearance.
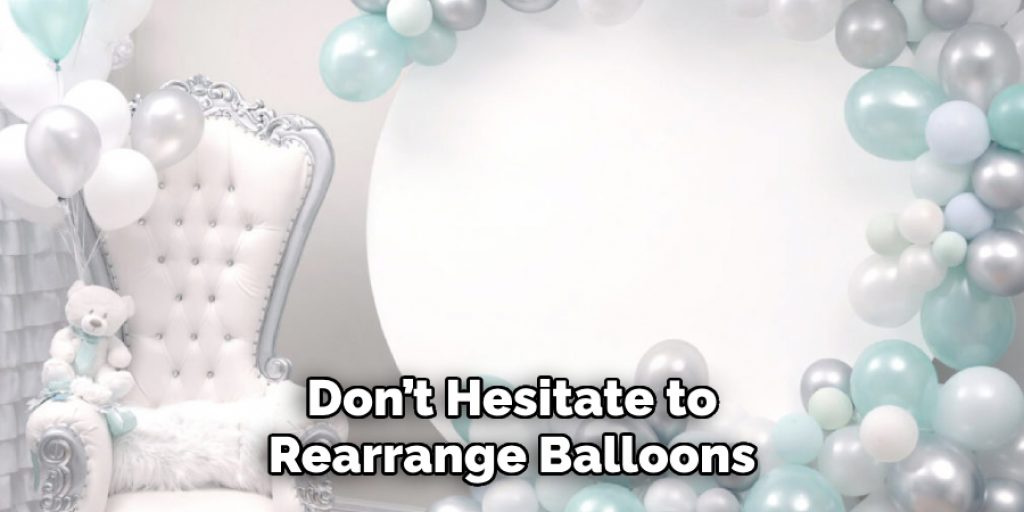
- Being Inflexible with Assembly: Once you’ve started assembling, it’s easy to stick rigidly to your original plan. Don’t hesitate to rearrange balloons and adjust clusters as you go along; being adaptable can significantly improve the overall look of your garland.
Conclusion
How to make garland balloons can transform any space into a vibrant, festive environment, perfect for celebrating special occasions.
By following the outlined steps, from selecting suitable balloons to strategically placing them in clusters and filling in gaps, you can craft a stunning display that captures attention and enhances the overall atmosphere of your event. Remember to embrace your creativity, allowing for adjustments and personal touches.
By avoiding common pitfalls and focusing on thoughtful design, your balloon garland will be a visual delight and a cherished highlight for guests. Enjoy the process and the smiles your creation will bring!


