
How to Make Horns Out Of Paper
Horns are always used for imitation purposes; the children like it because they still watch cartoon characters who possess such things. Sometimes you can easily make these horns using familiar elements that are available in the house. So when your kid would want to wear horns, you can appease by making it. For making horns out of paper, you will need some elements.
To start the process, you will need a cutting mat, foil paper, ordinary newspaper, a pair of scissors, adhesive, and some basic stationery. First, cut the foil paper into two small halves. Next, gather all the other materials and keep them on a table.
But before that, you have to determine the dimension of the foil paper. For our readers’ betterment, we suggest that you take a foil paper that measures at least one foot in length and breadth. Now you have to start folding the foil paper. There is a unique technique that you should follow while folding.
Summary: To make horns out of paper, start by folding a piece of paper in half so that the fold is in the center. Cut the folded paper in half, so that you have two identical pieces. Make a small hole in one of the folded edges and feed the other edge through the hole. Pull the folded edge through until it’s tight. Repeat to create a horn shape.
Step by Step Guide: How to Make Horns Out Of Paper
Step 1: Determine the Size and Shape
Some people think that the size and shape of horns don’t matter, but it’s actually very important. To figure out the shape of your horns, first cut a piece of paper into a circle that would fit comfortably on your head. Then, fold the circle in half, and then fold it in half again. Finally, unfold the paper and cut along the creases to make a semi-circle shape.
Step 2: Determine the Length of Your Horns
To determine how long your horns will be, measure from where you want them to attach to your head to your imaginary line (the edge of where your imaginary line meets the paper becomes the tip of your horns). Then, subtract an inch from that, and cut a piece of paper to that length.
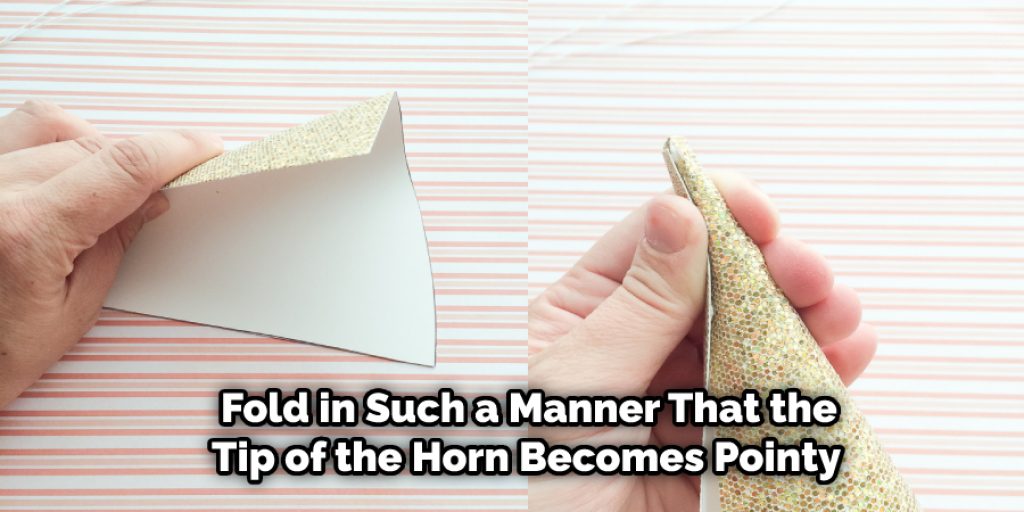
Step 3: Make a Pointy Tip
Pinch one corner with your fingernails or tweezers to make a point on the end of your horn. Hold it in place while you carefully cut the tip off with scissors.
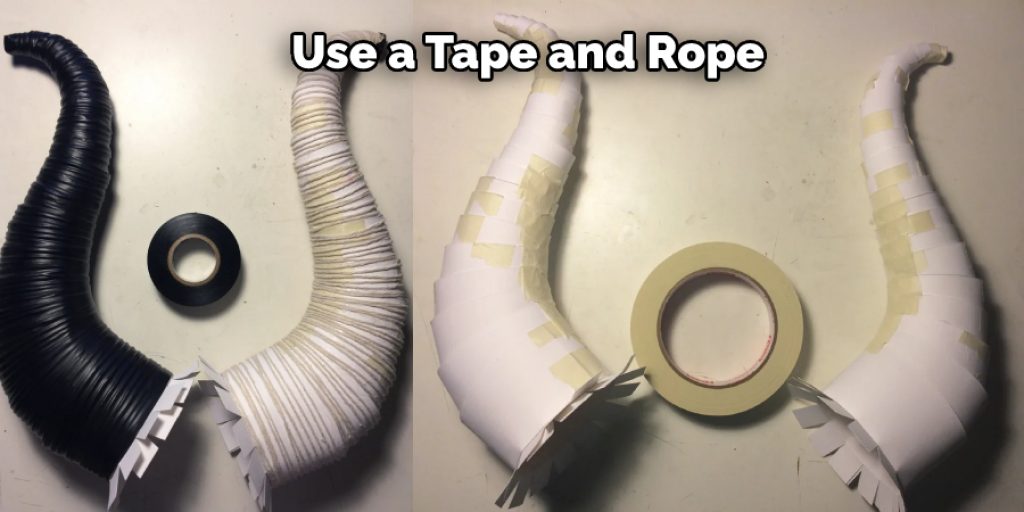
Step 4: Affix Your Horns
In order to wear your horns, you need to tape them onto your head. They should be comfortable to wear and should be able to stand up on their own. If they are not taped in place, they will flop over and fall.
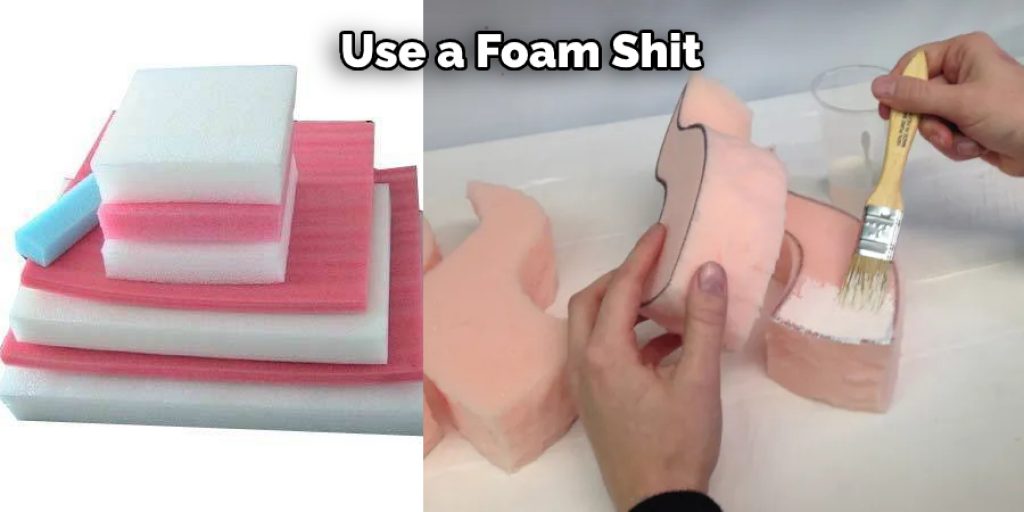
Step 5: Make a Base for Your Horns
To provide a base so your horns can stand up on their own, you’ll have to attach them to something that will hold them up. There are several options: you can attach them to a headband, bobby pins, or barrettes. To affix the base to your horns, choose an option and attach it like you would any hair accessory.
Step 6: Wrap the Paper Around Your Fingernails
To start, cut a piece of paper that is approximately six inches long. Then, take the paper and wrap it around your fingernail so that both sides have equal lengths. To secure the paper in place, use either tape or glue on the ends.
Step 7: Make Holes in the Paper
Next, poke two holes through one side of the paper. Finally, thread a piece of yarn or string through one hole and out the other, then tie it securely.
Step 8: Make Two Holes in the Other Side of the Paper
After you’ve made the two holes in the other side of the paper so that the string goes through it, repeat it by making two holes on the same side of the paper.
Step 9: String It Through Your Horns
Once you have your string all threaded, tie it through one hole on either side of your horns. Tie them securely, then cut off any excess string hanging out on either end.
Step 10: Make the Center of Your Horns
To make the center of your horns, cut a piece of paper about two inches long. Make three cuts in this piece, one small one in the middle and two longer ones on either side.
Step 11: Attach the Center to Your Horns
To make your centerpiece, push it into one hole of the card, then push it into the other hole. You might have to mush it in there a bit, but after you’ve pushed it through once or twice, it should stay in place without any tape or glue.
Step 12: Tie Your Yarn Around the Center Piece
After you untie your string from your horns, tie them around the centerpiece. Make sure they’re tied securely and then tie the other end to a secure place on your horns.
Step 13: Attach Your Horns to Your Hair
To attach your horns, wrap them around one of your bobby pins or barrettes and twist it into place. If you don’t have those things, you can use a headband or fabric to tie them in place.
Step 14: Enjoy Your Horns
And that’s it! You’ve successfully made your horn headband. Now you can wear them and show them off to your friends. In addition, you can paint them and decorate them with glitter to make them look even better.
The amount of paper shall be increased gradually from top to bottom. After the shape of the horn is formed, you can easily attach it to a hairband. For this, you will need some adhesive, and then you can connect the swelled end to both ends of the hairband. You can also use some colors and glitters on the horn for decorating purposes. In this way, you can easily make a horn out of paper.
Conclusion:
Horns are a great way to show your school spirit and support your favorite team. So whether you’re at the game or watching from home, make some noise with some paper horns! You will be making some awesome noise, but you’ll also be showing everyone that you’re a proud member of the horn-making community.
Thanks for reading our article on how to make horns out of paper. We hope you have as much fun making them as writing this post. If you have anything to ask or want to know more, then feel free to comment below!
You May Read Also
Elizabeth Davis
Elizabeth is a creative writer and digital editor based in the United States. She has a passion for the arts and crafts, which she developed from a young age. Elizabeth has always loved experimenting with new mediums and sharing her work with others. When she started blogging, she knew that DIYquickly would be the perfect platform to share her tutorials and tips. She's been writing for the blog from the beginning, and her readers love her helpful advice and easy-to-follow instructions. When she's not writing or editing, Elizabeth enjoys spending time with her family and friends.


