
How to Make Key Chains with Ribbon
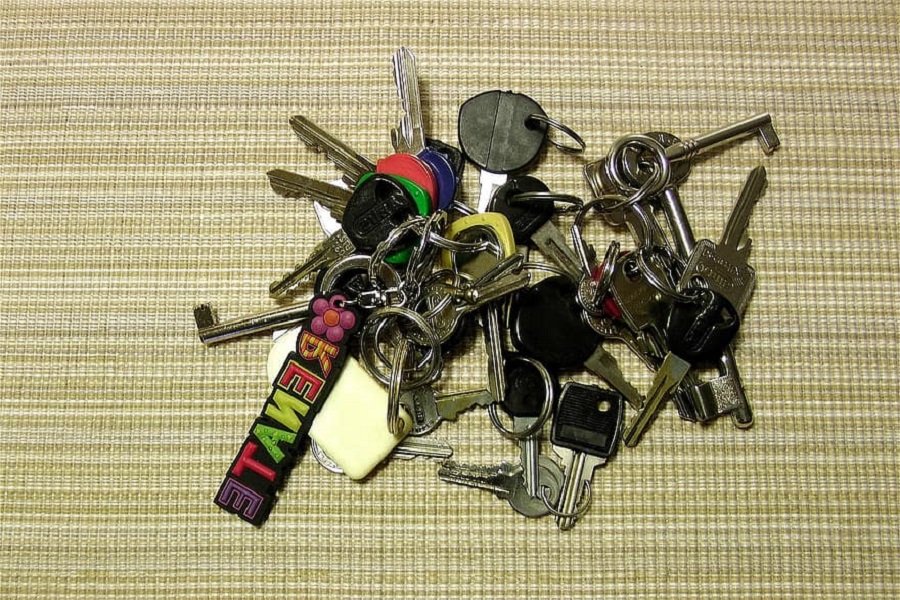
Many materials remain scattered in our house; they tend to take up space. So it will always be beneficial to make use of these things. Today we are going to discuss how we can make use of ribbons to make key chains. For this, you will need some essential things. These are the prerequisite for starting the process. At first, you will need some ribbons.
Processes on How To Make Key Chains With Ribbon
Process One:
This technique only requires a little bit of dexterity and patience. The first step to How To Make Key Chains With Ribbon starts with cutting your lengths of ribbon into smaller pieces.
To make these braided ribbons, you will need two ribbons that are six inches long or an inch shorter than your desired finished length. To braid the ribbons, overlap one piece of ribbon as you go down towards the end, where the two pieces meet at one point. Then, twist the ribbons around tightly until both ends meet together to form a loop.
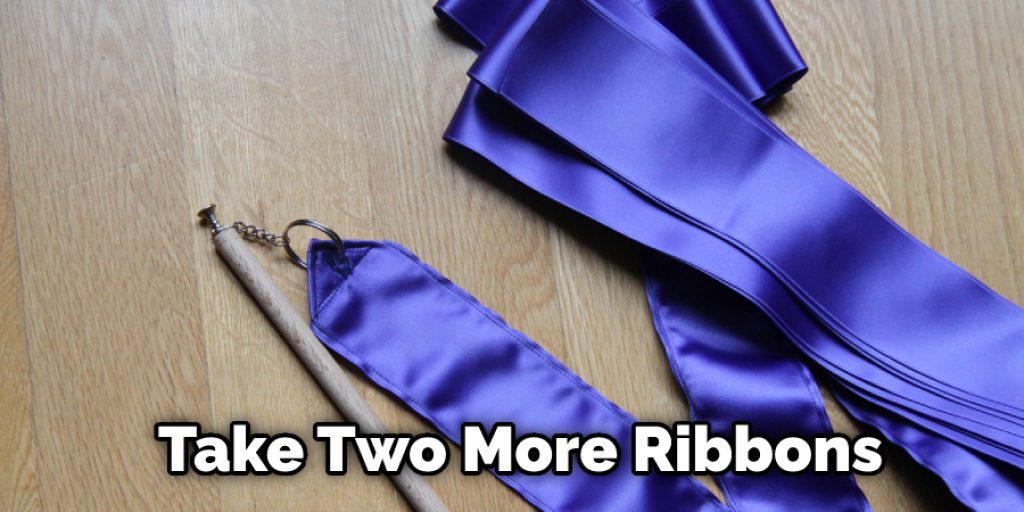
The final step is to take two more ribbons and braid them in the same way, then place one on top of the other at any point along with your braided piece until they meet up again, forming another loop.
Continue repeating this process alternating which ribbon goes over which one for each new loop so that it looks like you’re stacking rings together. You can also use glue or wire ties to keep your loops from coming undone but if you want less hassle than using these options, try not twisting too tightly when making your loops instead of going back around as well as securing with additional pieces of twine every couple inches around the key chain pattern while still keeping the tension tight enough that they will stay closed without anything else.
Process Two:
You can use different colored stripes for this purpose. You will need some laces; you can use white and transparent laces for this product. Then you will need a key chain to insert all these ribbons and laces. You will need a scissor and some adhesive tape. You will also need a rope, which will be used for tying knots.
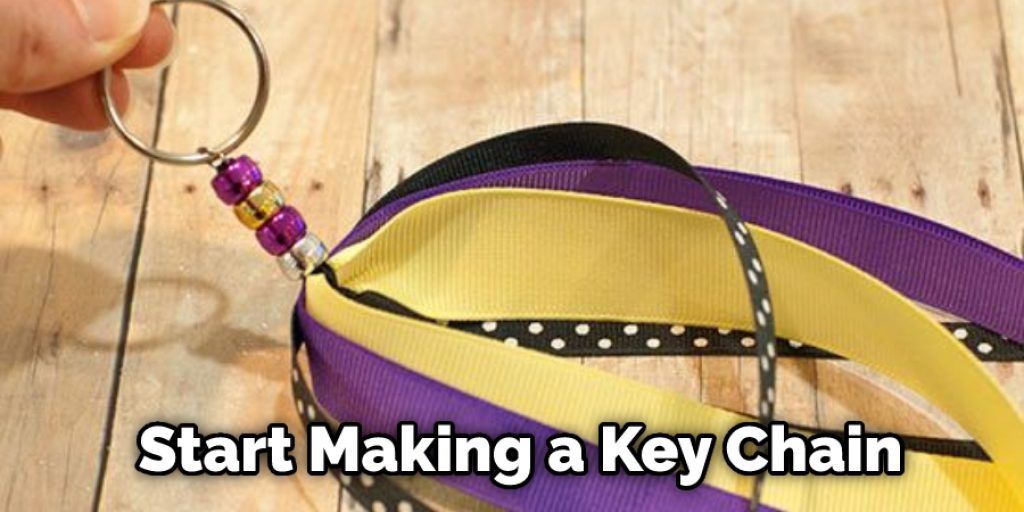
After you have gathered all these, you can start making a key chain. You have to take the keychain ring and clean it with a soft cloth, and then take the ribbons and start cutting them. You have to use scissors to cut them. You have to measure the ribbon for cutting it, then keep it proportional on both sides. You have to cut all the ribbons in a different dimensions. You have to insert them through the key chain, and then you have to cut the laces. And then you have to insert the laces in the same manner. After you have made the initial placement of the ribbons, you can start connecting them. You can use sewing tools to join or rope and tie a knot around the ribbons.
For sewing them, you have to use an electrical machine. You can put lace around the ribbon and then sew them together. In this way, you can make a ribbon-based key chain. It would help if you remembered to make a good color contrast between the ribbons.
Precautions
Avoid using hot glue on the ribbon. Hot glue can stain and damage the fabric and ruin your clothes if you accidentally get it on them.
- Do not use too much of one color to avoid a monochrome look unappealing to most people. Find out what colors work best for other projects to have more options when choosing ribbons for this project.
- If you are making key chains with children or older adults who may struggle tying knots, set up all of their pieces ahead of time, including cutting off excess lengths before they start assembling the key chain, because once it’s glued together, there’s no going back!
Which Color Ribbon is Most Suitable for Making a Keychain?
You might wonder which color ribbon is most suitable for making a keychain. The answer to that question depends on whether you want the final product to look like an accessory or more utilitarian. Here are some of our favorite colors and their uses:
Red – Great if you want your project to have a little flair; people will see red as luck, passion, love, energy, vigor, and excitement, which would also make an excellent gift idea.
Frequently Asked Question
What Do You Need to Make Key Chains?
To make key chains, you will need the following supplies:
- Scissors
- Fabric glue
- Keyrings
- Craft paper or cardstock
- Glue stick
- Ruler or a straight edge
- Pencil
- Thin wire or metal rods (optional)
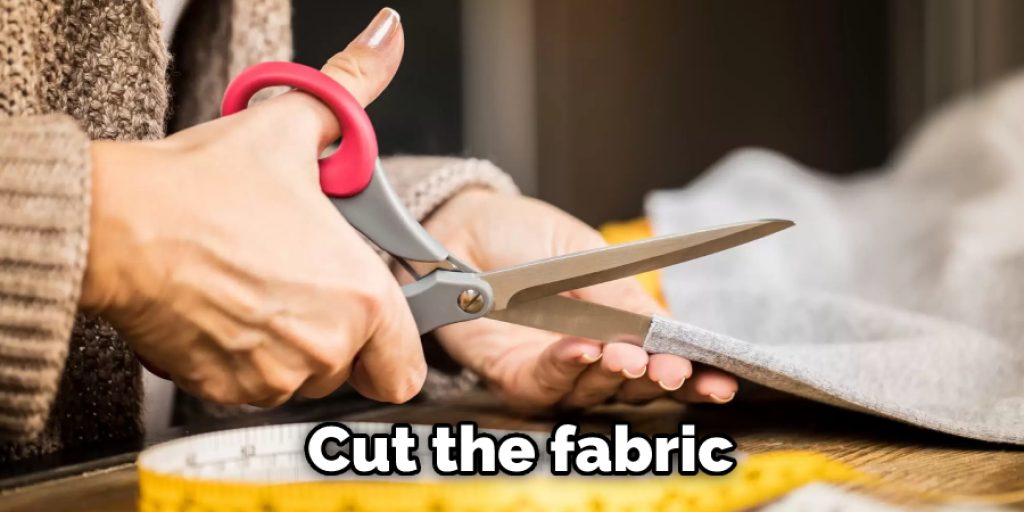
1. Cut the fabric to the desired size. If you are making a key chain with a picture, be sure to measure and cut out the picture beforehand.
2. Glue the fabric onto the keyring using fabric glue. Be sure to smooth out any fabric wrinkles before gluing them down. Allow the glue to dry completely before attaching the keyring to your item.
3. If you are making a key chain with text, print out your text and cut it out using scissors. Glue it onto the front of your key chain using a thin layer of glue on top of the text. Ensure all letters are glued down evenly so that your key chain looks professional when finished. Allow the glue to dry completely before attaching your key chain to your item.
What Can You Put on a Key Chain?
There are many things that you can put on a key chain, such as:
- A business card with your contact information.
- A pen to write down important notes.
- A picture of your family or loved ones.
- A token of appreciation for someone special.
Can You Put Pictures in Epoxy Resin?
Yes, you can put pictures in epoxy resin. However, it is important to follow the proper steps, so the picture does not come out blurry or distorted.
First, make sure that the picture is in high resolution and that it is the correct size for the project. Next, scan or photograph the picture using a good quality digital camera. Finally, save the image to your computer in a format that can be used with epoxy resin.
Final Thought
The process we have stated must help you make the best key chain using ribbon. But you should follow the steps chronologically and keep safety in mind while using hot glue.
You may also read – How to Bend Keys without Breaking Them
Elizabeth Davis
Elizabeth is a creative writer and digital editor based in the United States. She has a passion for the arts and crafts, which she developed from a young age. Elizabeth has always loved experimenting with new mediums and sharing her work with others. When she started blogging, she knew that DIYquickly would be the perfect platform to share her tutorials and tips. She's been writing for the blog from the beginning, and her readers love her helpful advice and easy-to-follow instructions. When she's not writing or editing, Elizabeth enjoys spending time with her family and friends.


