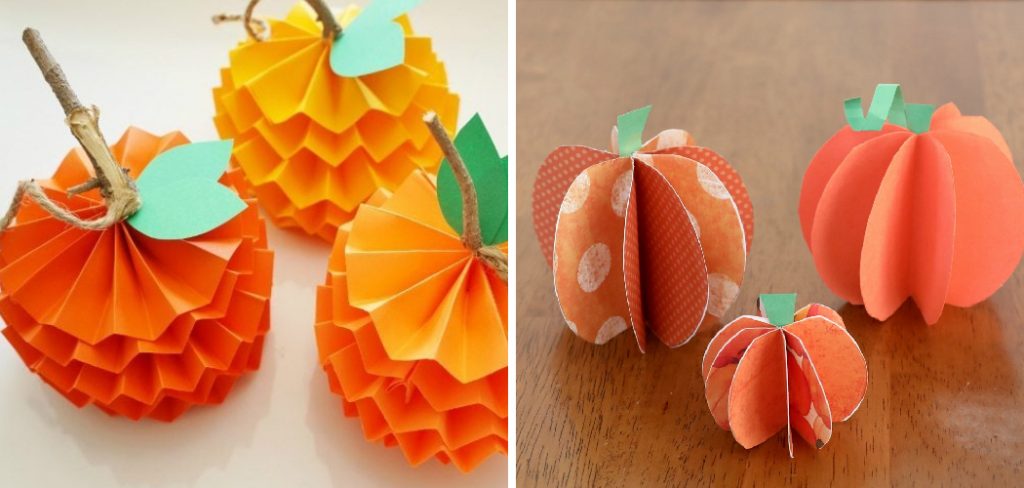
How to Make Origami Pumpkins
Origami is a great way to express creativity and make something beautiful out of paper. It’s also a fun activity for kids and adults alike! Learning to make origami pumpkins is especially suited for the fall season, as they can be used as decorations or gifts. Plus, you don’t need any extra supplies – just some origami paper in the color of your choice.
Making origami pumpkins has several advantages compared to traditional pumpkin carving. It is much safer for younger children, as no sharp knives or tools are needed. It is also much less messy than carving and can be done indoors without creating a mess in the home. Additionally, it is a creative activity allowing kids to express their artistic skills. In this blog post, You will learn how to make origami pumpkins.
Tools You Will Need
- A square sheet of paper
- Glue
- Scissors
- Pencil
- Ruler
- Orange and black markers or crayons
- Bowl or cup (optional)
- Bowl of water (optional)
- Paper towel (optional)
- Tape
- Craft knife
- Cardstock (optional)
Step-by-Step Processes for How to Make Origami Pumpkins
Step 1: Inspect Your Origami Paper
Before you begin, check the origami paper that you have. It should be thin and square-shaped. Avoid using thick paper as it will not fold properly and won’t give you the desired pumpkin shape. Take your origami paper and fold it diagonally to form a triangle. Then unfold it, and you should have a crease along the diagonal.
Step 2: Fold in Half Again
Now, fold the paper in half again along the same line to form a smaller triangle. Ensure that all edges and corners are aligned neatly for a crisp finish. After making your triangle, start pleating the folded edges on one side. This will create a curved edge which is necessary for the pumpkin shape.
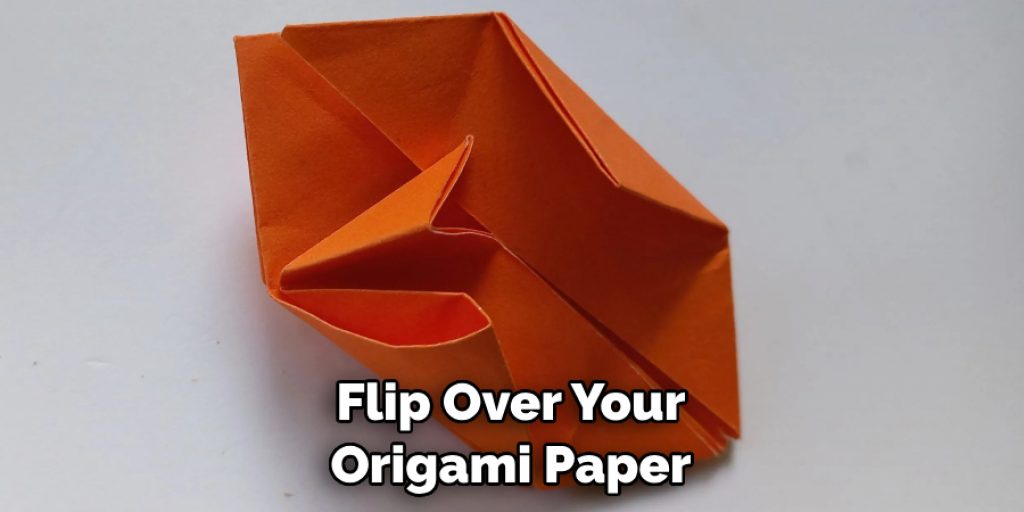
Step 3: Create More Pleats
Repeat the pleating process on the other side, ensuring it lines up with your first wrinkle. You should end up with four rows of pleats when you’re done. Flip over your origami paper and press firmly on the pleats along the edge. This will help to secure them in place so that they don’t come undone when you start folding your pumpkin shape.
Step 4: Create a Circle
Ensure your edges are aligned properly, and then bring two opposite corners together to create a circle. Secure the edges with your fingertips; you should have a round shape. Once you have your circle, fold both sides inwards to make the pumpkin shape. Ensure that each fold is even so that your pumpkin has an even thickness.
Step 5: Secure Your Edges
When your pumpkin is almost complete, you can secure the edges by pressing them firmly. This will help ensure your pumpkin stays in shape without coming undone. Now it’s time to decorate your origami pumpkin with whatever materials and colors you want.
With these step-by-step processes, you can create beautiful origami pumpkins for any occasion.
Safety Tips for How to Make Origami Pumpkins
- Always use scissors with adult supervision. For younger children, it is best to have an adult help them cut the paper to ensure they do not hurt themselves.
- If using patterned paper, ensure the pattern and colors are appropriate for your age group and ability level. Some patterns can be tricky to fold and may be more suitable for experienced origami enthusiasts.
- Be sure to use sharp scissors and a cutting surface that is large enough for your paper size. This will make it easier to work with and less likely to cause injury.
- When folding, be careful not to crease the paper too much, as this can cause tearing or other damage to the paper.
- Make sure you have plenty of space to work on your project. The larger the area, the less likely you will make a mistake or injure yourself.
- Always be careful when folding and unfolding origami pieces; even small pieces can cause injury if not handled properly.
- Keep all cutting tools away from children and out of reach.
Following these safety tips for making origami pumpkins ensures your project is fun and safe.
Is There a Specific Technique for Folding the Paper?
Yes, there is a specific technique for folding paper when making origami pumpkins. First, start with a square piece of paper and fold it in half diagonally to create a triangle. Then, fold the top-right corner to meet the triangle’s bottom edge. Repeat this step on the left side with the top-left corner. This will create an even triangle with two corner pockets.

Once the shape of a pumpkin is achieved, you can use scissors to cut along the bottom edge of the triangle and round off the corners. The paper should now be in a fan-like shape resembling a pumpkin. If desired, glue two googly eyes onto the top of your origami pumpkin for added decoration.
Creating an origami pumpkin is easy and fun! It’s a great way to practice your paper folding skills and create a unique piece of art. Plus, you can make several pumpkins to decorate for the fall season.
How Long Does It Typically Take to Make an Origami Pumpkin?
The amount of time it takes to make an origami pumpkin varies depending on the complexity of the design you choose. Generally speaking, simple pumpkins take 10-15 minutes to craft, while more complex designs can take up to 45 minutes. It’s best to start with a simple design and work your way up as you become more comfortable with the steps and techniques involved in origami.
If you’re looking to make a more intricate paper pumpkin, prepare to spend some extra time folding and shaping the paper into the desired design.
What Are Some Good Ideas for Making the Paper Shapes Look More Realistic?
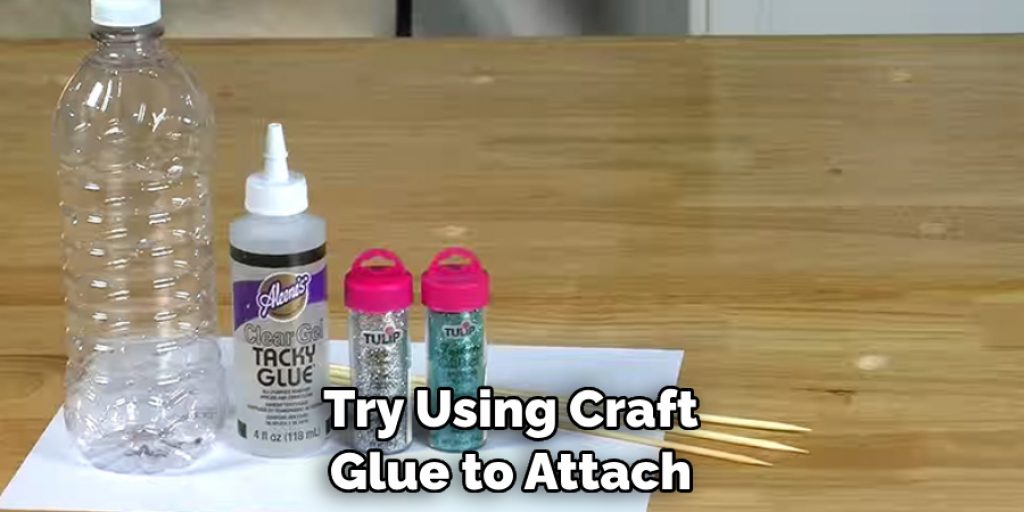
Making origami pumpkins can be a fun way to get creative and make unique Halloween decorations. To add realism to your origami pumpkins, you can use construction paper instead of traditional origami paper for a thicker look. You can also use markers or colored pencils to draw lines onto the paper shapes that imitate the ridges of an actual pumpkin.
Also, add a stem and leaves, which can be made from paper or wire. Finally, try using craft glue to attach real pumpkin seeds to the paper shapes to give your origami pumpkins an extra touch of authenticity.
Are There Any Other Creative Uses for These Types of Origami Pumpkins?
Yes, there are many other creative uses for origami pumpkins. They can be used to decorate your home for the fall season, as a unique gift, or even as a fun craft project. You can also use them to create seasonal centerpieces or place cards for special occasions.
Some people make their origami pumpkins from just a few basic supplies. You only need paper, scissors, glue, and colorful markers or paints to create your origami pumpkin. With creativity and patience, you can make designs and patterns that will last for years. If you don’t feel like making your pumpkins from scratch, there are plenty of ready-made origami kits available online that you can order.
How Can You Store Your Origami Pumpkins So They Don’t Get Damaged?
Once you have mastered making origami pumpkins, it is important to store them properly. To prevent damage, ensure the surfaces that your paper pumpkins come into contact with are clean and dust-free. You can keep your folded creations in an airtight container or plastic bag. Be sure not to press too hard on the creases when handling the paper pumpkin.
Additionally, you should ensure that your origami pumpkins are stored in a cool, dry place to prevent them from fading or becoming brittle and breaking over time. Proper storage allows your origami pumpkins to be kept as decorations for years.
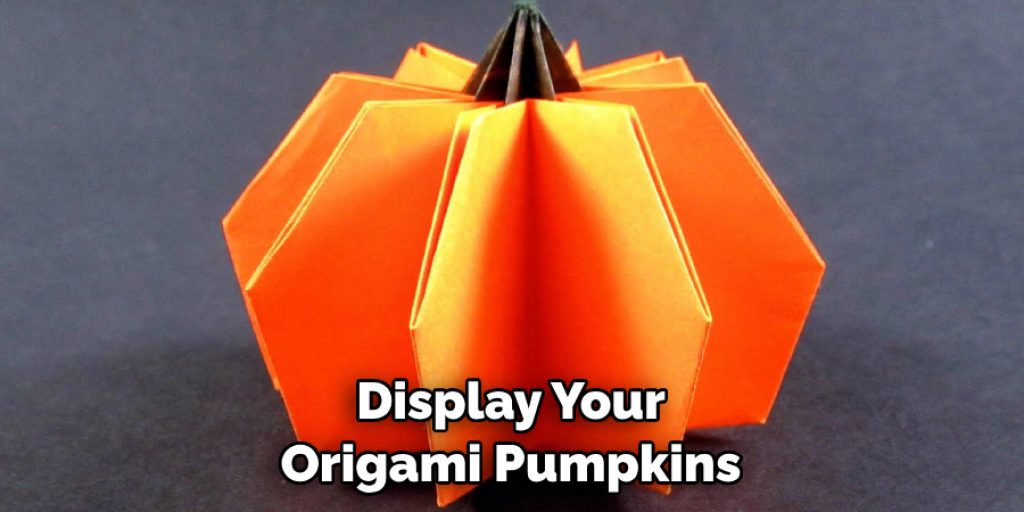
If you want to display your origami pumpkins around your home or office, consider mounting them on frames or stands. This will provide a secure and stable platform while protecting against dust and dirt buildup. You can even use a clear sealant to ensure your paper pumpkin decorations last longer without fading.
Conclusion
One disadvantage of making origami pumpkins is properly folding the paper. Origami requires great precision and accuracy at all times, which can be difficult to achieve. Additionally, it may take a few tries before you get the perfect fold for your pumpkin. Furthermore, if you make a mistake or have difficulties with the folds, it will take more time and paper to start over.
In conclusion, making origami pumpkins is a fun and easy activity for people of all ages. You can create something unique and special for the upcoming fall season with a little practice. Not only will you have a decorative piece to show off your work, but the result also serves as an excellent conversation starter. Reading this post has helped you learn how to make origami pumpkins. Make sure the safety precautions are carried out in the order listed.
Angela Ervin
Angela is the executive editor of DIY quickly. She began her career as an interior designer before applying her strategic and creative passion to lifestyle and home. She has close to 15 years of experience in creative writing and online content strategy for housekeeping, home decorations as well as other niche efforts. She loves her job and has the privilege of working with an extraordinary team. She lives with her husband, two sons, and daughter in Petersburg. When she's not busy working she spent time with her family.