
How to Make Pinecone Ornaments With Ribbon
Creating pinecone ornaments adorned with ribbon is a charming and inexpensive way to bring a touch of nature’s beauty into your home decor, especially during the holiday season. This craft project not only sparks creativity but also makes for a delightful activity to share with family and friends.

Whether you’re looking to add a rustic vibe to your Christmas tree or seeking handcrafted gifts to share, these pinecone ornaments offer a versatile and eco-friendly option. In this guide on how to make pinecone ornaments with ribbon, we’ll walk you through the simple steps to transform ordinary pinecones into elegant decorations, highlighting the materials needed and offering tips for customization to suit your style.
What is a Pinecone Ornament?
A pinecone ornament is a decorative piece made using a pinecone as the base and ribbon as the primary embellishment. These ornaments can be hung on Christmas trees, used as table centerpieces, or even displayed in a unique way by arranging them in a bowl or basket. Pinecone ornaments are not limited to just the holiday season; they can also be incorporated into home decor throughout the year.
You can choose to use natural pinecones or opt for painted or glittered ones for a more festive look. The addition of ribbon adds a pop of color and texture, making these ornaments stand out among other decorations. With the right materials and a bit of creativity, you can make unique pinecone ornaments that perfectly reflect your personal style.
Importance of Using Ribbon
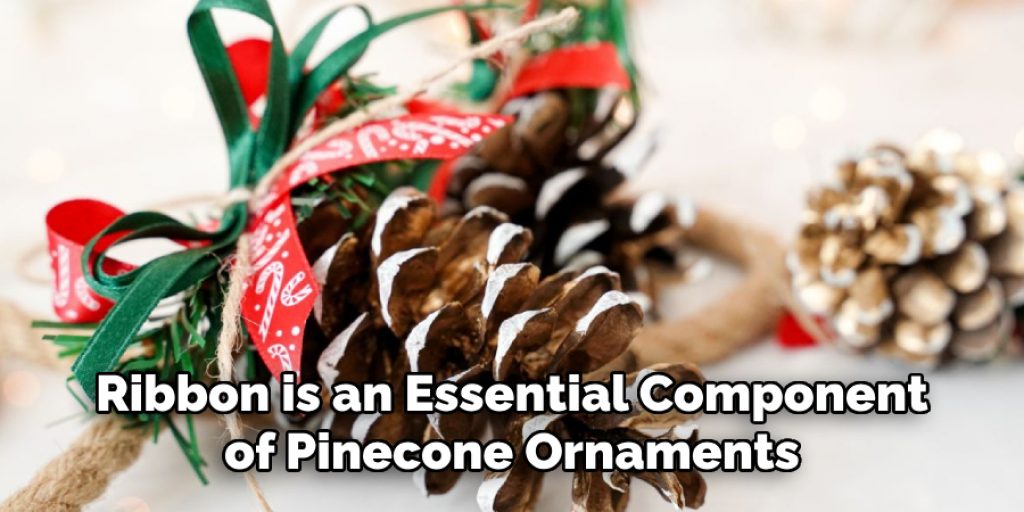
Ribbon is an essential component of pinecone ornaments, and it serves multiple purposes in this craft project. Firstly, ribbon adds a soft and delicate touch to the rough texture of pinecones, making for a lovely contrast. Secondly, the ribbon helps secure the pinecone’s scales in place, giving the ornament a more polished look. Lastly, ribbon offers endless possibilities for customization, allowing you to create a variety of unique ornaments using different colors, patterns, and textures.
You can use any type of ribbon, such as satin, grosgrain, or velvet, depending on the look you’re going for. You can also mix and match different ribbons to create a layered effect or use one type of ribbon in various widths to add dimension.
Materials Needed
To make pinecone ornaments with ribbon, you will need the following materials:
Pinecones (Natural or Painted/glittered):
Choose pinecones in various sizes and shapes to add visual interest to your ornaments. If using natural pinecones, make sure they are clean and dry before beginning the project.
Ribbon:
As mentioned earlier, you can use any type of ribbon, but we recommend using at least 1/4 inch wide ribbon to ensure it stays in place on the pinecone.
Scissors:
You will need scissors to cut the ribbon to your desired length and shape.
Hot Glue Gun and Glue Sticks:
A hot glue gun is the most effective way to attach the ribbon to the pinecone. Make sure you have enough glue sticks on hand for your project.

Optional Embellishments:
If you want to add more details to your ornaments, you can use additional embellishments such as beads, sequins, or small flowers.
11 Step-by-step Guidelines on How to Make Pinecone Ornaments With Ribbon
Step 1: Prepare Your Workspace
You’ll need a flat surface to work on, preferably covered with a protective layer such as a tablecloth or newspaper. This will help prevent any glue from getting onto your furniture. You can also lay out all your materials and tools on the workspace for easy access. It’s also a good idea to have a trash bin nearby to dispose of any excess glue or pinecone debris. The hot glue can also be messy, so keep some damp paper towels handy to clean up any spills. It’s always better to be prepared!
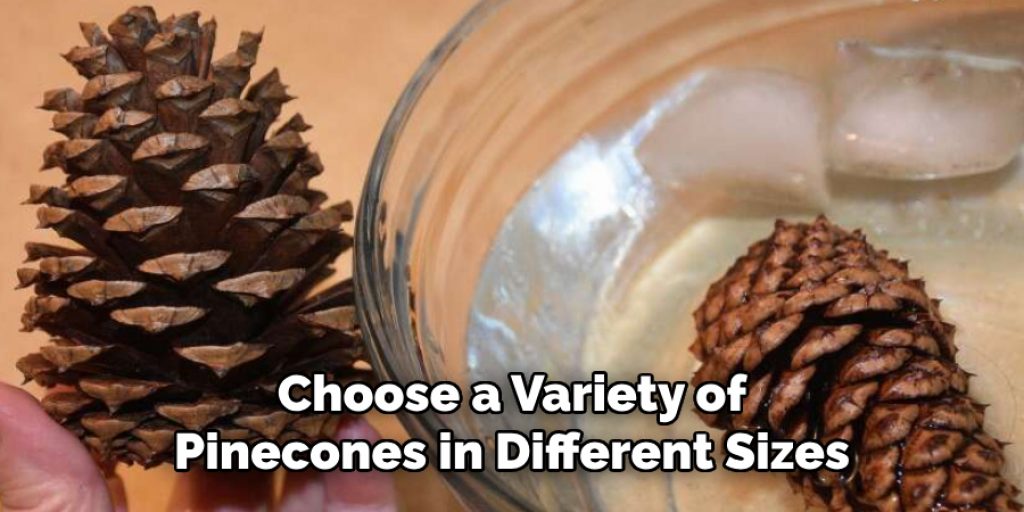
Step 2: Select Your Pinecones
Choose a variety of pinecones in different sizes and shapes for an interesting mix of ornaments. Make sure the pinecones are dry and free from any dirt or debris. If using natural pinecones, you can also give them a gentle shake to remove any loose scales. You can also lightly spray the pinecones with a clear sealant to prevent any potential pests from entering your home. But be careful not to oversaturate the pinecones, as it can cause them to close up. The sealant also adds a nice sheen to the pinecones, giving them a more polished look.
Step 3: Cut Your Ribbon
Using scissors, cut your ribbon into desired lengths. It’s always better to have a little extra ribbon than not enough, so it’s okay to cut more than you think you’ll need. You can always trim off any excess later. It’s also a good idea to cut the ribbon at an angle to prevent fraying. The length of the ribbon will vary depending on the size of your pinecone and how much coverage you want. As a general guideline, 6-8 inches of ribbon per pinecone should be enough. You can also cut the ribbon in different lengths for a more layered look. The choice is yours!
Step 4: Create a Loop
Take one end of the ribbon and fold it in half to create a loop. This loop will serve as the hanger for your ornament. Adjust the loop to your desired size and hold it in place with your fingers. You can also add a dab of hot glue to secure the loop in place. But be careful not to burn your fingers! It’s always best to use a pair of tweezers or pliers to hold the ribbon in place while the glue sets. The loop will be attached to the top of the pinecone, so make sure it’s centered.
Step 5: Start Gluing
Place a small amount of hot glue on the backside of the pinecone near the base. It’s important to start at the bottom of the pinecone and work your way up, as this will help keep the ribbon secure. Be careful not to use too much glue, as it can spill out and create a mess. You can always add more glue if needed. You can also use a toothpick or popsicle stick to spread the glue evenly.
Step 6: Attach the Ribbon
Place the looped end of the ribbon onto the hot glue, making sure it’s centered and pressed down firmly. Hold the ribbon in place for a few seconds until the glue sets. If using multiple ribbons, you can layer them on top of each other or wrap them around the pinecone in different directions for added texture. But make sure to always start at the bottom and work your way up.
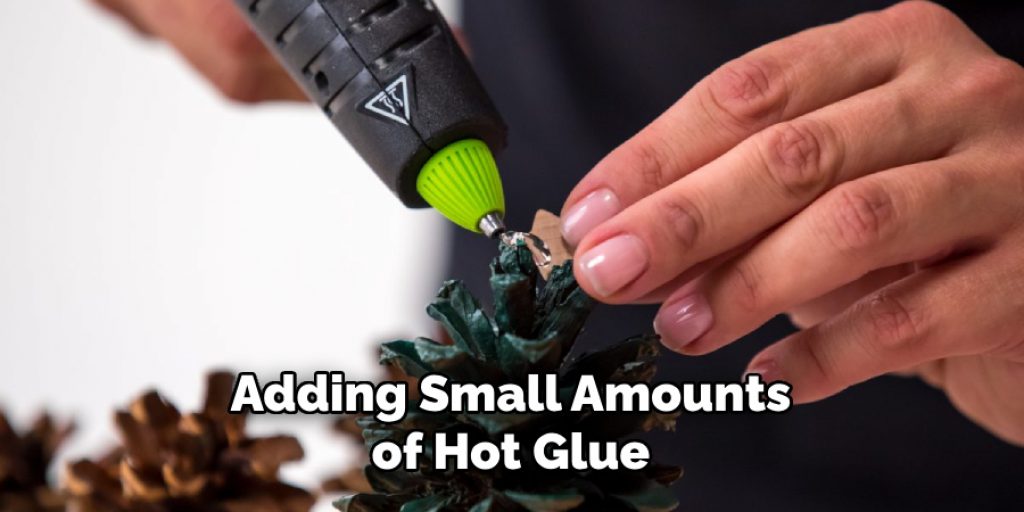
Step 7: Continue Gluing
Continue adding small amounts of hot glue to the backside of the pinecone, working your way up toward the top. As you go, gently press and wrap the ribbon around the pinecone’s scales to ensure it stays in place. You can also use your fingers to smooth out any bumps or creases in the ribbon. The hot glue dries quickly, so make sure to work efficiently.
Step 8: Cut and Secure the Ribbon
Once you reach the top of the pinecone, cut off any excess ribbon. You can also tuck in the end of the ribbon and secure it with a small amount of hot glue. This will prevent any fraying and give your ornament a finished look. It’s always good to double-check that the ribbon is securely attached before moving on to the next step. You can also add more glue if needed.
Step 9: Add Embellishments (Optional)
If you want to add more details to your ornament, now is the time! You can use small beads, sequins, or flowers and attach them with hot glue. Be creative and have fun with it! Just make sure not to overdo it, as too many embellishments can weigh down the ornament and cause it to droop. You can also use a small amount of hot glue to attach a decorative bow or tie a knot in the ribbon for added dimension.
Step 10: Let It Dry
Once you’re happy with your pinecone ornament, set it aside to dry completely. This usually takes about 15-20 minutes. You can also gently move the ornament around to make sure it’s securely attached and won’t fall apart. But be careful not to touch the hot glue, as it can still be warm. But be careful not to touch the hot glue, as it can still be warm. But be careful not to touch the hot glue, as it can still be warm.
Step 11: Display and Enjoy!
Congratulations, you’ve successfully made your own pinecone ornament with ribbon! Once the ornament is completely dry, you can display it on your Christmas tree, hang it from a mantel or doorknob, or even use it as a unique gift topper. The possibilities are endless! Get creative and make different variations of this ornament using different ribbons, embellishments, and pinecones. Have fun and happy crafting!

Following these simple steps, you can create beautiful pinecone ornaments that will add a touch of nature to your holiday decorations. And the best part is it’s a fun and easy DIY project that anyone can do. So gather your materials and get crafting!
Tips and Tricks for Successful Crafting
- Double-check that your pinecones are clean and dry before starting the project. This will help the hot glue adhere better and prevent any potential pests from entering your home.
- Use a clear sealant spray on natural pinecones to add a nice sheen and protect them from potential bugs or moisture.
- Cut your ribbon at an angle to prevent fraying and give it a more polished look.
- Start at the bottom of the pinecone and work your way up to ensure the ribbon stays securely attached.
- Use a small amount of hot glue at a time to avoid any mess and work quickly before it dries.
- Experiment with different ribbons, embellishments, and pinecones to create unique ornaments.
- Have fun and get creative! Crafting is all about enjoying the process and making something beautiful. So don’t be afraid to try new techniques and make it your own. Happy crafting!
Safety Considerations
- Always use caution when working with hot glue, as it can cause burns. Use a pair of tweezers or pliers to hold the ribbon in place while the glue sets.
- Make sure to work in a well-ventilated area and keep children and pets away from your crafting space.
- If using embellishments, be mindful of small pieces that could be a choking hazard for young children.
- Never touch the hot glue until it has completely cooled and hardened. It’s always better to be safe than sorry!
- Clean up any excess glue or scraps to avoid potential accidents and maintain a tidy workspace. Safety first! So go and create some beautiful pinecone ornaments with ribbon, but always remember to use caution and have fun! Happy crafting!
Do You Need to Use Professionals?
Making pinecone ornaments with ribbon is a simple and fun DIY project that can easily be done at home. However, if you’re not confident in your crafting skills or don’t have the time to do it yourself, you can always seek help from professionals. There are many handmade ornament shops or online stores that offer unique and beautiful pinecone ornaments for purchase.
So don’t hesitate to reach out for assistance if needed. Regardless of how you choose to obtain your pinecone ornaments, they will surely add a special touch to your holiday decor. So go ahead and get started! Happy crafting! So go ahead and get started!
You can also check out our other DIY holiday projects for more inspiration. From wreaths to centerpieces, there are endless possibilities to make your home feel festive and cozy during the holiday season.
Frequently Asked Questions
Q: Can I Use Different Types of Ribbon for This Project?
A: Yes, you can use any type of ribbon you like! Satin, grosgrain, velvet – the choice is yours. Just make sure to use a ribbon that is easy to work with and won’t fray too easily. You can also mix and match different ribbons for a more unique look. But be careful not to use ribbons that are too thick, as they can make it difficult to wrap around the pinecone. It’s always best to use thinner ribbons for this project.
Q: Can I Use Other Types of Sealant Instead of Mod Podge?
A: Yes, you can use other types of sealants like clear acrylic or shellac. But Mod Podge is a popular option because it dries clear and has a glossy finish, making the pinecones look more polished and professional. If you don’t have Mod Podge on hand, you can also use a mixture of equal parts white glue and water as a substitute.

Q: How Long Will These Ornaments Last?
A: With proper care, these pinecone ornaments can last for years to come! Just make sure to store them in a cool, dry place when not in use. If they get dusty, you can gently wipe them with a dry cloth or use compressed air to clean the crevices. Avoid using water or any cleaning products as it can damage the ribbon and sealant.
Q: Can I Use Real Pinecones for This Project?
A: Yes, you can definitely use real pinecones for this project! Just make sure to clean and dry them thoroughly before starting. You can also add a coat of clear sealant to preserve the pinecone and prevent any sap from leaking out. However, using fake or artificial pinecones is also a great option as they are more lightweight and easier to work with. Ultimately, it’s up to your personal preference.
Q: How Can I Make These Ornaments More Personal?
A: There are many ways to make these ornaments more personal and unique. You can use ribbons in your favorite colors, add a special charm or trinket, or even personalize the ribbon with a name or message using fabric markers or iron-on letters. You can also make multiple pinecone ornaments and give them out as gifts to family and friends. The possibilities are endless! So, let your creativity run wild and make these ornaments truly one-of-a-kind.
Conclusion
Pinecone ornaments with ribbon are a beautiful and natural addition to your holiday decor. With some simple materials and a little bit of crafting, you can create unique and personalized ornaments that will surely impress your guests. Just remember to work safely, have fun, and let your creativity shine through.
So get out there, gather some pinecones, and start creating your own beautiful ornaments. You’ll be amazed at what you can come up with! Enjoy the holiday season and happy crafting! So go ahead and spread some cheer with these gorgeous pinecone ornaments. They’re sure to bring joy and warmth to any home this holiday season.
Angela Ervin
Angela is the executive editor of DIY quickly. She began her career as an interior designer before applying her strategic and creative passion to lifestyle and home. She has close to 15 years of experience in creative writing and online content strategy for housekeeping, home decorations as well as other niche efforts. She loves her job and has the privilege of working with an extraordinary team. She lives with her husband, two sons, and daughter in Petersburg. When she's not busy working she spent time with her family.


