
How to Make Pizza Rolls Crispy in the Microwave
The best part of a pizza roll is its crunchy, golden exterior. Unfortunately, sometimes they can be soggy and not as crispy as we want them to be. This article will go over some tips on making pizza rolls crispy in the microwave so that they can come out just the way you like them.
Microwave pizza rolls can be a quick way to have a little snack or meal on the go, but it is often hard to get them crispy. So here are some tried and true methods for getting that crisp texture in your microwave!
What are Pizza Rolls?
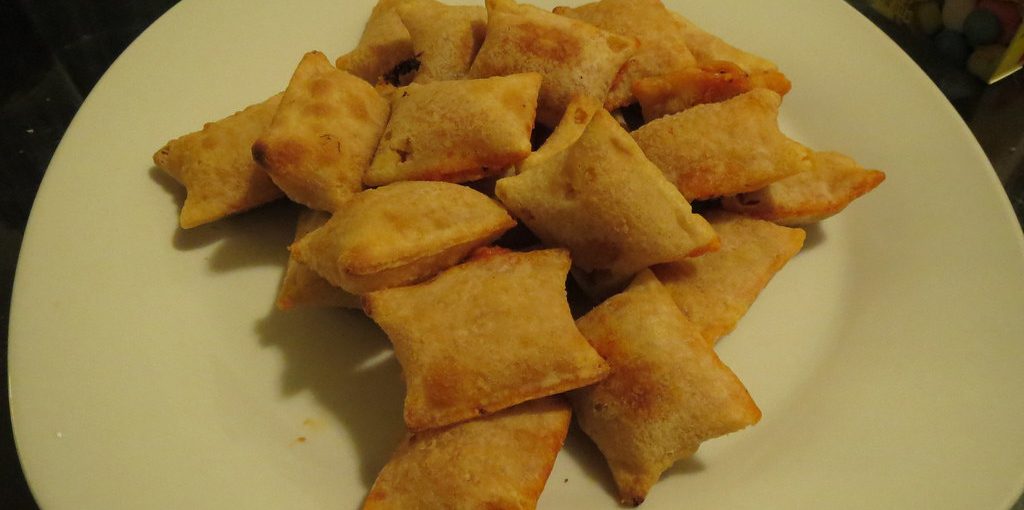
Pizza rolls are a common snack in North America and Europe, consisting of small dough balls filled with cheese and other ingredients such as pepperoni or sausages. They can be microwaved to achieve a crispy exterior and warm interior.
The problem is that microwaves cook outside, causing the cheese and other fillings to explode out of these small dough balls. As a result, the microwaved pizza rolls come out soggy and wet, with a cheese mess.
There Are Several Approaches to This Issue:
- Roll the dough balls thinner (but not too thin)
- Use less cheese or other fillings
- Use thicker dough that contains an egg; avoid using thin crust dough as it cannot hold the fillings in place.
- Use a container with small holes so that the microwaves can cook the dough balls without exploding out any cheese or other filling.
Things You’ll Need:
- A microwave
- Yeast
- A pizza roll (you may choose to cook more than one)
- Spaghetti, cooked according to package directions and drained
- Butter or margarine
- Pizza sauce (for dipping)
- Garlic salt or garlic powder (optional)
Guides: How to Make Pizza Rolls Crispy in the Microwave

Step 1: Prepare Spaghetti
Cook spaghetti according to package directions, then drain it.
Step 2: Prepare Roll
Place one tablespoon of butter or margarine into a microwavable bowl. Microwave for 10 seconds or until the butter has melted. Add garlic salt or garlic powder (optional). Stir well with a spoon to combine.
Step 3: Dip It
Dip your pizza roll halfway into the garlic butter mixture, flipping it so the wet side is up. Let any excess drip off, then place your now-coated pizza roll onto a microwave-safe plate or dish to prevent messes.
Step 4: Microwave
Microwave the pizza roll for 1 minute or until it has reached its desired crispiness. Be sure to check on your food often during microwaving! You will most likely have to flip the roll halfway through cooking so that both sides are evenly crispy.
Step 5: Enjoy
Repeat this process for however many pizza rolls you would like to make. You may serve them with pizza sauce if desired. If not, they are great on their own!
Step 6: Clean Up
Clean up any messes in your microwave by removing the bowl of garlic butter and wiping it down with a damp paper towel. Wipe the bowl dry with a paper towel before placing it in the dishwasher or by hand. Next, wipe down the plate or dish on which the pizza roll was cooked to remove any remnants of garlic butter.
Some Tips and Suggestions:

1. Make sure your tortilla dough is evenly rolled out. If you have thick or thin spots in the dough, the pizza rolls will become soggy or burnt.
2. Don’t overload with sauce! Your pizza rolls may be soggy if you do. Only put enough for taste, usually about 1 tablespoon.
3. Put your pizza rolls as close together as possible, or they will come out crispy around the edges and soggy in the middle.
4. Don’t overcook! Only do about 90 seconds for a total of 2-3 minutes! Your pizza muffins should be slightly firm on top when it is done cooking, similar to how they would look if you were to leave them in the oven longer.
5. Add any extra toppings such as cheese after cooking is complete and store in an air-tight container!
How Do You Microwave Pizza Rolls Without Making Them Soggy?
Pizza rolls are tasty, but they don’t get very crispy in the microwave. Here is how to make pizza rolls without making them soggy. First, let them cool for about five minutes before microwaving. If you like crisp pizza rolls, put them on a plate with a paper towel under them while they cool.
When you’re ready to eat them, put the plate of cooled pizza rolls into the microwave for about six seconds. This will give you crispy hot rolls that are nice and gooey on the inside! After microwaving the pizza rolls, put them on a paper towel to let the excess grease drain. If you like, dip your pizza rolls in marinara sauce or ranch dressing for an extra yummy treat!
How Long Do You Put Pizza Rolls in the Microwave?
Most microwaves have two power settings: high and low. The first step of making pizza rolls crispy in the microwave is to be sure you are using the right power setting on your microwave. If you are cooking one or two servings, set your microwave to medium-high.
If you are cooking more than four servings, use the high setting. Cooking times may vary from microwave to microwave, so you must experiment with yours until you determine what works best for your unit.
What Temperature Should Pizza Rolls Be In the Microwave?
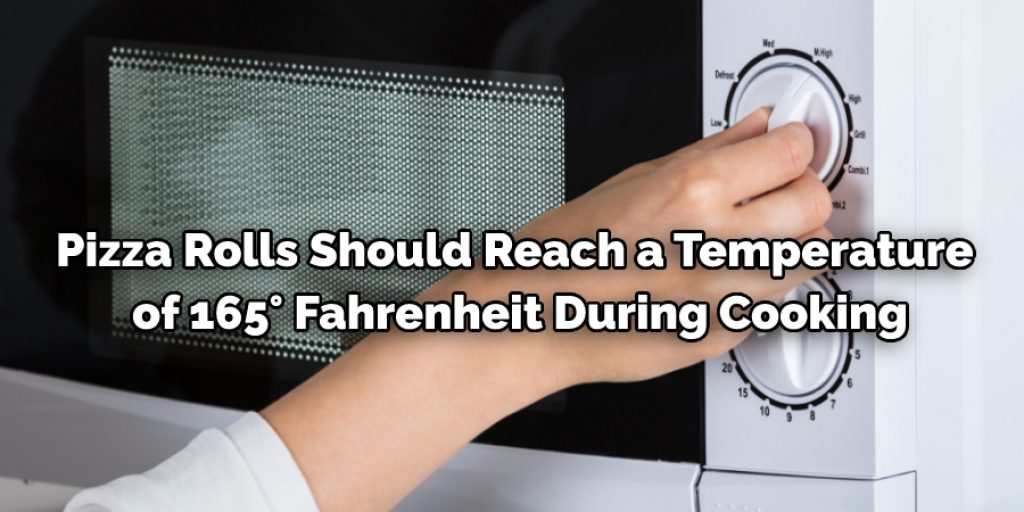
Aim for an internal temperature of 165° Fahrenheit to ensure your pizza rolls are cooked through. You can check this by using a food thermometer while it is cooking. If your microwave does not have a built-in thermometer, purchase one that will hang off the edge of the plate. This can check the internal temperature of both cold and hot foods without removing them from the microwave.
Conclusion:
In summary, the best way to make your pizza rolls crispy in a microwave is by flipping them halfway through. For example, when microwaving for 45 seconds, flip after 20-25 seconds and cook another 15-20 seconds until they are done. This should take care of any unappetizing soggy messes!
We’re glad you found out how to make pizza rolls crispy in the microwave. What other cooking questions do you have? If not, we hope this blog post has been helpful and answers any issues you have. Have a great day!
You May also read – How to Build a Brick Smoker and Pizza Oven


