How to Make Polymer Clay Transfer Paper
Polymer clay transfer paper is a versatile and creative tool for artists and crafters alike. This unique medium allows you to print designs onto special paper that can then be transferred onto polymer clay surfaces, creating intricate and professional-looking decorations with ease. Whether you’re looking to add detailed images, textures, or personalized touches to your clay creations, mastering the process of making your own transfer paper can open up a world of possibilities.
In this guide on how to make polymer clay transfer paper, we will walk you through the steps to create your own polymer clay transfer paper, ensuring you have all the necessary materials and techniques at your fingertips.
Why Use Polymer Clay Transfer Paper?
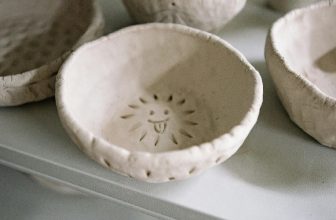
Polymer clay transfer paper is a fantastic way to add intricate designs and patterns to your polymer clay creations. It allows for precise printing onto the surface of the clay, making it ideal for creating detailed images or adding small embellishments. Additionally, the transfer paper can be used on both cured and raw polymer clay, giving you more flexibility in your crafting process.
It is also a cost-effective option compared to buying pre-made transfer paper, as you can create your own designs and print them multiple times. This makes it perfect for creating unique and personalized pieces of art.
Materials Needed
To make your own polymer clay transfer paper, you will need the following materials:
Printer:
You can use either an inkjet or laser printer to print your designs onto the transfer paper. However, it is important to note that inkjet printers are more commonly used as they produce better results on glossy surfaces.
Transfer Paper:
There are various types of transfer paper available in the market, so make sure you choose one that is compatible with polymer clay and your chosen printing method.
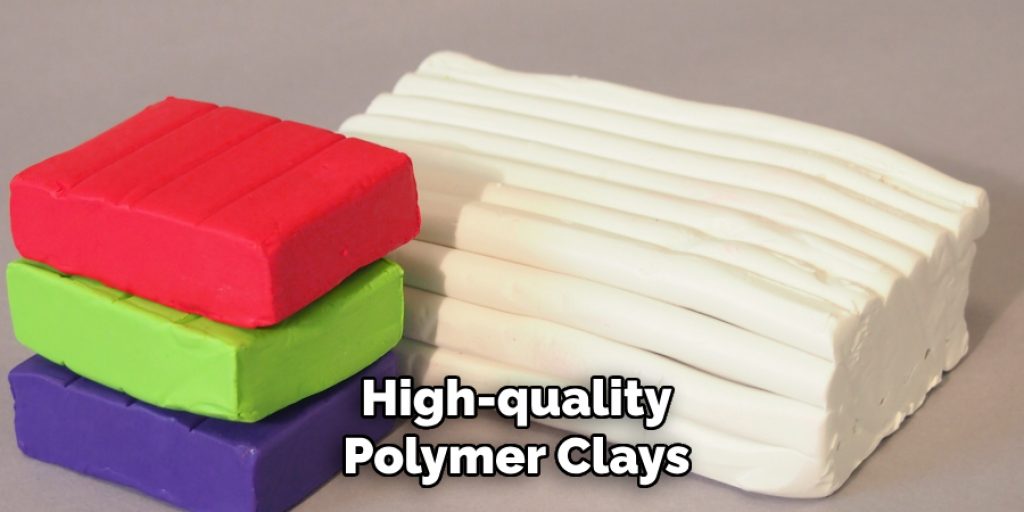
Polymer Clay:
Choose a high-quality brand of polymer clay for best results. Make sure to condition the clay before using it to create a smooth surface for transferring the design onto.
8 Steps on How to Make Polymer Clay Transfer Paper
Step 1: Choose and Prepare Your Design
The first step in making your polymer clay transfer paper is to select a design that you would like to feature on your clay project. This can be anything from intricate patterns to simple images or text. Once you have chosen your design, it is essential to prepare it for printing. Use graphic design software or image editing tools to adjust the size and resolution of your image, ensuring it matches the dimensions of the transfer paper you will be using.

If necessary, convert the image to a suitable format (such as PNG or JPEG) and make any final adjustments, such as enhancing colors or applying filters, to achieve the desired look. Once your design is ready, save it and proceed to the next step to start the transfer process.
Step 2: Print Your Design onto the Transfer Paper
With your design prepared, it’s time to print it onto the transfer paper. Begin by ensuring that your printer settings are correctly configured for the type of transfer paper you are using. Select the highest-quality print setting to achieve the best results, as this will ensure that the details in your design are crisp and clear. Place the transfer paper into the printer, ensuring that it is oriented correctly based on the printer’s requirements.
Once everything is set, print your design. After printing, allow the ink to dry completely before handling the paper to prevent smudging. This usually takes a few minutes, depending on the type of ink and paper utilized. Once dry, you are ready to move on to the next step in the process of transferring your design onto polymer clay.
Step 3: Choose Your Clay
Selecting the right polymer clay is crucial for achieving the best results with your transfer process. When choosing your clay, consider factors such as color, texture, and the brand’s quality. High-quality polymer clays, like Sculpey or Fimo, offer excellent adhesion for transfers and consistent results. You may opt for a specific color that complements your design or use white or light-colored clay as a base to make the transfer stand out more vibrantly.
Additionally, ensure that the clay is properly conditioned before use; this will help provide a smooth surface for your design and enhance the overall durability of your finished piece. Once you have selected your clay, you will be ready to prepare it for the transfer process in the following steps.
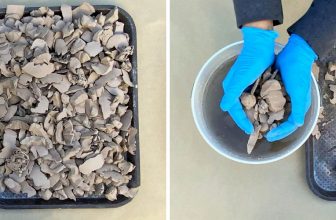
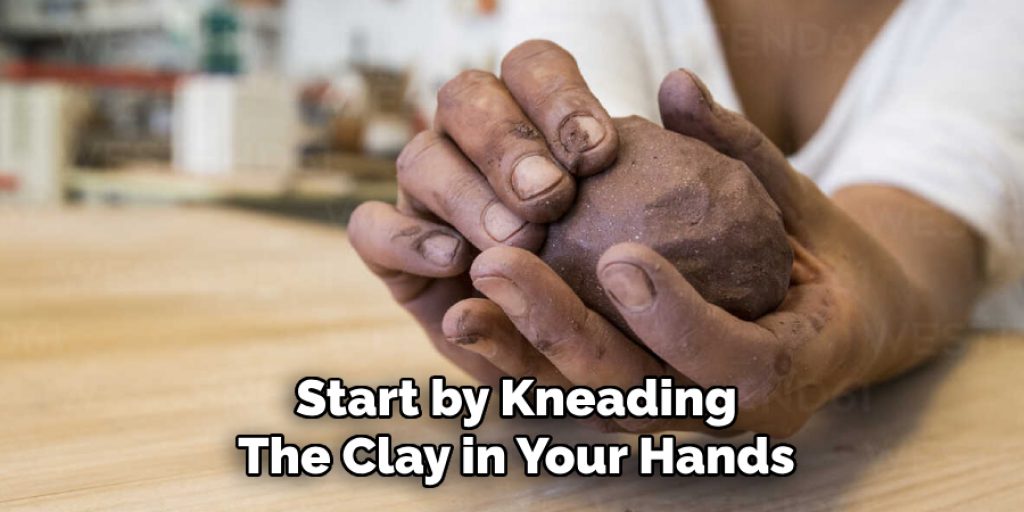
Step 4: Conditioning the Clay
Before you can begin transferring your design, it is essential to properly condition your clay. This step helps ensure that the clay’s consistency and flexibility are consistent throughout, making it easier to work with. Start by kneading the clay in your hands until it becomes soft and pliable. You may also use a clay conditioning machine for more precise results.
Once conditioned, flatten the clay into a smooth sheet using a rolling pin or pasta machine at an even thickness. Make sure there are no air bubbles or creases in the sheet as these can affect how well the transfer adheres to the surface of your project.
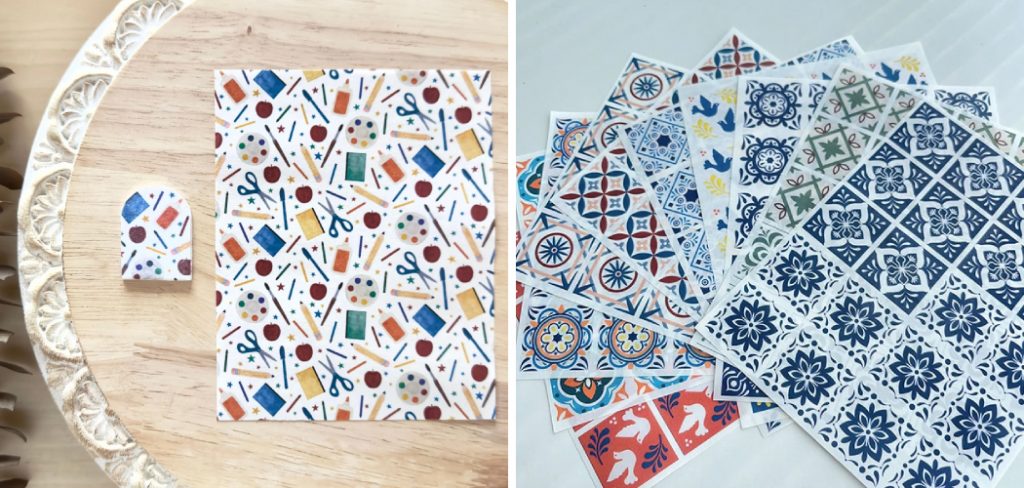
Step 5: Cut Your Transfer Paper
Once your printed design has dried completely, it’s time to cut your transfer paper to the desired size and shape. Use a pair of sharp scissors or a craft knife and a cutting mat for precision. Take care to cut closely around the design to minimize excess paper around the edges, as this will ensure a cleaner transfer onto your polymer clay.
If your design has intricate details, make sure to navigate carefully, preserving the integrity of the image. After cutting, lay the transfer paper aside, ready for application in the next step.
Step 6: Apply the Design to the Clay
With your clay sheet and transfer paper prepared, it is time to apply the design to the clay. Place the transfer paper on top of the flattened clay sheet, with the printed side facing down and aligned correctly on the surface of your project.
Using firm pressure, smooth out any air bubbles or creases in your design. Take care not to move the paper around too much during this process as it can cause smudging.
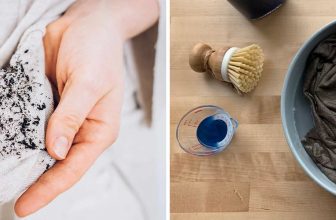
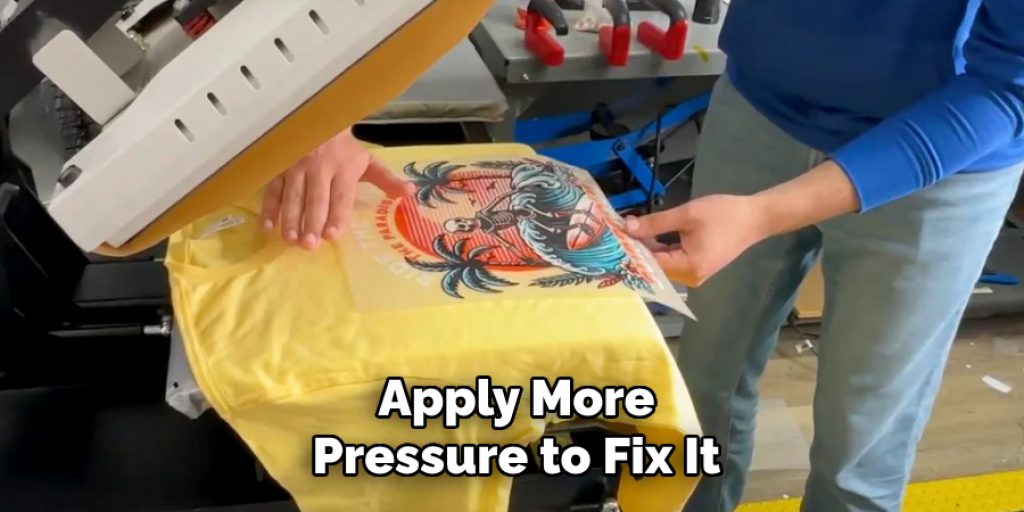
Step 7: Peel off the Transfer Paper
Once you have successfully transferred your design onto the clay, carefully peel off the transfer paper from one corner. Work slowly and gently to avoid damaging or distorting your transferred design. If you notice any areas that have not adhered correctly, carefully place the transfer paper back down and apply more pressure to fix it before removing the paper again.
You should now have a beautifully transferred design on your clay sheet, and you are almost ready to use it for your project!
Step 8: Bake Your Clay
To ensure that the transfer is permanently adhered to the clay surface, it is crucial to bake your clay according to the manufacturer’s instructions. Typically, this involves baking at temperatures between 265-275°F (or as specified for your chosen brand) for around 15-30 minutes, depending on the size of your project. Once baked, allow the clay to cool before handling it or using it in any other projects.
And there you have it – a complete guide on how to make polymer clay transfer paper! By following these steps, you can easily add vibrant designs and patterns to your clay projects. Experiment with different colors, images and techniques to create unique and personalized pieces that showcase your creativity. With the right materials and tools, the possibilities are endless for incorporating transfer paper into your polymer clay creations. Happy crafting!
Frequently Asked Questions
Q: What is Polymer Clay Transfer Paper?
A: Polymer clay transfer paper is a special type of paper used to transfer designs onto polymer clay surfaces. It allows for precise and detailed images to be transferred onto clays, creating unique and vibrant patterns on finished projects.
Q: Can I Use Regular Paper Instead of Transfer Paper?
A: Regular paper is not recommended for transferring designs onto polymer clay as it may not adhere properly or may leave residue on the surface of the clay. Transfer paper is specially designed for this purpose and yields better results.
Q: Can I Use Any Type of Polymer Clay for Transfers?
A: Ideally, high-quality polymer clays like Sculpey or Fimo are recommended for transfers as they offer excellent adhesion and consistent results. However, you may use other brands as long as the clay is properly conditioned before use.
Q: Can I Reuse Transfer Paper?
A: Transfer paper can be reused multiple times until it loses its adhesive properties or becomes too worn out to produce clean transfers. It is best to replace the transfer paper when this happens to ensure the best results in your projects.
Conclusion
In conclusion, mastering the art of applying polymer clay transfer paper can significantly enhance your crafting projects by adding personalized and intricate designs with ease. By following the outlined steps on how to make polymer clay transfer paper—from selecting the right clay and conditioning it properly to carefully applying and baking your transfers—you can achieve professional-looking results that showcase your creativity.
Remember to experiment with various colors and designs, as the versatility of polymer clay allows for endless possibilities. With practice and patience, you’ll develop your unique style and create beautiful pieces that truly reflect your artistic vision. Happy crafting, and may your projects be as vibrant and inspiring as your imagination!
Elizabeth Davis
Elizabeth is a creative writer and digital editor based in the United States. She has a passion for the arts and crafts, which she developed from a young age. Elizabeth has always loved experimenting with new mediums and sharing her work with others. When she started blogging, she knew that DIYquickly would be the perfect platform to share her tutorials and tips. She's been writing for the blog from the beginning, and her readers love her helpful advice and easy-to-follow instructions. When she's not writing or editing, Elizabeth enjoys spending time with her family and friends.