
How to Make Ribbon from Fabric
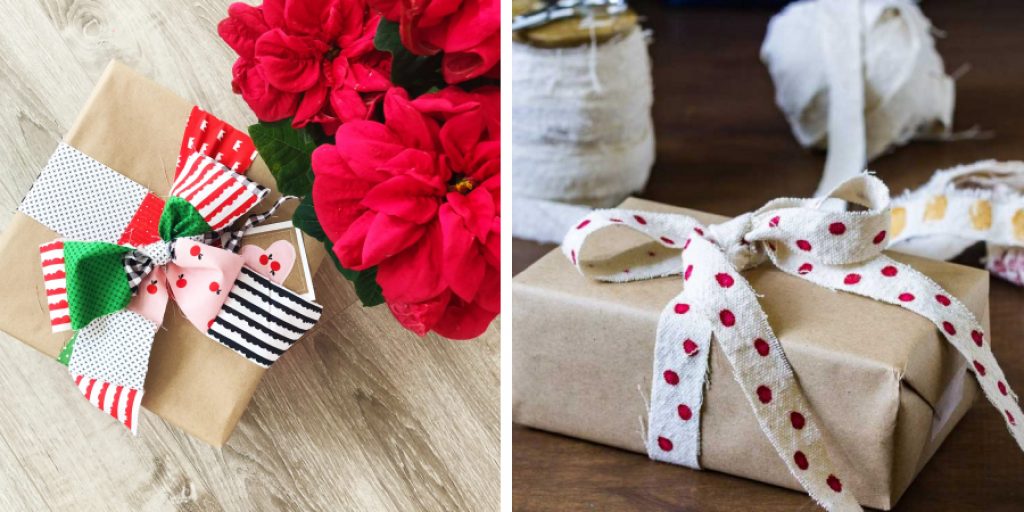
If you’re a creative diy-er, looking to add that special touch to your handmade projects, then learning to make ribbons from fabric is the perfect skill for you. Ribbon can be used in a variety of ways; whether it’s tying up a gift package, decorating a home or creating clothing accessories – making ribbon out of fabric gives crafting projects an extra layer of design and meaning.
This unique form of craftsmanship has been passed down through generations and continues to bring joy to many crafters today. In this blog post we will discuss all the steps necessary for how to make ribbon from fabric as well as provide some helpful tips and tricks along the way!
Can You Use Fabric as Ribbon?
Yes, you can use fabric as ribbon! Ribbon made from fabric is an attractive and versatile option for many crafting projects. With the right supplies and a few simple steps, you can create your own custom fabric ribbons to add special touches to everything from scrapbooks and cards to clothing.
Here’s how it’s done:
First, select a piece of fabric for your ribbon. Cotton fabrics work best for this project, but you can also use silks and other light-weight materials. Make sure to choose something that won’t fray too easily; this will help keep the edges of your ribbon neat and clean.
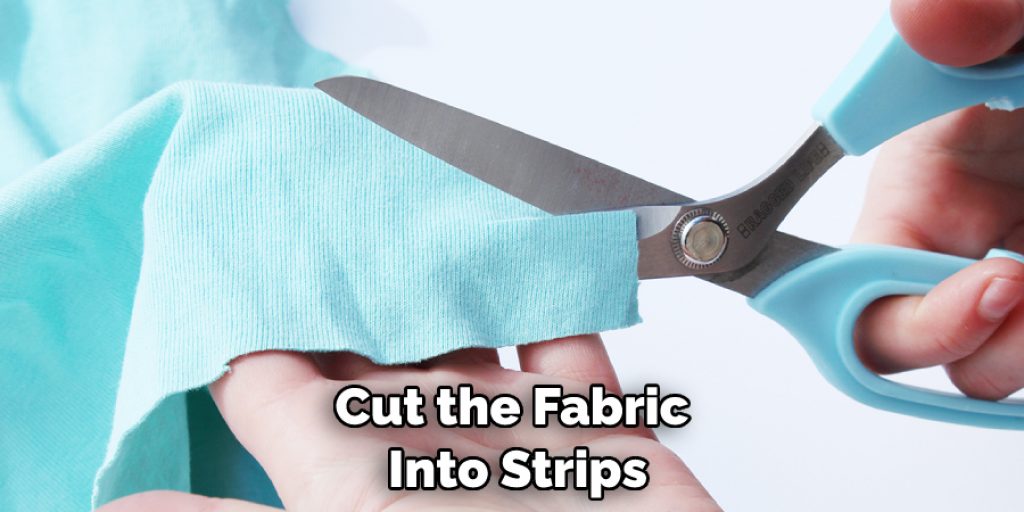
Next, cut the fabric into strips of the desired size. Consider the length and width of the ribbon you need for your project before getting started. Make sure to cut both sides straight and evenly, as this will ensure a cleaner look when you are finished.
Once your fabric strips are ready, use an iron to press them flat. This will help keep the edges from fraying and give you a neat finish. Iron the edges in towards the middle of the ribbon, and press down firmly.
What Fabric Is Ribbon Made of?
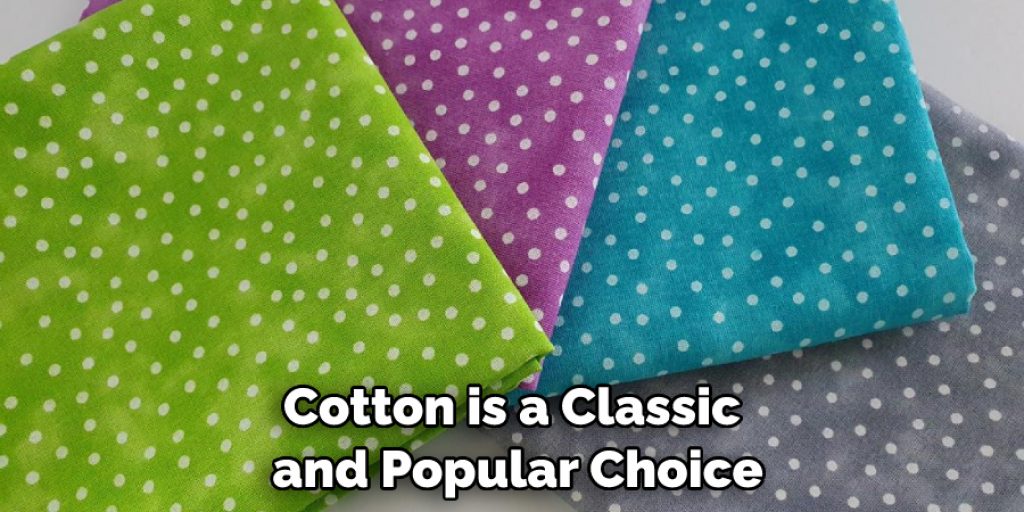
Ribbon is typically made of fabrics that are durable and lightweight, such as cotton, satin, velvet and grosgrain. Cotton is a classic and popular choice for making ribbon because it is strong, yet still soft to the touch. Satin has a beautiful sheen that gives ribbons an elegant look, while velvet adds texture and richness.
Grosgrain ribbon is made from a tightly woven fabric with raised ribs along its length – which gives it a ribbed appearance and more durability than other fabrics. It’s often used for heavier items like gift wrapping and hair bows. No matter which type of fabric you choose when making ribbon, you’ll want to select one that’s easy to work with so that your project turns out just the way you envisioned it!
When selecting fabric for making ribbon, there are few things to keep in mind. The ribbon will need to be able to withstand wrinkles and creases, so look for fabrics that are tightly woven and won’t fray easily. You should also consider the fabric color; if you plan on dying or bleaching it later on, find a fabric in a lighter shade than what you want your finished product to be.
Finally, don’t forget about texture – different types of ribbons can give off different feelings when touched! With the right fabric choice, you can create beautiful and unique ribbons with ease.
Now that we know what kind of fabric is used when making ribbon, let’s take a look at the process itself. To get started, measure and cut out your desired length of fabric. Next, use an iron to press the fabric so that it’s free of any wrinkles.
6 Methods on How to Make Ribbon from Fabric
1. Sewing
One of the most common ways to make ribbon is by sewing it. This method is simple and only requires a few supplies. First, you will need to choose the fabric you want to use. Then, cut the fabric into strips that are the desired width of your ribbon.
Once the strips are cut, sew them together end-to-end until you have one long strip. Finally, sew the strip into a loop and voila! You have your very own ribbon. Additionally, you can add decorative elements such as bows or buttons to create a more unique look. However, keep in mind that this method requires a bit more skill and time.
2. Knitting
Another way to make ribbon is by knitting it. This method is similar to sewing, but instead of using a needle and thread, you will use a pair of knitting needles. First, choose the yarn you want to use and knit a long strip.
Then, sew the strip into a loop and voila! You have your very own ribbon. To make it extra special, try adding a few extra stitches in different colors. Your ribbon will be sure to stand out! Additionally, you can use the same technique to make bows or other embellishments for your project.
3. Crocheting
Crocheting is another great way to make ribbons. Like knitting, this method is similar to sewing, but instead of using a needle and thread, you will use a crochet hook. First, choose the yarn you want to use and crochet a long strip. Then, sew the strip into a loop, and voila!
You have your very own ribbon. You can also use this method to make ombre or chevron ribbons; just change up the type of yarn you’re using to get the desired effect. For detailed instructions, check out this tutorial on how to make a chevron ribbon with crochet! Although crocheting may take more time than the other methods, it’s great for making intricate patterns and designs.
4. Loom Weaving
Loom weaving is another popular method for making ribbons. This method requires the use of a loom, which can be purchased at most craft stores. First, choose the yarn or fabric you want to use and attach it to the loom.

Then, weave the yarn or fabric over and under the warp threads until you have reached the desired width for your ribbon. Finally, cut the ribbon from the loom, and voila! You have your very own ribbon. This method is great for creating intricate patterns in your ribbon. If you want to add a special touch to your ribbon, try adding some colorful beads or sequins.
5. Braiding
Braiding is another great way to make ribbons from fabric or yarn. This method is similar to weaving, but instead of using a loom, you will simply braid the strips of fabric or yarn together by hand. First, choose the fabric or yarn you want to use and cut it into strips that are the desired width for your ribbon.
Then, braid the strips together until you have reached the desired length for your ribbon. Finally, tie off the end of the braid, and voila! You have your very own ribbon! When using this method, make sure to use fabric or yarn that is slightly stretchy so the braid doesn’t come undone. This technique may take a bit of practice, but it’s worth the effort!
6. Dyeing
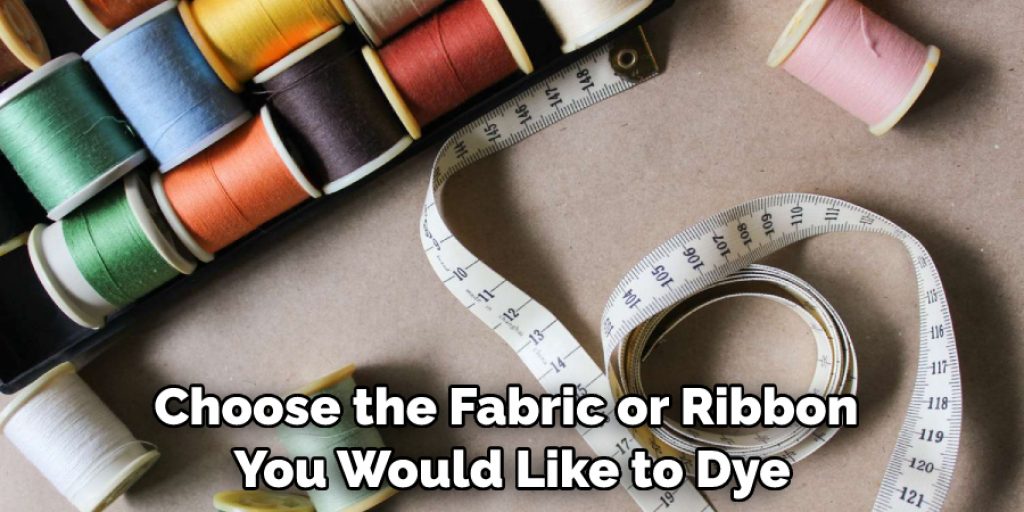
Dyeing is the perfect way to make your ribbon look unique and add a special touch. First, choose the fabric or ribbon you would like to dye. Be sure to read the fabric or ribbon’s instructions about dyeing, as not all fabrics or ribbons can be dyed. Next, mix up your dye according to the package directions and submerge your fabric or ribbon into the mixture for about 30 minutes.
Once done, rinse off the excess dye and hang it to dry. Once your fabric or ribbon is completely dry, you can begin to make the ribbon. Keep in mind that dyeing will not only change the color of your fabric or ribbon, but also its texture and feel. Experiment with different colors and mixtures for a unique look!
Some Common Mistakes When Making Ribbons from Fabrics
1. Not Testing the Fabric Before Cutting:
Before cutting into your fabric, it is important to test that it holds up to being stretched and manipulated in ribbon-like shapes. An improperly cut ribbon can lead to frayed edges or a weak product overall.
2. Not Setting the Proper Width of the Ribbon:
The wider the ribbon, the more fabric you will need to cut and use. If your ribbon is too narrow, it will be difficult to manipulate into a bow or other decorative shape.
3. Not Pressing the Ribbon after Cutting:
Pressing the ribbon with an iron after cutting it can help make sure that all of your cuts are as straight as possible, which will make it easier to create the desired shape with your ribbon.
Conclusion
Making your own ribbon is both rewarding and fun. It’s also a great project to do with the kids for some creative bonding time or with friends to enjoy a crafty afternoon. The process may take more time than simply buying ready-made ribbons, but that extra time can be very satisfying when you end up with unique personalized products.
By following the steps outlined in this article, you can learn how to make ribbon from fabric and start creating your own colorful decorations. Whether you’re looking for an accessory for a DIY gift wrap or a way to liven up your next party, this tutorial can help you get just the look you want.
Nancy Behan
Nancy is an embroidery artist, fashion blogger and a full time editor at DIY quickly. Nancy edits the fashion section on DIY quickly, focusing on the embroidery and cross stitch articles, alongside with fabric and other costume design elements. She graduated from the University of Michigan with a Bachelor of Arts in Art History. She loves to work on her own projects, read books and watch romantic movies in her spare time.


