
How to Finish a Weaving Loom Project
Introduction
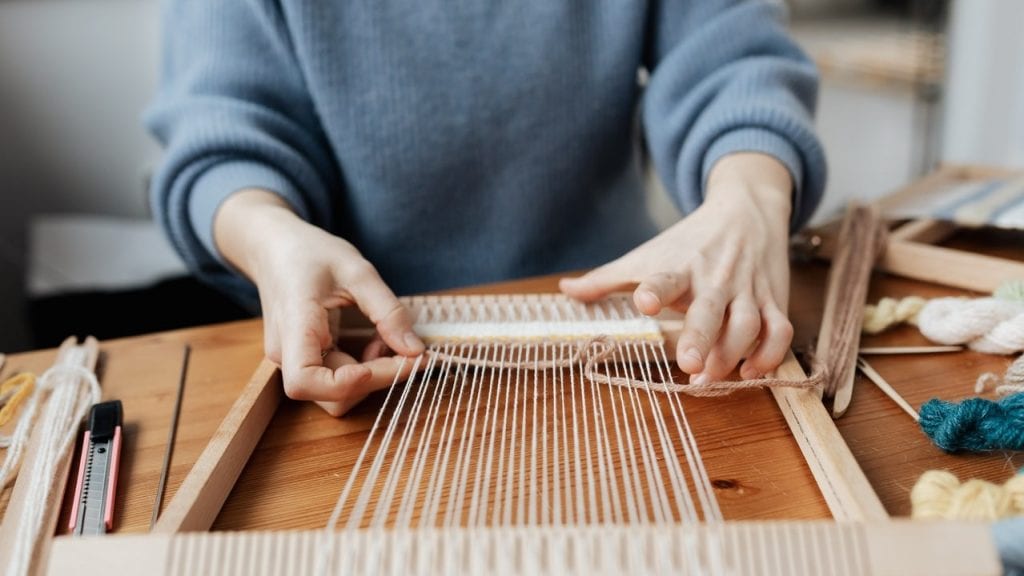
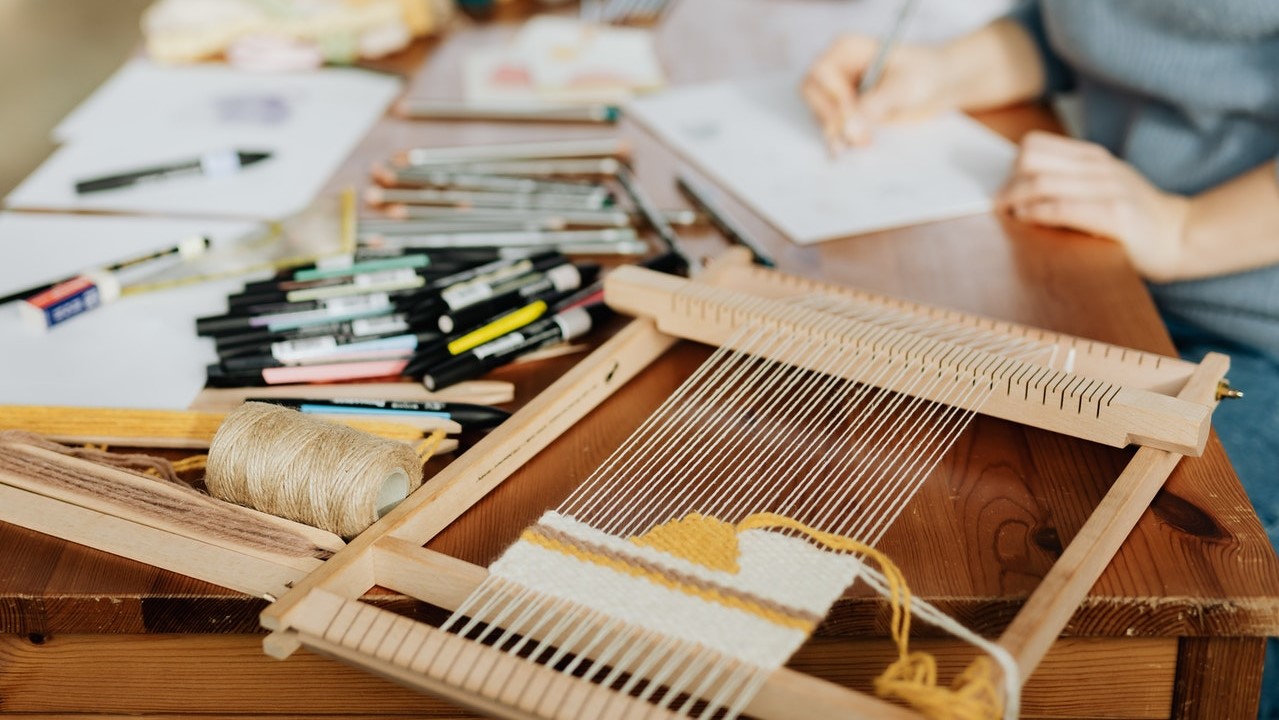
Weaving looms are always a fun thing to do, people get intrigued by seeing the techniques and outputs obtained by weaving, but sometimes the beginners fall prey to the complexity of ending the loom. For this reason today, we are suggesting the technique of how to finish a weaving loom project, which will help them to get rid of such confusion and make their work much fruitful.
Procedure
There are two parts for this entire process to get completed because the weaving is always started from the top, and it is finished at the bottom, so two sets are warp threads that are suspended on either end. We have to manage all these warp threads, and then our total weaving the loom will be finished. This is a natural process, and anybody who is inclined to weaving can apply this procedure to complete the work.
We have chosen to start from the lower end in order to maintain the tension of the warp threads around the entire surface of the loom. The suspended threads at this end are not knotted, so they are easier to pull and this will reduce the sturdiness of the weave. The stitch may also get unraveled.
In this case, we need to align all the loose ends with similar lengths, and this will maintain the tension around the whole surface at a minimum and equivalent level. To do this, we suggest taking two strings and tying a knot with them. We suggest using overhead knots because they are much firmer and there is less possibility of the treads slipping or falling off.
But for the odd numbers of warp threads, we prefer that you take the last three strands together to tie the knot in this manner. All the knots will be tied, and at the edge of the loom, there will be a sturdy loop created. Now take a needle, put them through two to three loops on the side, and then insert the remaining part of the knotted thread through the needle’s hole and stitch them inwards the loom. Thus the free ends will get attached in the opposite direction.

And there will be no hanging threads on the loom. The last step is to take a scissor and cut the extra unknotted wrap thread, and thus you will have a full finished weaving loom project. For the upper end, you have to repeat the same process, and this will be much easier because you will not have to tie any knot; instead, there will be rings formed by the weaving technique. You have to take them and sew those inwards and cut them with a scissor.
Frequently Asked Questions
What Can You Make With a Potholder Loom?
A potholder loom is a great way to create unique and personalized gifts for friends and family. You can make potholders, aprons, scarves, and even blankets using this versatile tool.
To use a potholder loom, you will need the following supplies:
• Potholder loom (you can find these online or at craft stores)
• Yarn of your choice
• Crochet hook size G (4.0 mm)
• Scissors
• Fusible webbing (optional)
The first thing you will need to do is thread the yarn through the holes on the loom. Make sure that the yarn is long enough so that you can weave it in and out of the holes several times. You may also want to use fusible webbing if you want your project to be extra durable.
Once you have threaded the yarn through the loom, you will need to start weaving it in and out of the holes. You can use any type of weaving pattern that you like. If you are new to weaving, you may want to start with a simple over-under pattern.
As you weave, you will need to periodically tighten the yarn so that it does not become too loose. Once you have reached the end of the loom, you can cut the yarn and tie it off.
Now, you will need to remove your project from the loom.
Once the yarn is threaded through the loom, start crocheting using basic crochet stitches. You can make simple designs or intricate patterns, as desired. When you are finished crocheting, cut off the excess yarn and knot it securely in place.
What Is Ppi Weaving?
PPI Weaving is a process that helps in the production of high-quality, low-cost products. It is a manufacturing process that uses many different types of fabrics to create products such as clothing, home furnishings, and accessories. The benefits of PPI Weaving include:
• It is a fast and efficient process that can produce high-quality products at low costs.
• It allows for customization and personalization of products.
• It is environmentally friendly because it does not use any harmful chemicals or dyes.
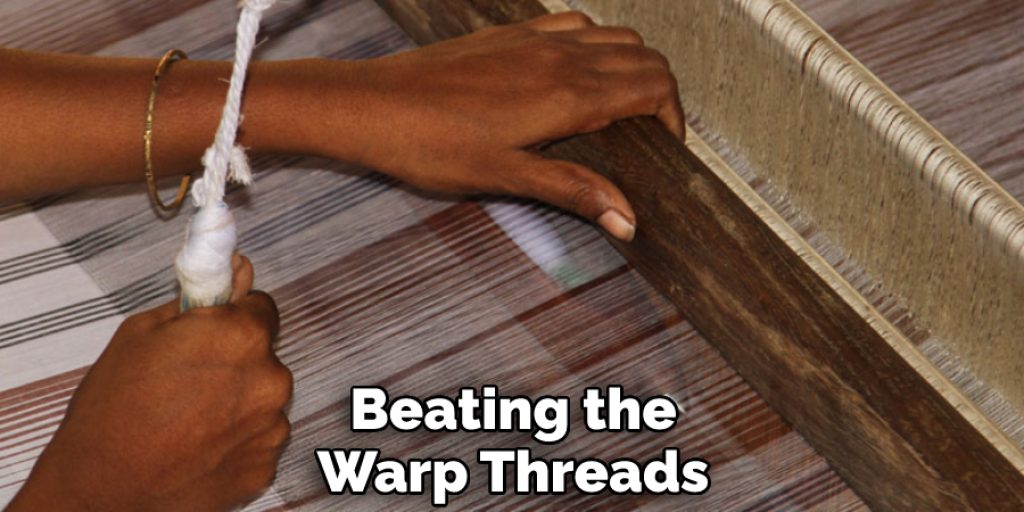
What Does Beating Mean in Weaving?
Beating the warp threads (the long strands of yarn that go horizontally across the loom) up and down with a beater every eighth or sixteenth of a mile creates the motion necessary for each row of weft threads (the short strands of yarn that go vertically across the loom).
What Is a Reed on a Loom?
A reed on a loom is a machine that weaves fabric. It has a bunch of horizontal beams at the top that are connected by rods or wires. The warp threads go through the bottom of each beam and the weft threads go over and under the warp threads. The reed moving on the loom makes the woven fabric.
What Is a Weaving Sword?
A weaving sword is a type of sword that was used in ancient China and Japan. It is a long, thin weapon that was designed to be used with one hand. Weaving swords were typically made from steel or bamboo and had a sharp edge on one end and a blunt end. They were used primarily for cutting through fabric.
Weaving swords were used by both civilians and soldiers. They were popular among women because they could be used to cut through their clothing. Weaving swords were also used by ninjas and samurai.
The weaving sword is believed to have originated in China. It was later introduced to Japan, where it became known as the ninjato.
Conclusion
Lastly, we would like to infer that the technique that we have mentioned here will be much helpful to finish the weaving projects that you have undertaken, and this will allow the beginners to improve their skills as well as have sound output from their task. Happy weaving! Have a good day!!
Elizabeth Davis
Elizabeth is a creative writer and digital editor based in the United States. She has a passion for the arts and crafts, which she developed from a young age. Elizabeth has always loved experimenting with new mediums and sharing her work with others. When she started blogging, she knew that DIYquickly would be the perfect platform to share her tutorials and tips. She's been writing for the blog from the beginning, and her readers love her helpful advice and easy-to-follow instructions. When she's not writing or editing, Elizabeth enjoys spending time with her family and friends.


