How to Make Serger Stitch Smaller
Are you tired of using the same serger stitch size for all your projects? Do you want to learn how to make your serger stitches smaller? If yes, then keep reading to find out how!
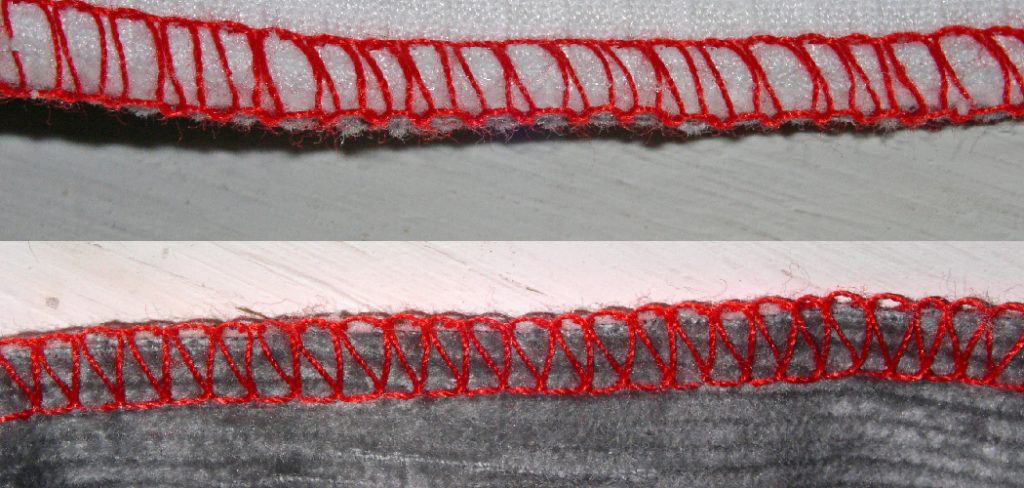
Understanding how to make serger stitch smaller can enhance the quality and versatility of your sewing projects. Whether you’re working on delicate garments or intricate patterns, achieving a tighter stitch can provide a neater finish and greater control over the fabric. In this guide, we will explore various techniques and settings adjustments that can help you successfully modify the stitch size on your serger.
By mastering these methods, you’ll improve your sewing skills and achieve professional-looking results in your creations. Let’s get started!
What Will You Need?
Before we dive into the steps on how to make serger stitch smaller, here are some essential items you will need:
- Serger Machine: A serger machine is necessary for creating a professional and neat finish on your sewing projects. It can also help you achieve various types of stitches, including small ones.
- Thread: The type of thread used can affect the tension and size of the stitches. Make sure to choose a high-quality thread suitable for your fabric and project.
- Fabric: Different fabrics may require different settings and techniques to achieve a smaller serger stitch. Choosing the right fabric is crucial in achieving the desired results.
- Serger Needles: Using the correct needles can also impact the stitch size. Be sure to use sharp and new serger needles for best results.
- Serger Manual: It is always helpful to have your serger manual handy to refer to specific settings and techniques the manufacturer recommends.
Once you have gathered all the necessary items, you can adjust your serger stitch size.
10 Easy Steps on How to Make Serger Stitch Smaller:
Step 1: Adjust the Stitch Length
The first step in making your serger stitch smaller is to adjust the stitch length. Locate the stitch length dial on your serger machine and turn it to a shorter setting. A smaller stitch length will create tighter stitches, which is essential for achieving the desired finish. Remember to test on a scrap piece of fabric to ensure you’re happy with the adjustment before starting on your actual project.
Step 2: Modify the Tension Settings
The next step to achieve smaller serger stitches is to modify the tension settings on your machine. Locate the tension dials for each thread on your serger and make adjustments to increase the tension slightly. Higher tension can result in tighter stitches, helping you achieve the compact look you desire.
Again, performing a test run on scrap fabric is advisable to check how the modifications affect the stitch appearance and ensure that the fabric does not pucker. Adjusting tension may require some trial and error, so don’t hesitate to fine-tune it until you achieve the perfect smaller stitch size.
Step 3: Change the Differential Feed Ratio
Adjusting the differential feed ratio can also contribute to smaller serger stitches. The differential feed mechanism on your serger controls how the fabric is fed through the machine. To create tighter stitches, turn the differential feed dial to a lower setting. This variation helps prevent excess fabric from gathering, allowing for a more controlled stitch formation. As always, it’s recommended to test this adjustment on a scrap piece to observe how it affects the stitch size and fabric handling.
Step 4: Select the Appropriate Stitch Type
Choosing the right stitch type can significantly impact the size and appearance of your serger stitches. Most serger machines offer stitch options, such as 3-thread, 4-thread, or rolled hem stitches. For smaller and tighter stitches, consider using a 3-thread stitch configuration or a rolled hem setting, as these typically create more compact stitches compared to a standard 4-thread stitch.
Be sure to consult your serger manual for specific instructions on how to select and set up these stitch types, and conduct a test on scrap fabric to ensure the desired stitch size and look are achieved.
Step 5: Experiment with Fabric Stretch
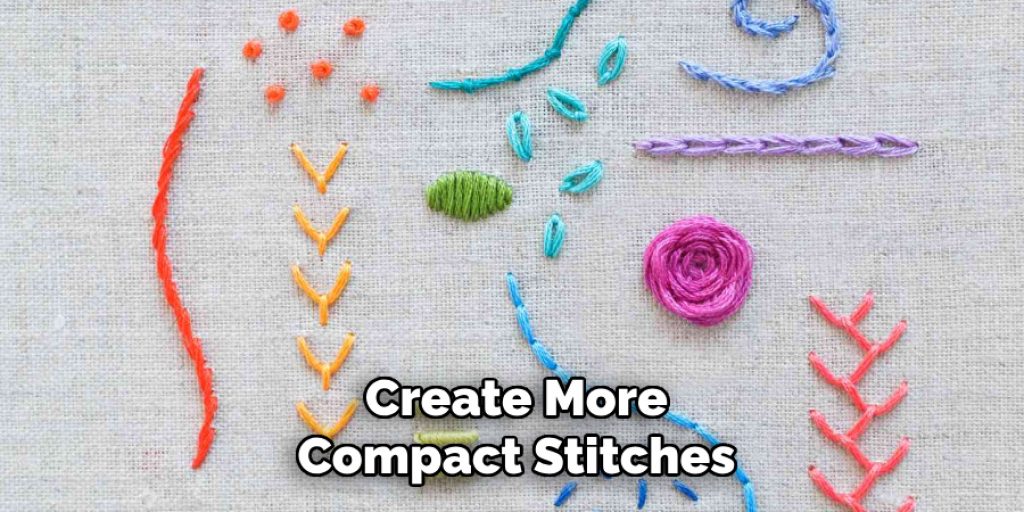
The characteristics of your fabric can play a crucial role in how small your serger stitches can be. Fabrics that have a natural stretch, like knits, may require a different approach compared to woven fabrics. For tighter stitches, consider experimenting with stabilizers or interfacing on stretchy fabrics to help maintain a consistent stitch size. Always do a test stitch on fabric samples to find the right balance between fabric elasticity and stitch tightness.
Step 6: Use Stabilizers
Incorporating stabilizers during serging can greatly enhance stitch quality and size. Stabilizers provide support for the fabric, preventing it from shifting or puckering, which is especially important when working with lightweight or stretchy materials. You can use tear-away or wash-away stabilizers, depending on your project. Cut a piece of stabilizer slightly larger than your fabric, place it underneath when you begin serging, and remove it as needed after stitching.
Step 7: Fine-Tune Regularly
As you work on different projects, take the time to fine-tune your serger settings regularly. Changes in fabric type, thickness, and sewing techniques may require you to readjust stitch length, tension, and feed settings. Regular checks ensure you consistently achieve the smaller stitch size you desire, leading to a more polished and professional finish on all your creations.
Step 8: Maintain Your Serger
A well-maintained serger is vital for optimal performance. Dust, lint, and thread build-up can affect the quality of stitching, so ensure you clean your machine after each use. Regular maintenance, including oiling the necessary parts according to your serger manual, will keep it running smoothly and help achieve consistent stitch sizes.
Step 9: Practice Makes Perfect
As with any sewing technique, practice is key to mastering smaller serger stitches. Take time to experiment with different settings and techniques on various fabric types. The more you practice, the better you will understand how to adjust your serger for different projects, becoming more confident in achieving the desired results.

Step 10: Enjoy the Process
Serging can be a delightful and incredibly rewarding experience, offering a unique way to create beautiful garments and projects. Embrace the time spent at your machine; it’s an opportunity to experiment, learn, and refine your skills. Each project presents a new challenge, but you can discover innovative techniques that enhance your sewing journey with the right approach and patience.
Celebrating small victories along the way, whether it’s mastering a new stitch or achieving the perfect smaller stitch size, will keep your enthusiasm alive. Additionally, listening to music, watching tutorials, or documenting your progress can make the process more engaging. Remember, the joy of creating is just as important as the final product, so allow yourself to immerse in the craft and celebrate every step of your sewing adventure.
By following these steps and incorporating your creativity and personal touch, you can achieve smaller serger stitches with confidence and ease.
5 Things You Should Avoid
- Skipping Test Runs: Neglecting to test your adjustments on scrap fabric can lead to unexpected results. Always perform a test run before working on your actual project to ensure your settings are correctly calibrated.
- Overcompensating Tension Adjustments: While increasing tension can tighten stitches, excessive adjustments may cause the fabric to pucker or distort. Make gradual changes and avoid drastic adjustments to maintain fabric integrity.
- Ignoring Fabric Choice: Using inappropriate fabric types can hinder your ability to achieve smaller stitches. For example, attempting to serge thick quilts or heavy fabrics with settings meant for lightweight fabrics may yield unsatisfactory results.
- Skipping Stabilizers: Failing to use stabilizers can lead to inconsistent stitch sizes, especially on stretchy or lightweight materials. Stabilizers are essential for maintaining the fabric’s structure and ensuring even stitching.
- Disregarding Maintenance: Neglecting your serger’s upkeep can affect stitch quality. Regular cleaning and maintenance are vital for optimal performance; ensure that you remove any lint or thread build-up before starting a new project.
By following these tips and avoiding these common mistakes, you can achieve more minor and more precise serger stitches on all your sewing projects.
What Type of Serger Stitch is Best for Your Project?
Choosing the right serger stitch can be overwhelming, but understanding the different types and their uses can help you select the best one for your project. Here are some common serger stitches and their applications:
- 4-thread Overlock: This is a versatile stitch that works well on most fabrics and can be used for finishing edges, seaming, and hemming.
- 3-thread Overlock: Similar to the 4-thread overlock, this stitch creates a more compact finish ideal for lighter weight fabrics or decorative edging.
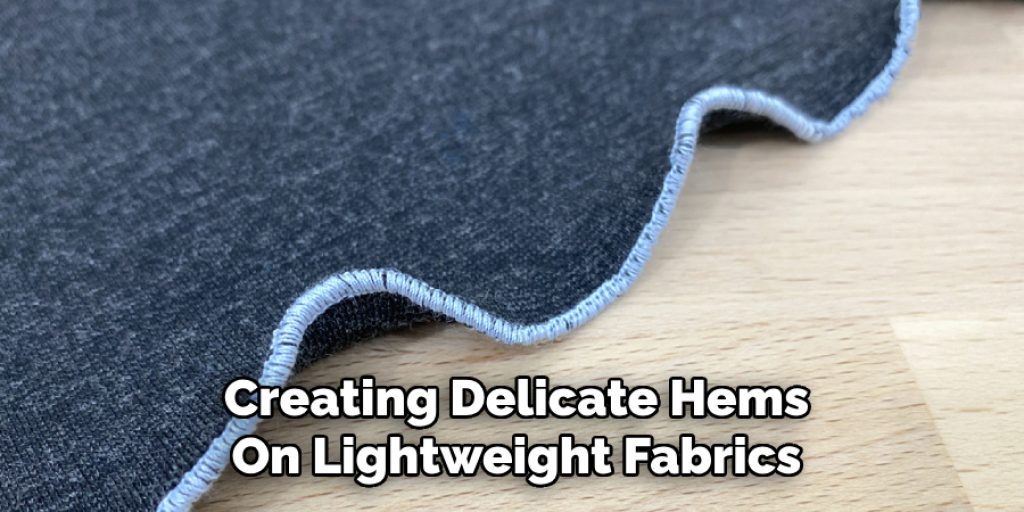
- Rolled Hem: Perfect for creating delicate hems on lightweight fabrics like chiffon or silk.
- Flatlock Stitch: Ideal for creating decorative seams on activewear, swimwear, or lingerie.
- Blind Hem: Great for creating invisible hems on pants, skirts, or dresses.
Ultimately, the best serger stitch will depend on your project requirements and personal preference. Experiment with different stitches and techniques to discover which works best for you.
Conclusion
How to make serger stitch smaller is a combination of understanding your machine, selecting the right settings, and practising your technique.
By consistently calibrating your tension, adjusting stitch length, and utilising stabilizers, you can create a professional finish that meets your project’s needs. Remember to regularly maintain your serger and test your settings on scrap fabric to ensure the best results. Embrace the learning process, as each new project offers an opportunity to refine your skills and discover creative solutions.
With dedication and patience, you’ll not only master smaller stitches but also enhance your overall sewing experience, resulting in beautifully constructed garments and crafts.

