
How to Make Spun Cotton Ornaments
Spun cotton ornaments are a delightful nod to vintage craftsmanship, beloved for their whimsical appeal and nostalgic charm. Originally popular in the late 19th and early 20th centuries, these ornaments were crafted by artisans using cotton fibers to create unique decorations for holiday celebrations. Their timeless quality and intricate designs have sparked a resurgence in interest, as crafters seek to preserve this enchanting art form.
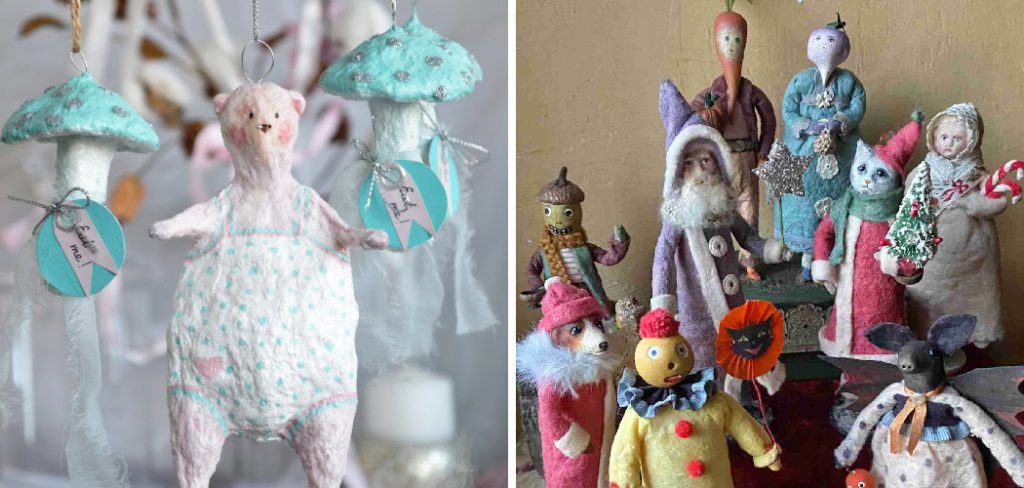
In this article, we will explore how to make spun cotton ornaments from start to finish, providing a comprehensive guide that covers materials, techniques, and creative tips. Whether you’re a seasoned crafter or a curious beginner, you’ll find practical advice and inspiration to create beautiful spun cotton ornaments that bring joy to your home and holiday festivities. Join us in discovering the art of crafting these charming pieces that celebrate tradition and creativity.
Materials and Tools Needed
To create your spun cotton ornaments, you’ll need a variety of materials and tools to ensure a successful crafting experience.
Materials:
- Cotton Batting: This will serve as the main material for your ornaments, providing the desired texture and appearance.
- Wire: Used to form the armature and shape of your ornament.
- Floral Tape: Useful for securing the cotton to the wire and for additional layering.
- Craft Glue: Essential for affixing the cotton pieces and any embellishments.
- Paint: Choose acrylics or watercolors to add color and details to your ornaments.
- Glitter: For adding sparkly accents, making your ornaments more festive.
Tools Required:
- Scissors: For cutting cotton batting and floral tape.
- Paintbrushes: To apply paint and glue effectively.
- Needle-Nose Pliers: Helpful for bending and twisting wire when creating your armature.
Optional Materials:
- Small Embellishments: Consider beads or ribbons to enhance your ornaments’ design and appeal. These add a personal touch and allow for creative expression in your spun cotton creations.
Preparing the Cotton
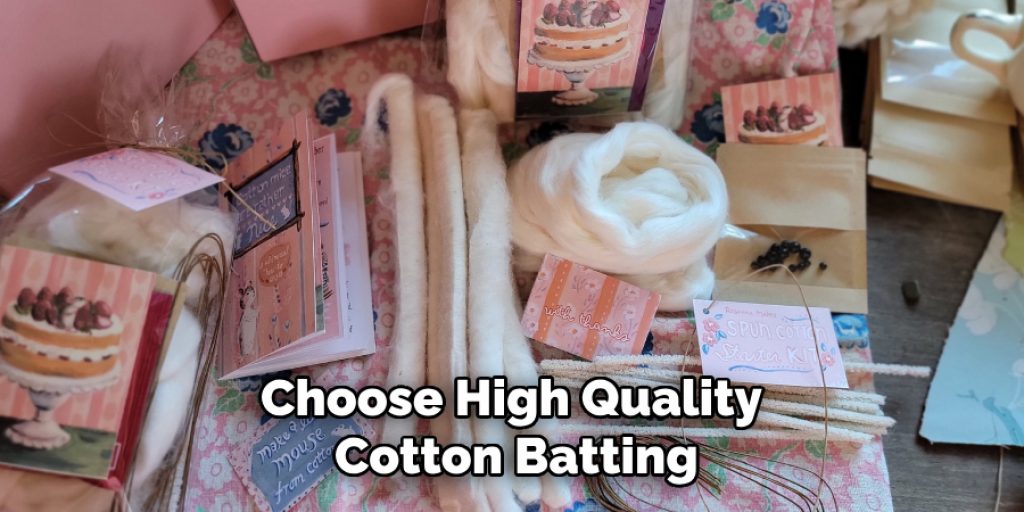
The first step in crafting your spun cotton ornaments is selecting and preparing your cotton batting. Choose high-quality cotton batting that has a soft and fluffy texture, as this will significantly affect the final appearance of your ornaments.
Begin by tearing or cutting the cotton into manageable pieces; aim for sizes that are comfortable to work with yet large enough to effectively wrap around your wire armature. A general guideline is to cut pieces about the size of your hand, as they can always be trimmed down if needed. When tearing the cotton, pull it apart gently to maintain its soft fibers, enhancing the overall look of your ornament.
When handling and shaping the cotton, it’s essential to keep your hands slightly damp or use a spray bottle to mist the cotton lightly. This will help prevent the fibers from becoming too static and make them easier to manipulate. As you wrap and form the cotton around your armature, take your time to ensure a smooth and even distribution, as this will contribute to the charm and finish of your spun cotton ornaments.
How to Make Spun Cotton Ornaments: Forming the Core Shape
Creating the core shape of your spun cotton ornament is a vital step that sets the foundation for your design. Start by preparing your wire armature, which will provide structure and support. For this, you’ll need a sturdy gauge of wire that can hold its shape while still being pliable enough for adjustments. Begin by cutting a length of wire that will serve as the central body of your ornament.
Next, bend the wire to form the basic shape of the body, arms, and legs as desired. Ensure that the proportionality is balanced, as this will affect the overall aesthetic of your ornament. To create a stable frame, twist sections of the wire together at joints to keep them secure. Wrapping additional wire around any areas needing extra support enhances durability, allowing the ornament to maintain its form during the subsequent crafting processes.
Creating a Wire Armature
Once your basic shape is established, it’s time to secure and wrap the wire armature. This involves taking floral tape to cover the wire frame, which softens the edges and helps the cotton adhere better when applied later. Be sure to wrap tightly but not so much that it compromises the structure; a smooth surface is essential for an even cotton layer. After the armature is fully secured with floral tape, you can start wrapping the cotton batting around it.
Wrapping the Cotton
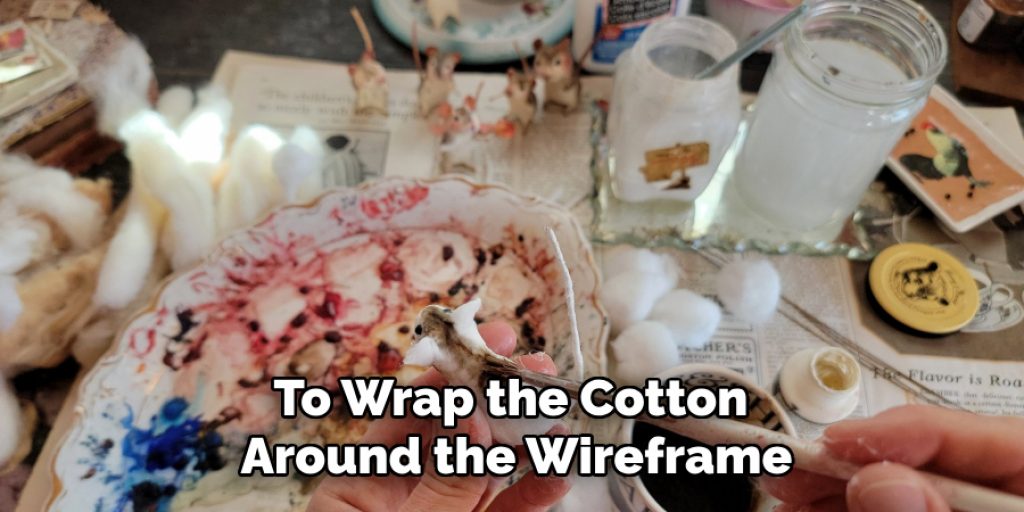
To wrap the cotton around the wireframe, secure one end of the cotton to the base. Gently wrap the cotton, layering it to build up the core shape. Ensure even coverage as you go along, smoothing and blending the cotton for a polished finish. Add layers until you achieve the desired volume and shape, ensuring the fabric is secure and aesthetically pleasing. The wrapping process is crucial, as it creates the softness and depth characteristic of spun cotton ornaments.
Adding Details and Features
Once the cotton is wrapped around the wire armature and you have achieved the desired core shape, it’s time to enhance your ornament by adding charming details and features. Start with sculpting facial features, as these personal touches bring your ornaments to life. To create the nose, cheeks, and other facial elements, tear small pieces of cotton and shape them accordingly. Use craft glue to secure these details in place, ensuring they don’t shift during handling. As you attach each piece, take a moment to smooth and blend the cotton with your fingers, achieving a natural, seamless look that enhances the overall character of your ornament.

Next, focus on shaping the body parts. To form arms, legs, and other protruding features, add cotton pieces and fold or twist them into the desired shapes. Attach these cotton parts to the core shape securely using craft glue. It’s crucial to ensure the proportions are balanced and visually appealing; if an arm looks too long or short, adjust it as necessary. Remember, the aesthetic of your spun cotton ornament lies in its whimsical charm, so don’t hesitate to experiment with different shapes and sizes as you create your unique masterpiece. The attention to detail will ultimately breathe life into your ornament, infusing it with personality and character that reflects your own crafting style.
Painting and Decorating the Ornament
Painting the Ornament
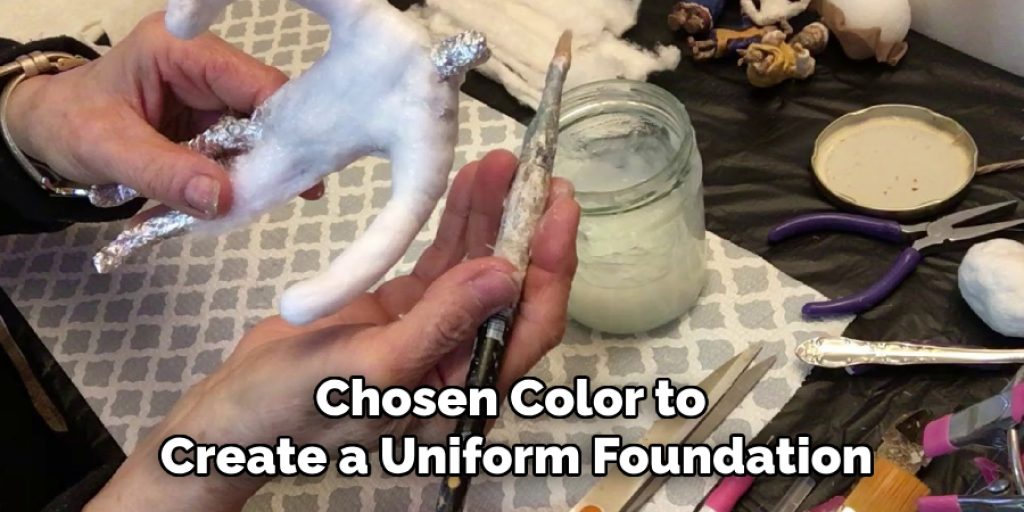
After adding details to your spun cotton ornament, the next phase is painting it to enhance its visual appeal. Choosing the right type of paint is crucial; acrylic paint works exceptionally well due to its vibrant colors and durability, making it a popular choice for ornaments. Alternatively, watercolors can create a soft, delicate finish if you desire a more subtle look. Start by applying a base coat of your chosen color to create a uniform foundation. Once dry, you can add intricate details such as eyes, clothes, or any other features that showcase your ornament’s character. Consider diluting your acrylic paint with water for a vintage look to achieve a washed-out finish, then lightly distress the edges with sandpaper or a dry brush technique. This method lends a charming, aged appearance that adds to the ornament’s uniqueness and charm.
Adding Glitter and Embellishments
To elevate your ornament further, incorporating glitter and embellishments can add a festive sparkle. Begin by applying craft glue to the specific areas where you want the glitter. Ensure the glue is evenly spread to prevent clumps. Once you’ve applied the glue, sprinkle the glitter generously over the glued areas, tapping off any excess to avoid a messy finish. To ensure the glitter adheres well, lightly mist the ornament with spray adhesive once the glue has set; this will create a lasting sparkle that withstands handling. Lastly, you can attach additional embellishments such as beads, ribbons, or other decorative items, using glue to secure them in place effectively. These embellishments will elevate the ornament’s aesthetic and showcase your creativity, making each piece a unique expression of your crafting style.
Assembling and Final Touches
Once your ornament is fully painted and decorated, it’s time to assemble everything and add the finishing touches. Begin by attaching a hanging loop or hook; this can be done by cutting a ribbon or string and gluing one end to the top of your ornament. Ensure the loop is securely fixed and supports the weight without pulling loose. After this, thoroughly check that all parts of your ornament are securely attached and balanced. Any loose elements should be reinforced with additional glue to prevent any mishaps during handling or display. Take a moment for a final inspection, examining your creation from different angles for any touch-ups required. Use paint or cotton to make adjustments and achieve a polished finish that elevates the overall appearance of your ornament.
Displaying and Storing Spun Cotton Ornaments
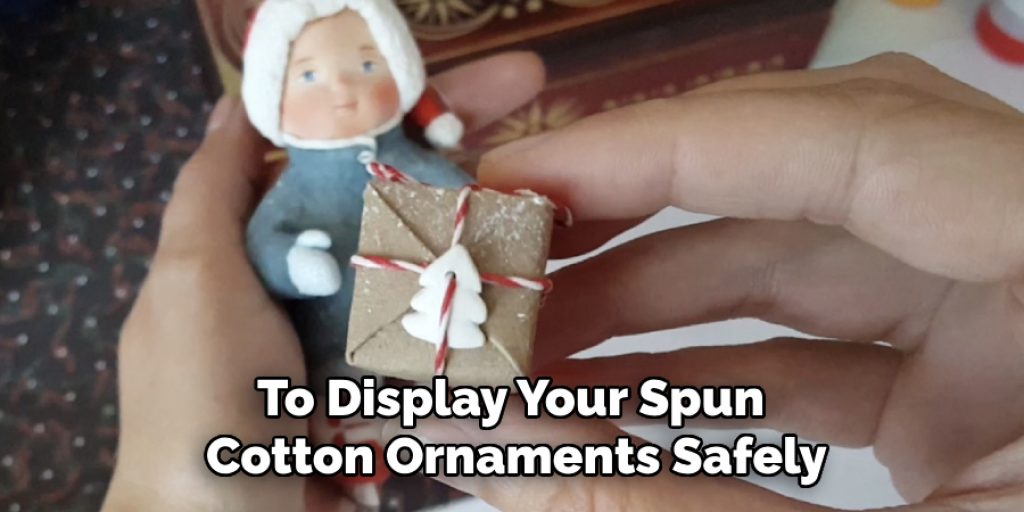
To display your spun cotton ornaments safely and attractively, consider using decorative hooks or shadow boxes that highlight their charm. Ensure they are placed away from direct sunlight and moisture to prevent fading and damage. Proper storage is essential for maintaining their condition when the season is over. Wrap individual ornaments in tissue paper or soft cloth to avoid scuffs and scratches and place them in a sturdy box. Utilizing silica gel packets can help absorb moisture and prevent mildew. By taking these precautions, you can ensure the longevity of your creations while preserving their vintage charm for many festive seasons to come.
Tips and Tricks for Successful Spun Cotton Ornaments
Creating beautiful spun cotton ornaments requires attention to detail and a few insider tips to enhance your crafting experience. One common mistake is over-saturating the cotton with glue, which can lead to a stiff and unappealing finish. To avoid this, use a light touch when applying glue and allow it to dry completely between layers. For more intricate designs, consider sculpting smaller features using finer pieces of cotton, which can add depth and character without overwhelming the ornament. Don’t hesitate to experiment with various materials; incorporating elements like lace, fabric scraps, or natural embellishments can result in unique textures and details that elevate your ornaments. Also, always have a variety of paint styles on hand to match your theme, making your ornaments stand out.
Conclusion
In summary, learning how to make spun cotton ornaments is a rewarding process that combines creativity with craftsmanship. The joy of producing these unique pieces lies in their creation and the personal touches that reflect one’s style. Embrace experimentation with different designs and themes, as every creation holds the potential to offer something special. Handmade ornaments exude charm and warmth, making them perfect for both personal displays and heartfelt gifts. With these skills, you can create timeless treasures that can be cherished for years to come.
Elizabeth Davis
Elizabeth is a creative writer and digital editor based in the United States. She has a passion for the arts and crafts, which she developed from a young age. Elizabeth has always loved experimenting with new mediums and sharing her work with others. When she started blogging, she knew that DIYquickly would be the perfect platform to share her tutorials and tips. She's been writing for the blog from the beginning, and her readers love her helpful advice and easy-to-follow instructions. When she's not writing or editing, Elizabeth enjoys spending time with her family and friends.


