How to Make Stained Glass Cards With Cricut
Creating stained glass cards with a Cricut machine is a delightful way to combine creativity and craftsmanship. This exciting project allows crafters to produce beautiful, vibrant cards that mimic the look of traditional stained glass. Whether you’re making cards for special occasions like birthdays, weddings, or holidays, these unique designs are sure to impress.

In this guide on how to make stained glass cards with cricut, we will walk you through the necessary materials, the step-by-step process, and some tips for making your stained glass cards shine. Get ready to unleash your artistic flair and bring a touch of color to your card-making adventures!
What is a Cricut Machine?
A Cricut machine is a cutting tool that allows you to create intricate designs and cut them out on various materials with precision. It uses design software called Design Space, which enables users to choose from thousands of pre-made designs or upload their own custom designs. The machine then cuts the chosen design using materials like cardstock, vinyl, and even fabric.
Cricut machines are widely used by crafters, scrapbookers, and designers to add a personal touch to their projects. The machines come in different models and sizes, with the most popular being the Cricut Explore Air 2 and the Cricut Maker. Both of these machines can be used to make stained glass cards, although the Maker offers more versatility when it comes to cutting materials.
Materials Needed
Making stained glass cards with a Cricut machine requires a few essential tools and materials. Here is a list of what you will need:
- A Cricut Machine (Explore Air 2 or Maker)
- Design Space Software
- Cardstock in Various Colors
- Adhesive Vinyl in Different Shades
- Transfer Tape
- Clear Acetate or Vellum Paper
- A Cutting Mat
- Weeding Tools (Optional)
- Scissors
- Glue or Double-sided Tape
- Cardstock for Card Base
8 Step-by-step Guidelines on How to Make Stained Glass Cards With Cricut
Step 1: Choose Your Design
- Log in to your Cricut Design Space software and choose the “Card” option from the project templates.
- Scroll through the available designs and select a stained glass design that catches your eye.
- Resize the design to fit your card size (standard size is 5×7 inches) and click “Make It” when you are satisfied with the design.

Step 2: Prepare Materials
- Choose the colors of cardstock and adhesive vinyl that best match your chosen design.
- Cut the cardstock to fit on your cutting mat and make sure the vinyl is large enough to cover the stained glass areas of your design.
- Place the cardstock on a cutting mat, load it into your Cricut machine, and select “Cardstock” as the material setting in Design Space.
Step 3: Cut Stained Glass Pieces
- Follow the instructions on Design Space to cut out the stained glass pieces on your cardstock.
- Once the cutting is complete, unload the mat and carefully remove the cardstock from it.
Step 4: Cut Adhesive Vinyl
- Remove the adhesive vinyl from its backing and place it on a cutting mat.
- Repeat step 3, but this time select “Vinyl” as the material setting in Design Space.
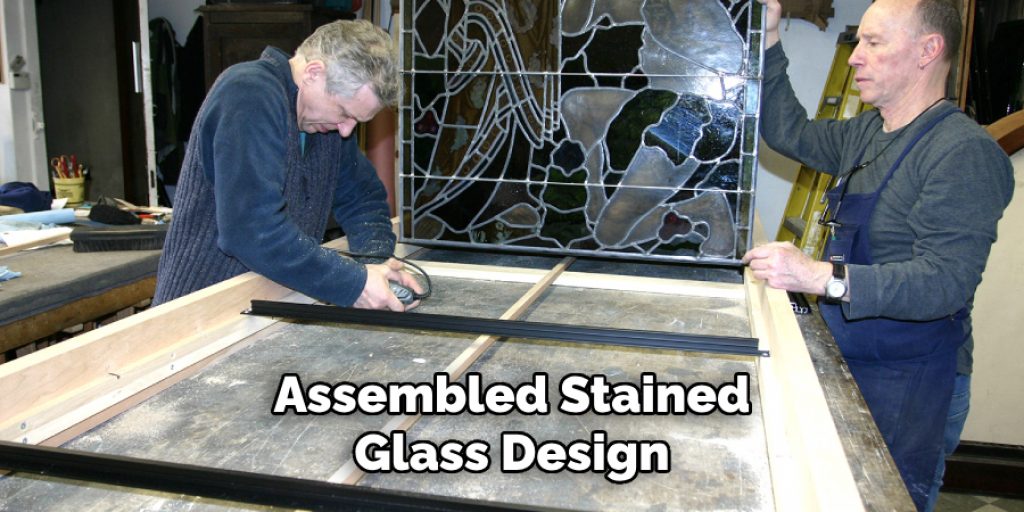
Step 5: Assemble Stained Glass Pieces
- Carefully remove the tiny cut-out pieces of cardstock from the main design using weeding tools or tweezers if needed.
- Glue or tape a piece of clear acetate or vellum paper behind the cut-out areas on the cardstock to create a stained glass effect.
- Next, carefully place the adhesive vinyl pieces over the acetate/vellum paper and press down firmly.
Step 6: Prepare Card Base
- Fold a piece of cardstock in half to make your card base.
- Cut a piece of cardstock slightly smaller than the size of your card base and use it as a background for your design.
- Glue or tape the assembled stained glass design onto this background piece, then attach it to the front of your card base.
Step 7: Add Final Touches
- Using scissors, trim any excess acetate/vellum paper or vinyl that may be hanging over the edges of your design.
- Use a glitter pen or other embellishments to add some extra sparkle and dimension to your stained glass pieces.
Step 8: Write Your Message
- Open your card and write a personalized message for the recipient!
- Admire your stunning handmade stained glass card!
- You can also try experimenting with different materials like glitter paper, foil cardstock, or even fabric to create unique designs.
Following these steps on how to make stained glass cards with cricut will help you create beautiful and unique stained glass cards that are sure to impress your loved ones. Remember to have fun and get creative with different designs and materials. Happy crafting!
Tips for Making Stained Glass Cards with Cricut
- Experiment with different colors and designs to create unique combinations.
- Use contrasting colors for the background piece to make your design pop.
- Take advantage of the “Duplicate” feature in Design Space to cut multiple pieces at once, saving time and materials.
- If you don’t have clear acetate or vellum paper, you can also use colored tissue paper to create a stained glass effect.
- Don’t be afraid to mix and match materials like glitter, foil, and cardstock for a more dynamic design.
- Practice makes perfect! If it’s your first time making stained glass cards with a Cricut machine, start with simpler designs before moving on to more complex ones. So keep experimenting and enjoy the process of creating stunning handmade cards that combine creativity and craftsmanship in one delightful project. Happy crafting!
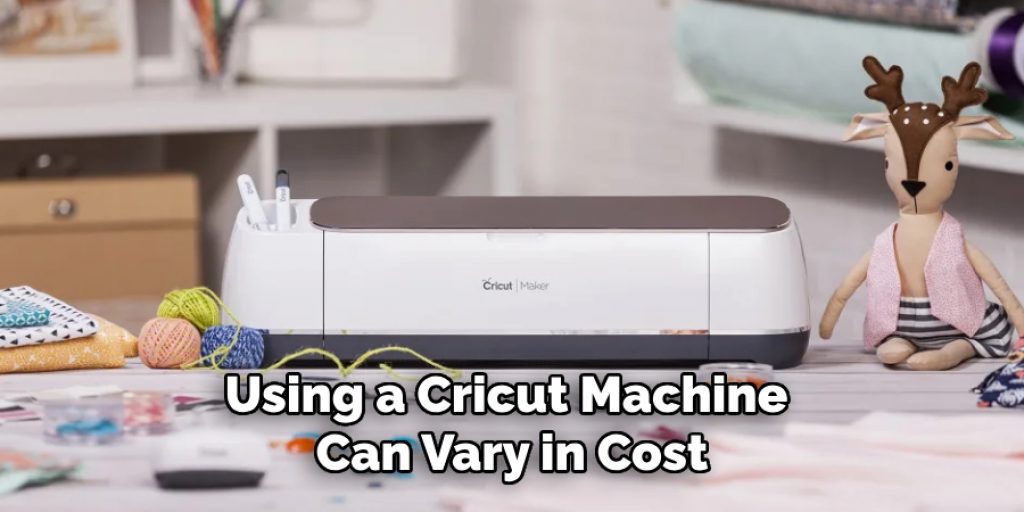
How Much Could It Cost?
Creating stained glass cards using a Cricut machine can vary in cost depending on the materials and tools you choose. Here’s a breakdown of potential expenses:
Cricut Machine:
Depending on the model, prices typically range from $200 to $400. The Explore Air 2 is generally more affordable, while the Maker offers advanced features at a higher price point.
Design Space Subscription:
While some designs are free, a monthly subscription costs about $9.99, granting access to a larger library of images and fonts.
Cardstock:
Average costs range from $0.50 to $2.00 per sheet, depending on quality and brand.
Adhesive Vinyl:
Expect to pay between $2 to $5 for a roll that lasts for multiple projects.
Clear Acetate or Vellum Paper:
A pack can cost about $5 to $15, depending on the quantity.
Transfer Tape:
Typically priced at $5 to $10 for a roll.
In total, for a single stained glass card project, you might spend around $20 to $50, factoring in the initial investment in the Cricut machine and ongoing material costs. However, once you have the essential tools, the cost per card will decrease significantly.
How Long Will It Take?
Creating stained glass cards with a Cricut machine can vary in time depending on your skill level and the complexity of your design. On average, you can expect to spend about 1 to 2 hours to complete one card. This includes time for selecting and resizing your design in the Design Space software, cutting the materials, assembling the pieces, and adding any final touches.

If you are new to crafting or using a Cricut machine, allow some extra time to familiarize yourself with the process and tools. As you gain experience, you may find that you can create cards more quickly, especially if you prepare multiple cards at once!
Frequently Asked Questions
Q: Can I Make Stained Glass Cards With Any Cricut Machine?
A: Yes, you can use both the Cricut Explore Air 2 and the Cricut Maker to make stained glass cards. However, the Maker offers more versatility in cutting materials. The Cricut Joy is not recommended for this project.
Q: How Do I Upload My Own Custom Design?
A: To upload your own design, click on “Upload” in the Design Space software and follow the prompts to select and import your image. You can then resize and cut the design like any other pre-made design. So get creative with your own designs!
Q: Can I Use a Different Cutting Machine to Make Stained Glass Cards?
A: While it is possible to use a different cutting machine, we recommend using a Cricut machine for best results as they are specifically designed for precision cutting and have a wide variety of available designs. However, you can still follow the same steps and use similar materials for a similar effect. So don’t be afraid to try out different machines and techniques!
Q: What Other Projects Can I Make With Stained Glass Designs?
A: You can use stained glass designs to create a variety of projects such as window clings, decorative lanterns, suncatchers, and more. The possibilities are endless! So, let your creativity flow and see what other unique projects you can come up with using this technique.
Conclusion
Making stained glass cards with Cricut is a fun and creative way to personalize your greetings for any occasion. With just a few essential tools and materials, you can create stunning handmade cards that are sure to impress. Whether you’re a seasoned crafter or new to the world of crafting, give this project a try and see what beautiful designs you can come up with using your Cricut machine. Thanks for reading this article on how to make stained glass cards with cricut.
Elizabeth Davis
Elizabeth is a creative writer and digital editor based in the United States. She has a passion for the arts and crafts, which she developed from a young age. Elizabeth has always loved experimenting with new mediums and sharing her work with others. When she started blogging, she knew that DIYquickly would be the perfect platform to share her tutorials and tips. She's been writing for the blog from the beginning, and her readers love her helpful advice and easy-to-follow instructions. When she's not writing or editing, Elizabeth enjoys spending time with her family and friends.