
How to Make Stickers on Silhouette
Are you ready to take your crafting game to the next level? Making stickers on your Silhouette machine is a fun and easy way to personalize your belongings, decorate for parties or events, and even start a small business.
How to make stickers on silhouette cutting machine is a fun and engaging process that allows you to express your creativity. Whether you’re designing stickers for personal use, party decor, or a small business venture, the Silhouette machine offers precision and versatility in crafting. In this guide, we will walk you through the essential steps to design, cut, and apply stickers, ensuring that you have all the tools and knowledge needed to bring your unique designs to life.
From selecting the right materials to mastering the software, you’ll soon be on your way to producing beautiful, professional-quality stickers that stand out.
What Will You Need?
Before we dive into the steps for making stickers on Silhouette, let’s first gather all the necessary items.
- A Silhouette cutting machine (such as Cameo or Portrait)
- Adhesive sticker paper (preferably glossy for a polished look)
- Design software (Silhouette Studio Designer Edition or higher recommended)
- Printer
- Cutting mat
Once you have all your materials ready, let’s start designing!
10 Easy Steps on How to Make Stickers on Silhouette
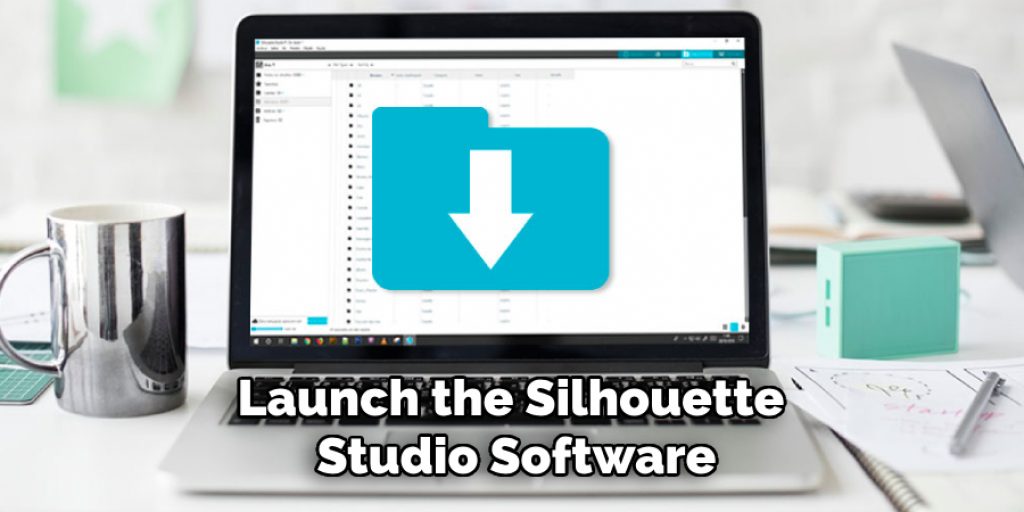
Step 1. Open Silhouette Studio:
To get started, launch the Silhouette Studio software on your computer. This program is where all your design magic will happen. If you’re new to the software, take a moment to familiarize yourself with the user interface. You’ll notice a design area where you can create and manipulate your sticker designs, as well as various tools and options on the sidebar.
Step 2. Set Up Your Page:
Once Silhouette Studio is open, it’s important to set up your page correctly. Navigate to the “Page Setup” panel, which allows you to choose the size of your material. If you are using standard adhesive sticker paper, setting your page to the typical dimensions of your paper (usually 8.5” x 11”) will make the design process smoother.
Step 3. Import Your Design:
Next, it’s time to import your sticker design into Silhouette Studio. You can create your design from scratch or use pre-made images and graphics. If you are using a pre-made design, make sure it is in the correct file format (PNG, JPEG, or SVG) for importing.
Step 4. Prepare Your Design for Cutting:
Once your sticker design is imported, you’ll need to prepare it for cutting. This involves creating cut lines around each element of your design using the “Trace” tool in Silhouette Studio. Simply select your design and click on “Trace,” then adjust the settings until all elements have a red outline indicating they are ready to be cut.
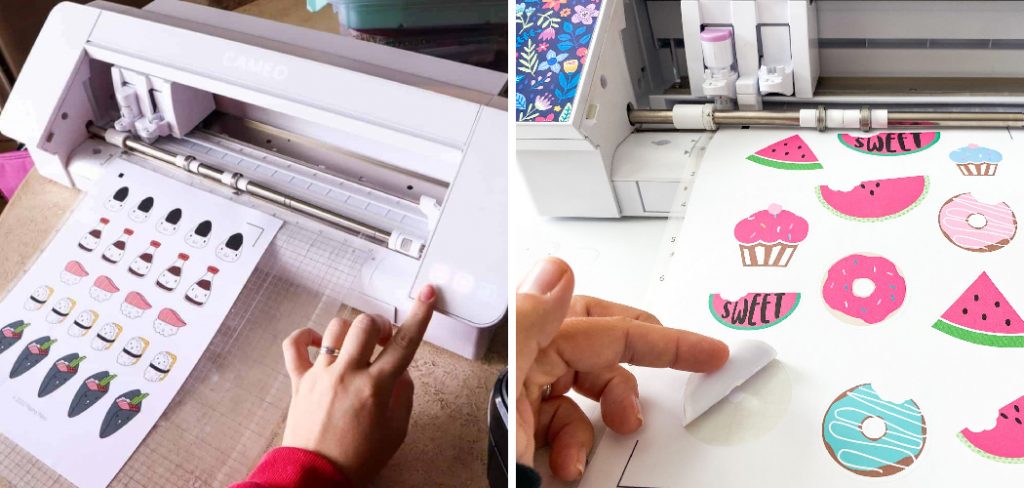
Step 5. Load Adhesive Sticker Paper:
With your design prepared and cut lines established, it’s time to load your adhesive sticker paper into the Silhouette machine. Begin by pulling the cutting mat from your machine and carefully adhering the sticker paper to the mat, making sure it is appropriately aligned and free of any bubbles or wrinkles. This alignment is crucial for ensuring that your designs cut accurately. Once the sticker paper is securely in place, insert the cutting mat back into the machine. Make sure the machine detects the material correctly; you can do this by using the “Load” button on your Silhouette. Once the machine confirms the material is loaded, you’re ready to move on to the next step.

Step 6. Adjust Cut Settings:
Before starting the cutting process, you’ll need to set the appropriate cut settings based on the thickness and type of your adhesive sticker paper. In Silhouette Studio, navigate to the “Send” panel where different material options are available. Choose “Adhesive Sticker Paper” or manually adjust the blade depth, speed, and force settings based on your material’s specifications. A standard recommendation is to set the blade depth to around 3 and to maintain a medium speed, allowing for a clean cut without tearing the paper. After you’ve adjusted these settings, double-check everything to ensure optimal results, as this can significantly impact the quality of your final stickers.
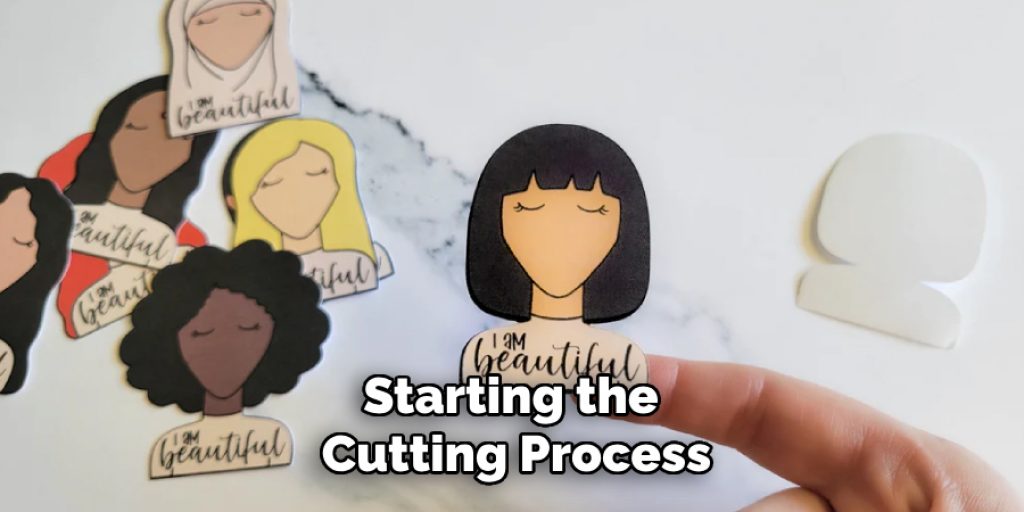
Step 7. Send Your Design to Cut:
With your cut settings adjusted and everything in place, you’re now ready to send your design to the Silhouette machine for cutting. Go back to the “Send” panel in Silhouette Studio and click on the “Send” button. The machine will begin to work its magic, following the cut lines you established in the previous steps. It’s essential to keep an eye on the machine during this process to ensure everything is functioning correctly.
Step 8. Peel Your Stickers:
Once the cutting process is complete, carefully remove the cutting mat from the Silhouette machine. Allow the adhesive sticker paper to rest for a moment before peeling off the stickers. Gently start at one corner and lift the stickers away from the backing paper. If you encounter any resistance, use a craft knife or weeding tool to help separate the design from the backing without damaging your stickers. This step requires a steady hand to ensure your stickers retain their intended shape and design during the peeling process.
Step 9. Apply the Stickers:
Now that your stickers are peeled and ready, it’s time to apply them to your desired surface! Make sure the surface is clean and dry for optimal adhesion. Position your sticker carefully before pressing it down firmly to avoid any air bubbles. If you’re applying to a curved or uneven surface, consider using a small squeegee or credit card to help smooth out the sticker, ensuring a professional finish.
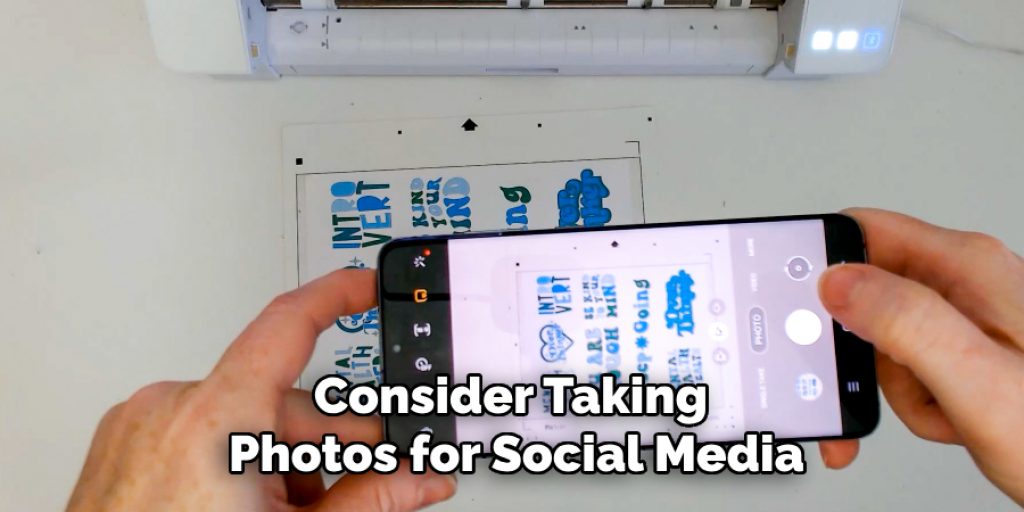
Step 10. Store or Share Your Stickers:
After applying your stickers, consider how you’d like to store or share the remaining designs. If you have leftover stickers, place them in a protective sleeve or box to keep them in good condition. If you’re excited to showcase your work, consider taking photos for social media or sharing them with friends and family, and maybe even start a small business! Your creativity does not have to end here; experiment with different designs and materials to keep your sticker-making adventure alive!
By following these steps, you will be able to create personalized and professional-looking stickers using the Silhouette Studio software and machine.
5 Different Design Ideas
- Customized Planner Stickers: Use Silhouette Studio to design and cut out stickers for your planner, including icons and labels for different activities, events, and appointments.
- Vinyl Decals: Create custom vinyl decals with Silhouette Studio for decorating laptops, water bottles, or other smooth surfaces. You can use pre-made designs or create your own unique designs.
- Quote Stickers: Utilize the text features in Silhouette Studio to design and print out motivational or inspirational quotes as stickers. These can be used in journals, on mirrors, or even as bumper stickers.
- Party Favor Labels: Make personalized labels for party favors using the print-and-cut feature in Silhouette Studio. You can add the names of each guest or include a design that matches the theme of your event.
- Customized Labels: Use Silhouette Studio to create custom labels for organizing items in your home, such as pantry jars, storage bins, and office supplies. This will not only help you stay organized but also add a personal touch to your space.
Overall, the possibilities are endless when it comes to creating stickers with Silhouette Studio – let your imagination run wild!
5 Things You Should Avoid
- Neglecting Material Compatibility: When creating stickers, it’s essential to ensure that your design and material are compatible. Some materials may not work well with the Silhouette cutting machine, resulting in damaged designs or a broken machine. Always double-check material compatibility before starting your project.
- Skipping Test Cuts: Test cuts are crucial for adjusting cut settings and ensuring the accuracy of your design. Skipping this step can lead to wasted materials and poor quality stickers.
- Using Dull Blades: A dull blade will struggle to cut through materials, leading to jagged edges and an overall unprofessional finish. Always make sure your blades are sharp for optimal results.
- Overcrowding Your Cutting Mat: Trying to fit too many designs on a single cutting mat can cause issues with alignment and result in incomplete or misaligned cuts. Leave enough space between designs to ensure a clean and smooth cutting process.
- Forgetting to Save Your Design: It’s easy to get caught up in the excitement of creating stickers that you may forget to save your design. Always remember to save your work regularly, so you don’t lose any progress!
With these tips in mind, you can confidently create high-quality and personalized stickers using your Silhouette machine.
Conclusion
Creating your own stickers using the Silhouette machine is a rewarding and enjoyable process that allows you to explore your creativity.
By following the outlined steps on how to make stickers on silhouette—from designing your stickers in Silhouette Studio to adjusting cut settings, cutting, peeling, and finally applying the stickers—you can achieve professional-looking results that reflect your personal style. Remember the best practices, such as ensuring material compatibility, conducting test cuts, and keeping your blades sharp, to enhance your sticker-making experience.
Whether for personal use, gifts, or even a small business, the possibilities are endless. Embrace the journey of experimentation and innovation, and let your imagination guide you as you craft unique stickers that bring your ideas to life!
Elizabeth Davis
Elizabeth is a creative writer and digital editor based in the United States. She has a passion for the arts and crafts, which she developed from a young age. Elizabeth has always loved experimenting with new mediums and sharing her work with others. When she started blogging, she knew that DIYquickly would be the perfect platform to share her tutorials and tips. She's been writing for the blog from the beginning, and her readers love her helpful advice and easy-to-follow instructions. When she's not writing or editing, Elizabeth enjoys spending time with her family and friends.


