How to Make Terrazzo Pots
Are you looking for a unique way to display your plants? Why not try making your terrazzo pots? Terrazzo is a composite material consisting of chips of various stones, such as marble or granite, mixed with concrete or resin.
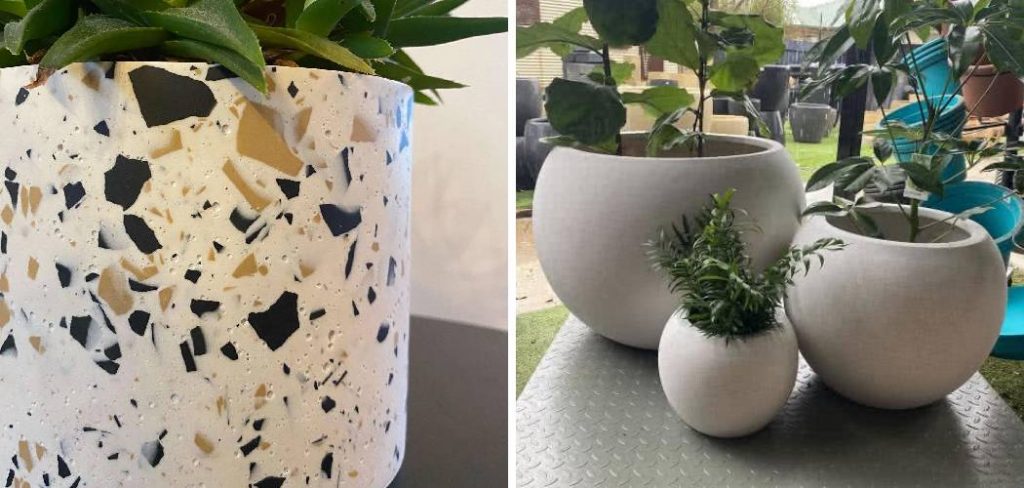
Terrazzo pots are a stunning and stylish way to bring a touch of modern aesthetics to your home or garden. Originating from a traditional flooring technique, terrazzo combines various materials like marble, glass, and concrete to create unique patterns and textures. Making your terrazzo pots is not only a rewarding DIY project but also a chance to unleash your creativity by choosing colors and designs that reflect your style.
In this guide, we will walk you through the necessary materials, steps, and tips on how to make terrazzo pots that can enhance your plant displays and serve as eye-catching decor.
What Will You Need?
To make your terrazzo pots, you will need the following materials:
- A pot or container in your desired size and shape
- Concrete mix (can be purchased at most hardware stores)
- Stones or chips of different colors and sizes (e.g., marble, granite, glass)
- Resin or epoxy mix
- Acrylic paint in various colors
- Mixing bowl and stirrer
- Protective gloves and mask
- Sandpaper
- Sealant spray
Once you have gathered all the necessary materials, it’s time to start making your terrazzo pots!
10 Easy Steps on How to Make Terrazzo Pots
Step 1. Prepare Your Workspace:
Creating terrazzo pots can be a fun and messy, so it’s crucial to begin with a clean and organized workspace. Find a flat, well-ventilated area where you can comfortably work without disturbances. Lay down a protective covering, such as plastic sheeting or old newspapers, to catch any spilled materials. Ensure you have all your tools and materials within reach so you can easily transition between steps.
Additionally, since you’ll be working with concrete and resin, wearing protective gloves and a mask is essential to safeguard against dust and fumes. This careful preparation will enhance your safety and create a more enjoyable crafting experience.

Step 2. Mix the Concrete:
In this step, you’ll combine the concrete mix with water following the manufacturer’s instructions to achieve the desired consistency. Pour the concrete mix into your mixing bowl and gradually add water, stirring continuously until the mixture is smooth and lumped-free. The ideal consistency should be similar to thick pancake batter—easily pourable but not too runny.
If you wish to add color to your pots, consider incorporating some acrylic paint into the concrete mixture at this stage. Mix thoroughly to ensure the color is evenly distributed. Once ready, move on to the next step promptly, as you want to work with the concrete before it begins to set.
Step 3. Add Stones and Mix:
After mixing your concrete to the right consistency, it’s time to incorporate the stones or chips. Carefully sprinkle your chosen stones into the concrete mixture and stir gently to distribute them evenly. Aim for a balance between concrete and stone; you want enough stones to create a beautiful terrazzo effect without compromising the integrity of the pot. If you’re using multiple colors of rocks, feel free to experiment with different combinations to achieve a unique look. Once everything is well mixed, you can proceed to the next step, transferring the mixture into your pot or container.
Step 4. Pour the Mixture into the Container:
Now that your concrete and stone mixture is ready, it’s time to pour it into your chosen pot or container. Begin by gently pouring the mixture into the pot and filling it to your desired height. Use a spatula or your hands (with gloves) to help spread the mixture evenly, ensuring no air pockets. For a smooth and level surface, you can lightly tap the sides of the container to help settle the mix. If you’re creating multiple pots, repeat this process for each one, maintaining consistency in pouring.
Once all the containers are filled, allow the mixture to set for at least 24 hours to ensure it hardens appropriately before moving on to the next step.
Step 5. Let It Cure:
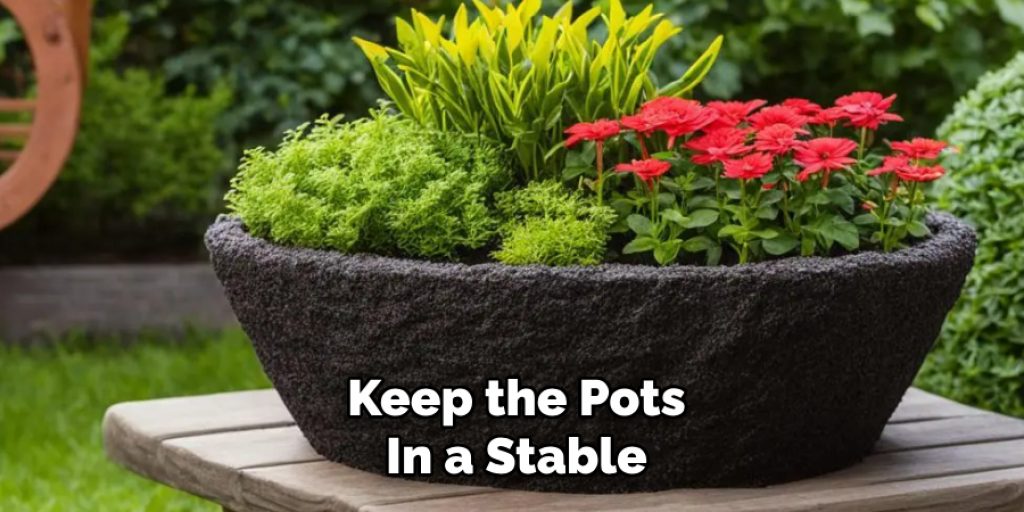
After pouring the mixture into your containers, it is vital to let it cure properly. This process allows the concrete to harden and gain strength. Keep the pots in a stable, undisturbed environment for at least 48 hours, as temperature and humidity affect the curing time. It’s best to cover the pots with a plastic sheet to protect them from dust and moisture during this period. Avoid removing them from their containers until the concrete is fully set.
Step 6. Remove the Pots from the Containers:
Once the concrete has cured for at least 48 hours, carefully remove your terrazzo pots from their containers. Start by gently tapping the sides of the container to loosen the pot, being cautious not to damage the edges. If you’re using a plastic container, you can flex it slightly to help release the pot. You may need to use a utility knife to cut around the edges of rigid containers carefully. Once the pot is free, inspect it for any rough spots or imperfections. Use sandpaper to smooth out any uneven areas, giving your pots a polished finish.
Step 7. Apply Sealant:
Applying a sealant is essential to ensure the longevity and durability of your terrazzo pots. Once your pots are sanded smooth and dust-free, choose a sealant spray suitable for concrete. In a well-ventilated area, hold the spray can about 6-12 inches away from the pot and apply an even coat, covering all surfaces, including the inside if desired.
This layer will help protect the concrete from moisture, stains, and wear, maintaining the pot’s aesthetic appeal over time. Allow the sealant to dry completely per the manufacturer’s instructions before moving on to the final step.
Step 8. Decorate Your Terrazzo Pots:
After the sealant has dried completely, it’s time to let your creativity shine by decorating your terrazzo pots. You can leave them as they are for a minimalist look or enhance their appearance with additional detailing. Consider adding patterns using acrylic paint, attaching decorative stones, or wrapping the pots with jute or twine for a rustic touch. If you prefer a more vibrant look, stencils can be used to create designs that add a personal flair.
Ensure any additional materials or inks are suitable for outdoor use if the pots are placed outside. Take your time to make each pot unique, allowing your artistic style to reflect in your creations.
Step 9. Planting in Your Terrazzo Pots:
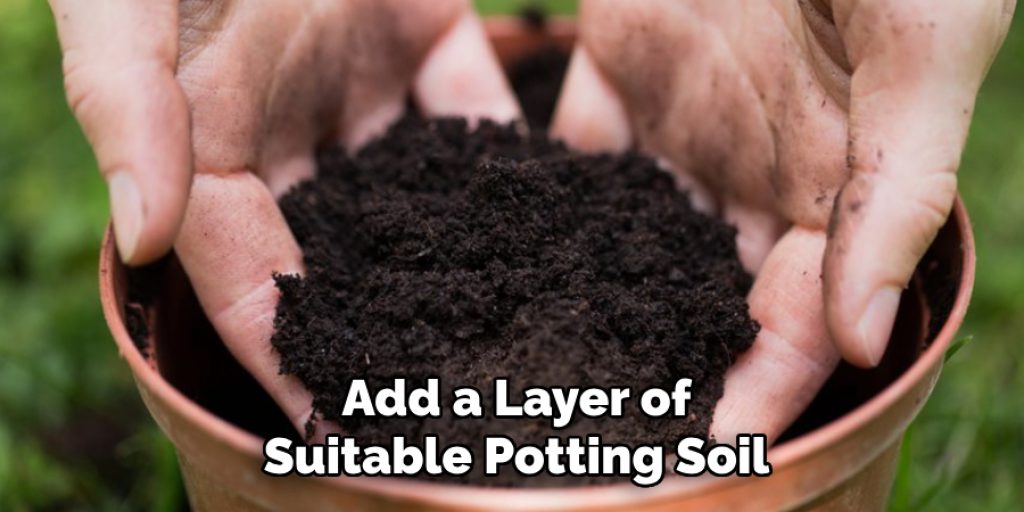
Now that your terrazzo pots are fully prepared and decorated, it’s time to bring them to life with plants. Start by selecting the right plants for your intended indoor or outdoor environment. Make sure to choose species matching the sunlight and moisture level available in your space. Before planting, add a layer of suitable potting soil to the bottom of each pot, providing proper drainage and nutrients for your plants.
Carefully place your chosen plant in the pot, ensuring the roots are well spread out, and fill in around the plant with additional soil, pressing down gently to eliminate air pockets. Water the plants thoroughly after planting to help them acclimatize to their new home. Enjoy watching your terrazzo pots flourish, showcasing a beautiful combination of artistry and nature.
Step 10. Maintenance and Care:
Regular maintenance and care are essential to keep your terrazzo pots looking their best and to ensure the health of your plants. Start by checking the moisture level in the soil; water your plants when the top inch feels dry to the touch. Consider using a liquid fertilizer every few weeks to provide extra nutrients during the growing season.
Additionally, wipe down the exterior of the pots with a damp cloth periodically to remove any dust or grime buildup. If you notice any signs of wear or chipping, touch up the sealant or decorations to maintain their aesthetic appeal. Finally, be mindful of seasonal changes, relocating your pots as necessary to provide optimal light and temperature for your plants.
By following these steps, you can create your own beautiful and durable terrazzo pots, which will add a touch of elegance to any space.
5 Things You Should Avoid
- Skipping the Curing Process: It’s tempting to rush the project, but failing to allow the concrete to cure fully can result in weak and crumbling pots. Always give the mixture sufficient time to harden before removing it from the container.
- Using the Wrong Sealant: Not all sealants are suitable for concrete. Make sure to choose a sealant designed explicitly for terrazzo or concrete pots to ensure proper adhesion and protection.
- Neglecting Safety Precautions: Proper safety gear is essential when working with concrete and sealants. Always wear gloves, a dust mask, and goggles to protect yourself from dust, chemical fumes, and sharp tools.
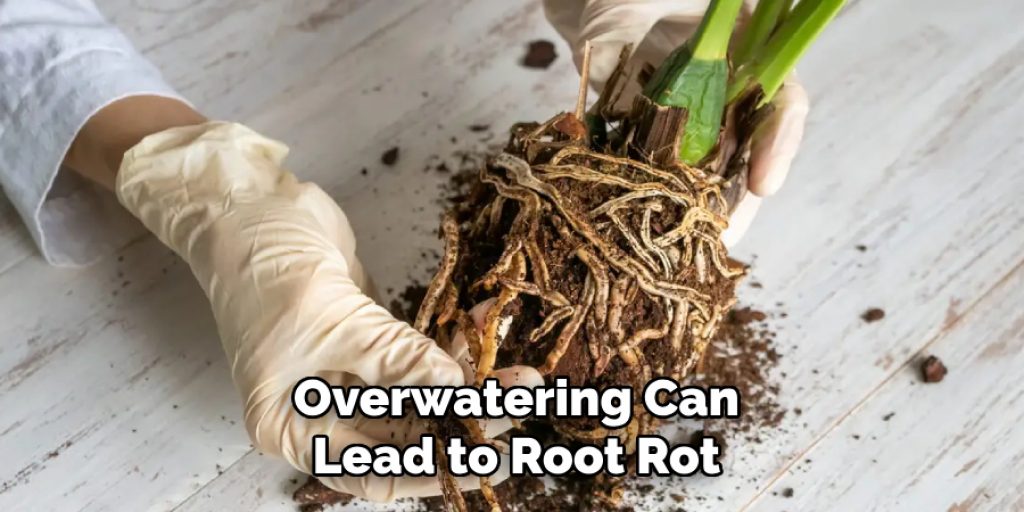
- Overwatering Your Plants: While keeping your plants hydrated is essential, overwatering can lead to root rot and other health issues. Monitor soil moisture levels carefully, and only use water when necessary.
- Ignoring Environmental Considerations: Consider the plants you choose based on your specific climate and indoor/outdoor conditions. Selecting species not thriving in your environment can lead to unhealthy plants and disappointment.
Conclusion
In conclusion, crafting your own terrazzo pots is a rewarding project that combines creativity with practicality.
By carefully following each step on how to make terrazzo pots—from mixing the concrete to applying a protective sealant—you can create stunning and durable pots that enhance the beauty of your plants and spaces. Remember to consider the plants’ needs and maintain your pots to ensure they look their best.
With patience and attention to detail, you’ll enjoy making these unique pots and cherish the resulting pieces of art that bring style and life to your home or garden. Embrace your artistic expression and let your terrazzo pots reflect your personal touch.


