
How to Center Clay on the Pottery Wheel
There is more to it than just eyeballing it when it comes to centering clay on the pottery wheel. However, with a few simple tips, you can achieve better results and make the process easier for yourself. In this blog post, we will outline the best ways how to center clay on the pottery wheel, so that you can start producing high-quality pieces right away.
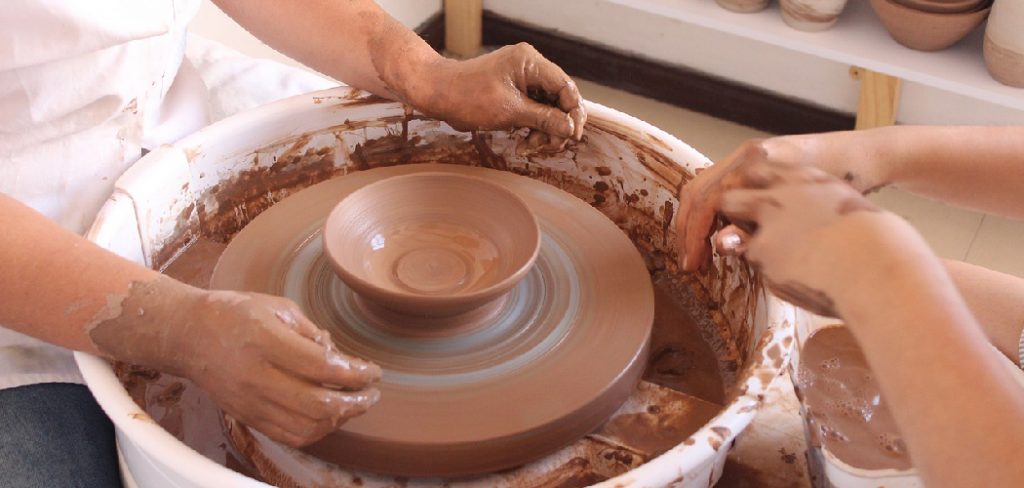
The first thing you need to do is center the clay on the pottery wheel. Use your hands to form a ball out of clay and place it in the middle of the wheel. Next, press down on the clay with your thumbs and forefingers while slowly turning the wheel with your other hand. You should continue to spin the wheel and apply pressure as needed until the clay is centered. Read on for more information!
5 Easy Ways on How to Center clay on the Pottery Wheel
1. Center by Pulling the Clay:
To center by pulling the clay, first pull out a lump of clay from your clay supply. Form this clay into a log shape and jam it onto the hump on the side of your pottery wheel. Next, pull down on one end of the log to pull some pressure off of the hump. Then, spin your wheel up to speed and pull up on the other end of the log.
This should make a nice mound in the middle of your wheel head. You can check to see if your clay is centered by making a mark with a pencil or pen where you think it is centered and then spinning the wheel at full speed. Adjust as needed until you have a nice mound in the center of your wheel head if you are off.
2. Use a Divider to Find the Center:
To use a divider to find the center, put your clay on the pottery wheel and pull out a lump for dividing. Shape this into an oval shape that is about 3/4 inch thick. Make sure you are pulling away from the hump of the pottery wheel so that it does not get stuck there.
Next, lay the divider on the clay in two places with about 3/4 inch separating each of these spots. Finally, spin your wheel up to speed and ensure you are not off balance.
If your clay is off, adjust until it is centered. When your clay is centered, mark where the ends of the divider meet with a pencil or pen. Then remove the divider and lay a piece of masking tape across the clay where you marked it to see where to center from now on.
3. Spin the Wheel with Clay Inside:
Put your lump of clay on the pottery wheel to spin the wheel with clay inside. With one hand, grab onto the center of the clay with your thumb and forefinger to hold it in place, then place your other hand against the outside of the clay.
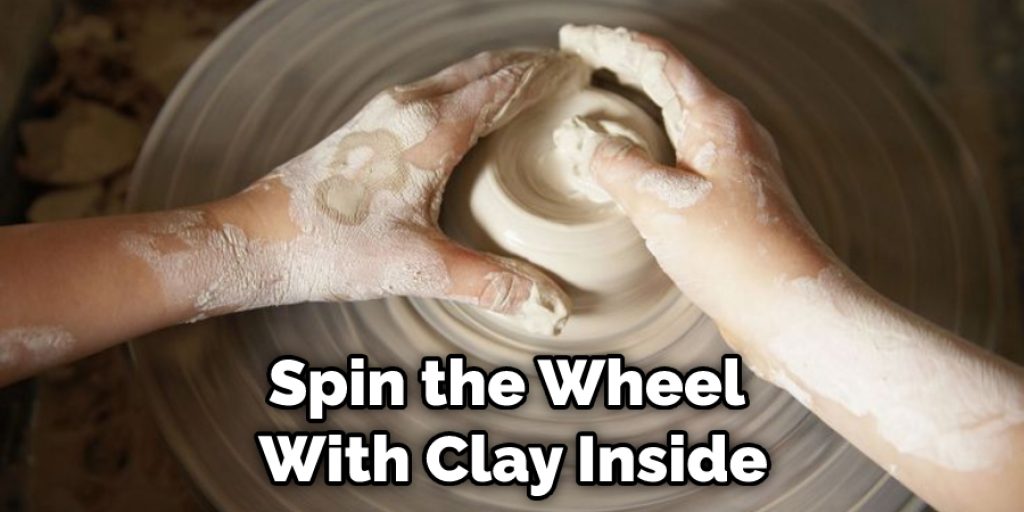
Next, move your hands away from each other to create a spinning motion in the clay. Make sure to keep a grip on the center of the clay so that it does not fly off. Once you have successfully centered your clay, spin up your wheel until it is going full speed and then place a pencil mark where the outside edge of the pot was.
4. Inner Offset Method:
With this method, put your clay on the pottery wheel and spin it up to speed. Place a piece of masking tape where you think the center is. Then pull out a lump of clay from your supply and shape it into an oval about 3/4 inch thick.
Next, place the clay on top of the masking tape where you made your mark from earlier and move it towards the center as much as possible without moving your pottery wheel’s head or allowing it to slide off the side. Once you have reached your minimum distance from the center, mark where one end of the divider is.
5. Use a Piece of Cardboard to Find the Center:
Find a piece of cardboard that is about 6 inches square. Place this on top of your clay to cover where you want to center the clay. Make sure no part of it hangs off the edge of the pottery wheel. Once you have it set on top of your clay, start up the wheel and watch the cardboard closely to see if it is off balance.
If there is a part that seems lifted up from the wheel’s surface, go back to your clay supply and pull out a lump to add on top of that area. Once you have your clay centered, make a pencil line on the cardboard where the edge of the pot was. This is where you will center from next time.
Some Helpful Tips for Improving Your Clay Centering
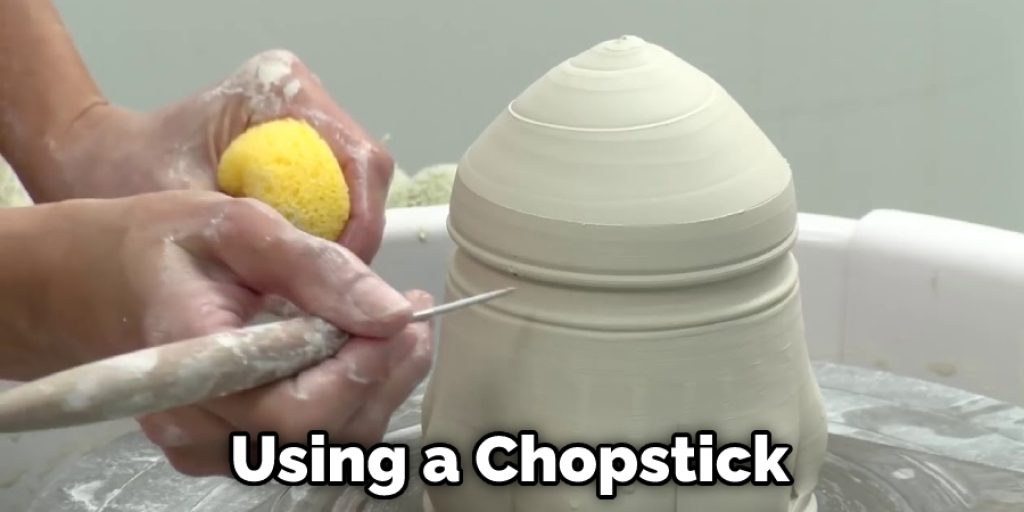
1. Keep your hands off while centering. You can help the clay by using a chopstick or dowel to lift the dampened clay until it’s too heavy to move easily.
2. Don’t use too much water when you start to center your piece of clay on the wheel head. Too much water will cause problems with keeping an even thickness.
3. Don’t use too much water to dampen your piece of clay because if there is too much water, the wheel head could slip.
4. Use a “positive” attitude when you center a lump of clay! If you don’t succeed the first time, keep trying until you do! You’ll be able to center clay soon if you persist!
5. Keep your clay in a plastic bag when you buy it. If you need more, cut off a small piece at a time to use for centering.
6. Try different techniques, but remember that most people center with these techniques: using their fingers or with dowels or chopsticks or tools they’ve made themselves (if they have a lot of experience).
Why Is Centering Clay Important
Centering clay is necessary because, without it, the piece of clay you are throwing will wobble and not be circular. If your pot starts lopsided (one side will be thinner than the other), it will lean even more to that side as you throw the shape on the wheel! By entering your clay, you are allowing yourself to have a flat place on the wheel where you can start any piece, and it will be circular after throwing.
Conclusion
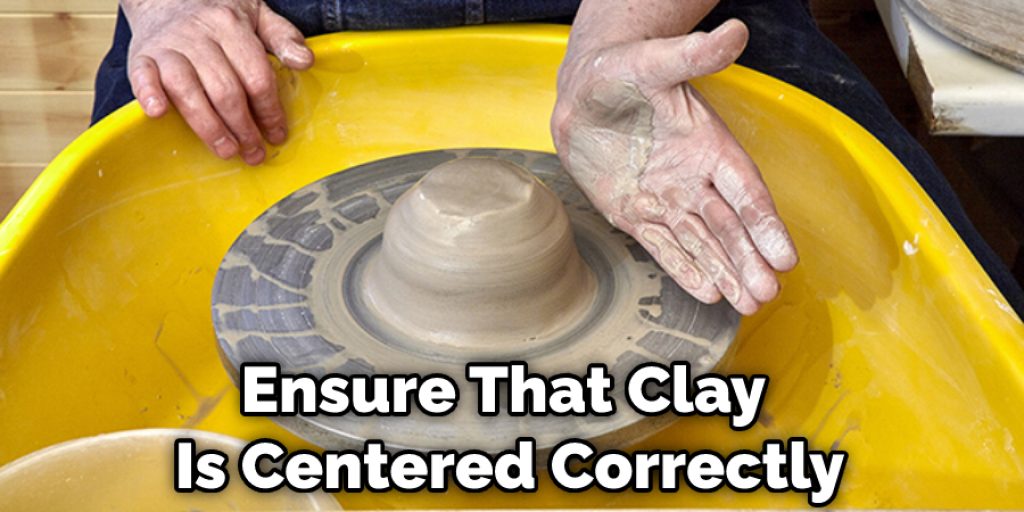
Centering clay on the pottery wheel is an essential skill for any potter. You can ensure that your clay is centered correctly and ready to be worked on by following these simple steps. Once you have mastered centering clay, you will be able to create bowls, plates, and other pieces with ease.
We hope this blog post helped guide you how to center clay on the pottery wheel. Have you tried centering clay on the pottery wheel? What tips do you have for beginners? Let us know in the comments below!


