
How To Make Wipe On Poly
Wipe-on poly is essential for most of the wooden projects. But buying the readymade version from the stores can be expensive. Besides, you may also have to put a little amount of effort into finding an appropriate one. That’s why I will suggest you make your own DIY wipe-on poly because it is easier than you are thinking right now. You just have to follow some simple DIY techniques. Wanna learn how to make wipe on poly at home? Well, that’s what exactly I am going to discuss in this article. You can thank yourself later for being here, but for now, I will suggest you leave all your tasks for a couple of minutes and concentrate on the article until the last.
Wipe-on poly is a great item because of its quick-drying nature. It doesn’t even make the brushes dirty like the ordinary colors. So, applying this item is relatively easy and almost mess-free. Okay, for this project, I have tested several techniques and gathered the easiest one that can be accomplished easily. This wipe-on poly will be pretty much identical to any type of finish and colors. So, without any delay, let’s dive into the process.
Materials and Tools, You Will Need
1-quart paint can
2. Replacement soap dispenser
3. Drill
4. 3/8-inch drill bit
5. Polyurethane
6. Mineral spirits
How to Make Wipe on Poly
Step 1
This method includes using an ordinary plier to remove the grommet. You can easily use this method to remove the grommet, which is comparatively smaller. However, you have to place the washer end on the table in the same manner, and then to use the plier, you have to start unhooking the washer. It is a simple method and can easily be performed by everyone. All you need to have are a few tools, like an ordinary plier and a pair of pliers as well. You can also use an old toothbrush for cleaning the faucet after removing the grommet.
Step 2
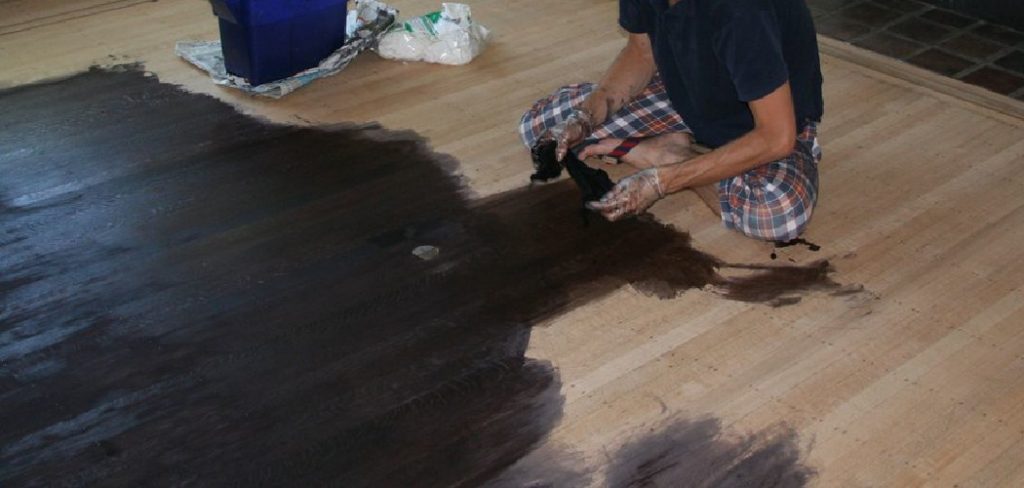
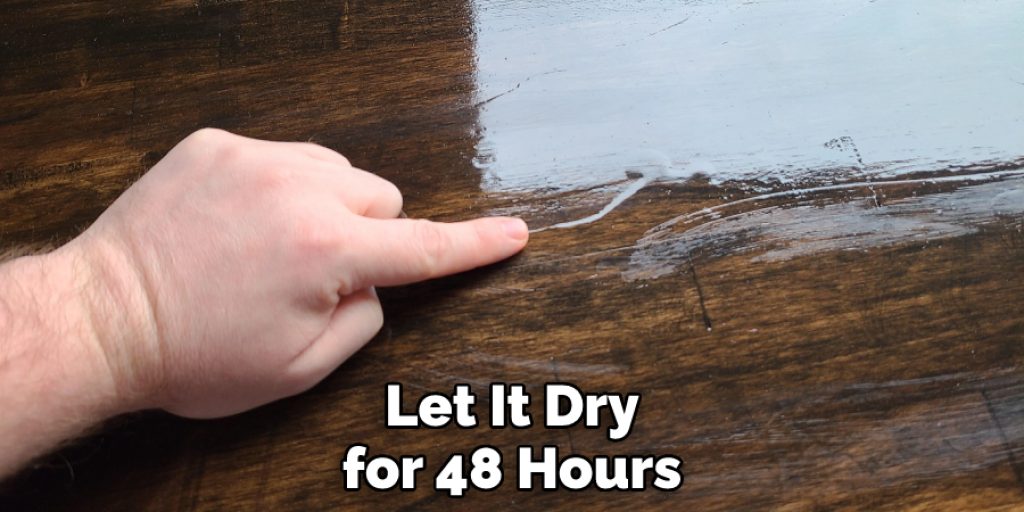
Next, pour 1 cup of mineral spirits and mix 1 cup of polyurethane with it. Make sure to mix the solution properly. Once you do that, put the lid again, attaching the soap dispenser again. This time you can use a mallet to secure the lid. Now, take the pump out, and that’s your wipe-on poly ready to use now. If you want to use it for a hardwood finish, make sure to wipe on the poly with a lint-free cloth and brush it away after. Once that’s done, let it dry for 48 hours.
When you are going to use the pump, it will be better if you close the nozzle properly so that nothing leaks out. In this case, you can use a piece of tape and secure the attachment to prevent further leakage. This method will help you get an accurate amount of solution and will not affect the original finish on the surface of your wooden project. In this article, we have provided some tips for you to get the best spray pump for your woodworking projects. After reading this article, it is hoped that you will be able to choose the right one.
Hopefully, you have understood the above process. If you are still confused or got some more enhanced technique, don’t hesitate to use the comment section below.
You May Also Read – How Do You Make Acrylic Paint Look Flat


