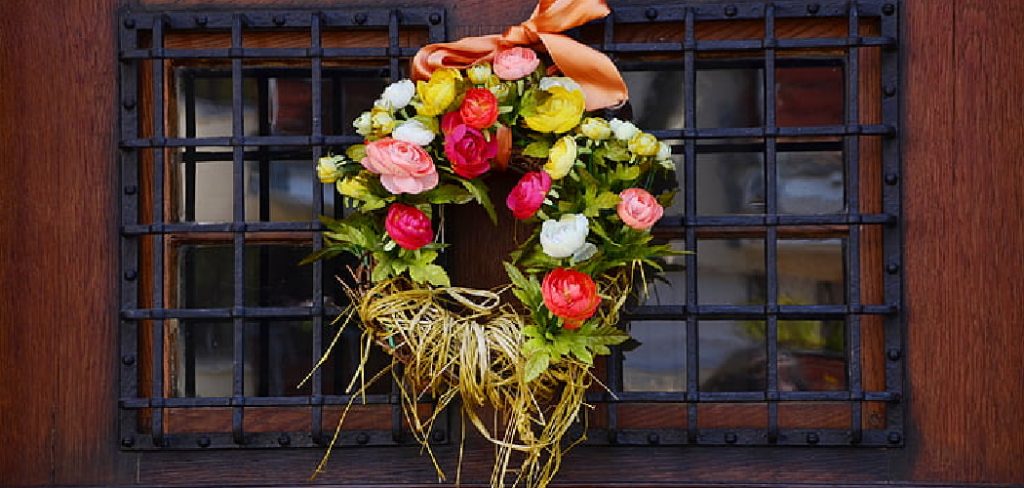
How to Make Wreath With Garland
Creating a wreath with garland is a delightful craft that allows for personal expression and seasonal decoration. Whether you’re preparing for a festive holiday or simply wish to enhance your home’s aesthetic, wreath-making is an enjoyable activity that combines creativity with natural elements.

In this guide on how to make wreath with garland, we’ll explore the materials you’ll need, step-by-step instructions, and tips to ensure your wreath is not only beautiful but also uniquely yours. Let’s get started on this charming and rewarding project!
What is Garland?
Before we begin, let’s define what garland is. Garland is a decorative element made from a variety of materials such as foliage, flowers, and berries that are woven together to form a long strand. It can be used in various ways, such as hanging it on banisters or draping it over mantels. But today, we’ll be using garland to create a lovely wreath.
It’s important to note that garland comes in different types and materials, including artificial and real foliage. For this project, we recommend using fresh or faux evergreen garland, as it will provide a traditional and vibrant look to your wreath.
Materials You’ll Need
To make a wreath with garland, you’ll need the following materials:
- A Wire Wreath Frame (Can Be Purchased at Most Craft Stores)
- Garland of Your Choice (Can Also Be Found at Craft Stores or Can Be Handmade)
- Floral Wire
- Wire Cutters
- Ribbon or Other Decorative Elements (Optional)
That’s it! With these materials, you can create a beautiful wreath that will add charm and character to your home.

7 Step-by-step Instructions on How to Make Wreath With Garland
Step 1: Prepare Your Work Area
Before diving into the wreath-making process, it’s essential to set up a clean and organized workspace. Choose a flat surface, such as a table or countertop, where you can easily spread out your materials. Lay down a protective covering, like newspaper or an old cloth, to catch any debris or fallen pine needles.
Ensure you have adequate lighting to see the colors and details of your garland clearly. Gather all your materials within reach to streamline the process and prevent any interruptions. Having everything ready will allow you to enjoy the craft without unnecessary distractions!
Step 2: Shape the Wire Wreath Frame
Take your wire wreath frame and shape it into a circle. You can also purchase pre-made frames in different sizes, but if you’re using a plain wire frame, use your hands to mold it into a circular shape. The size of the frame will determine the overall size of your wreath.
Pro tip: If you want a fuller-looking wreath, use two wireframes instead of one and secure them together with floral wire before shaping them into a circle.
Step 3: Lay Out Your Garland on the Wreath Frame
Take your garland and lay it out on the wireframe, starting from one end to the other. You can use an entire length of garland or cut it into smaller pieces, depending on how full you want your wreath to be.
Gently wrap the garland around the frame, making sure each section overlaps the previous one. Continue wrapping until you reach the end of the frame.
Pro tip: If you’re using fresh garland, mist it with water before wrapping it around the frame to keep it looking fresh for longer.
Step 4: Secure Garland with Floral Wire
Once you’ve wrapped the garland around the wire wreath frame, it’s time to secure it in place using floral wire. Start by cutting a length of floral wire, approximately 12-18 inches long. Slip the wire underneath the garland at several points along the frame, making sure to include both the garland and the wireframe in the binding.
Twist the wire tightly to hold the garland in place, ensuring that the garland is secure but not so tight that it damages the foliage. Continue this process as you work your way around the wreath, adding more floral wire as needed until the garland is firmly attached to the frame. This step is crucial for maintaining the integrity of your wreath and ensuring it remains beautiful throughout the season.

Step 5: Add Decorative Elements (Optional)
If you want to add some festive flair to your wreath, now is the time to do so. You can add bows, baubles or other decorative elements by attaching them securely with floral wire.
Pro tip: When adding decorations, ensure they are evenly distributed around the wreath for a balanced look.
Step 6: Hang Your Wreath
Once you’ve completed your wreath, it’s time to hang it up and admire your handiwork. There are various ways to hang a wreath, such as using a nail or hook on your door or securing it with ribbon onto a hanger. Choose the method that works best for you and your wreath.
Pro tip: If you’re hanging your wreath outside, make sure it’s protected from harsh weather elements by placing it under a covered area or using a protective spray on the foliage.
Step 7: Enjoy Your Wreath!
Congratulations, you’ve made your own wreath with garland! Admire your creation and enjoy the festive touch it adds to your home. Wreaths also make excellent gifts, so consider making more to give to friends and family during the holiday season.
Following these 7 simple steps on how to make wreath with garland, you can easily create a stunning wreath with garland that will impress all who see it. Feel free to experiment with different types of garland and decorations to make your wreath unique and personal. Happy crafting!

Additional Tips for Making the Perfect Wreath
- When purchasing or cutting garland, make sure it’s long enough to wrap around the entire wreath frame at least twice for a fuller look.
- If using fresh foliage, consider spraying the leaves with anti-desiccant spray to help prolong their lifespan.
- For added texture and interest, mix different types of foliage in your wreath, such as pine cones or berries.
- Don’t be afraid to add pops of color with different ribbons or ornaments to make your wreath stand out.
- If you’re feeling extra crafty, try making your own garland using materials like twine, fabric scraps, or even recycled paper. The possibilities are endless!
- Lastly, have fun and let your creativity shine through. Wreath-making is a wonderful way to express your personal style and add a handmade touch to your home décor. Happy holidays!
Frequently Asked Questions
Q: What Type of Garland is Best for Making Wreaths?
A: Any type of garland can be used, but fresh or artificial pine and evergreen garlands are popular choices due to their festive look and durability. The type of garland you choose will depend on your personal preference and the look you’re going for. It’s also important to consider the environment where your wreath will be displayed, as some materials may not hold up well in certain conditions.
Q: Can I Use a Different Shape for my Wreath?
A: Absolutely! While circular wreaths are the most traditional, you can also use other shapes, like hearts or stars as your base. Just make sure to adjust the garland and decorations accordingly to fit the shape.
Q: How Long Will My Wreath Last?
A: Depending on the type of garland used and how well it is cared for, wreaths can last anywhere from a few weeks to a couple of months. Fresh foliage will typically last longer if kept in a cool and moist environment. Artificial wreaths can be stored and reused year after year with proper storage.
Q: Can I Use Other Decorations Besides Garland?
A: Definitely! While garland is a popular choice for wreaths, you can also use other materials like ribbon, fabric, or even dried flowers to create a unique and personalized wreath. Just make sure they are securely attached to the frame using floral wire.
Q: Are There Any Safety Precautions to Consider When Making Wreaths with Children?
A: It’s always important to supervise children when using sharp tools like scissors or wire cutters. Also, be mindful of any allergies when handling fresh foliage or artificial materials. You can also opt for child-friendly materials like paper or fabric to make a wreath together. Always have fun and be safe!

Conclusion
Creating your own wreath with garland is not only a rewarding craft but also a wonderful way to add a personal touch to your home décor during festive seasons. By following the steps outlined in this guide on how to make wreath with garland, you can craft a beautiful and unique wreath that reflects your style and creativity.
Remember to experiment with different materials and decorations to make your wreath truly your own. Whether you choose fresh or artificial elements, your handmade wreath will surely bring joy and charm to any space. Enjoy the process, and happy crafting!


