
How to Manually Trim Outboard Motor
When it comes to outboard motors, there is a lot that can go wrong. But, at least when you are dealing with manual trimming of the motor, you have the power in your own hands. If done correctly, manually trimming an outboard motor can save you money and time instead of taking your boat into the shop for repairs or service.
The first step in adequately trimming an outboard motor is to ensure that your engine is turned off before beginning the process. Once this has been completed, slowly turn up all of your engine’s throttle levels until they reach their maximum position.
While turning on each level, look at how much water flows over each propeller blade and how far back into the water stream each blade penetrates. Read on to know more about how to manually trim outboard motor.
10 Ways on How to Manually Trim Outboard Motor
1. Enabling the Trim Button
Virtually all outboard motors come with a trim button. The button is usually in front of the motor, so if you are in the driving seat, your thumb should be able to push it easily. Pressing this trim button will allow you to adjust how much power your motor delivers manually.
However, it is essential to note that this will not help your motor go faster if you are going against a current or an opposingly powerful force, i.e., the ocean at the shoreline.
2. Reversing Your Rotation Direction
This means changing how your propeller faces when a wind is blowing directly at a boat’s front side, and the motor needs to be turned in a different direction. The propeller needs to be turned so that it is facing the opposite direction.
3. Do Not Work at Night Unless Use Electric Power
On boats, if the motor has its throttle control, this can be used alone or in conjunction with the manual trimming to produce more power than just using your foot on the lever. If you are using an outboard boat motor, there may be a shift stick to change the direction of your propeller’s rotation and its power. The throttle and shift stick can also be used in conjunction with the trim button.

4. Applying More Weight to Your Outboard Motor
If you have more weight on your boat, i.e., more people, it will have a similar effect to when you are in your car and climbing up an incline; the extra weight helps with the propulsion up the hill. You can try this by sitting on or near your outboard motor to add that additional weight.
5. Using Different Gears
Like in most cars, outboard motors come with different speeds and gears. The lower the number on your gear set, the more power your motor will put out and the faster it will go. A higher number will mean less energy output and a slower speed.
6. Adjusting the Tilt of the Motor
This is when you tilt your motor so it can either push your boat forward or lift it up and out of the water, depending on how far back the propeller sits. It may take practice to understand precisely how much motor power you need to push or lift your boat.
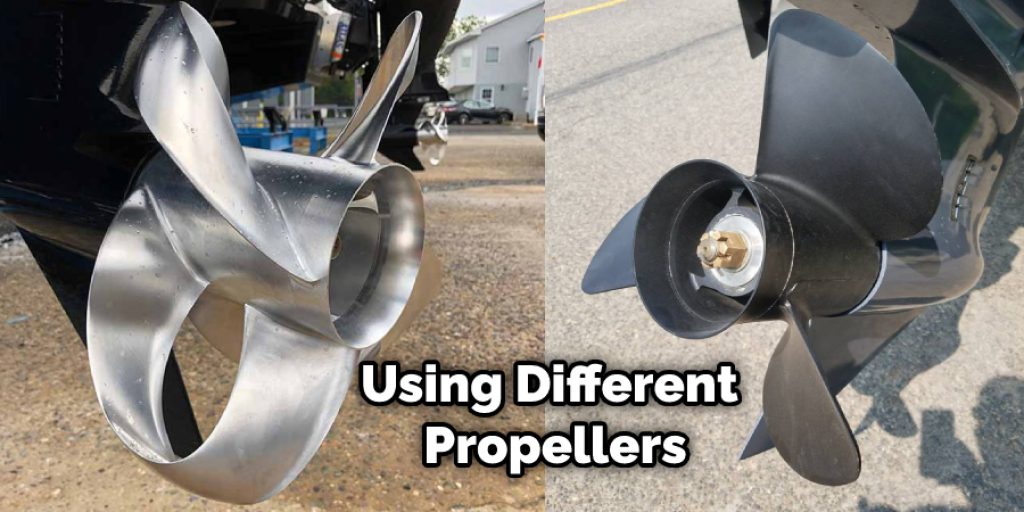
7. Using Different Propellers
Some propellers are designed to go back more quickly than others, so this may be something you should try. If your motor is not strong enough to push your boat forward, you may want to try a more reactive propeller. This will mean that your motor can push you in the direction you need to go without making too hard and securing additional weight.
8. Using Different Outboard Motor Models
The most common thing people forget is the simple fact that different outboards are not suited for all tasks equally. Some outboards are designed for speed, whereas some may be more suited for going on calm water.
If you have a lot of weight on your boat and you need to go at a slow speed, a more powerful motor will not help as much as one that is made for slower speeds and less power output.
9. Readjusting Your Trim Tabs
If you have trim tabs on your boat, there will be a separate tab or even numerous tabs for each side of the motor. Beneath and either in front and behind your outboard motor is a part of your boat called a keel.
These are responsible for how deep your boat sits in the water and how much it rocks. If a boat is rocking a lot, the trim tabs may be too shallow, which means that for some models, you will have to adjust them more to get your boat flat and level.
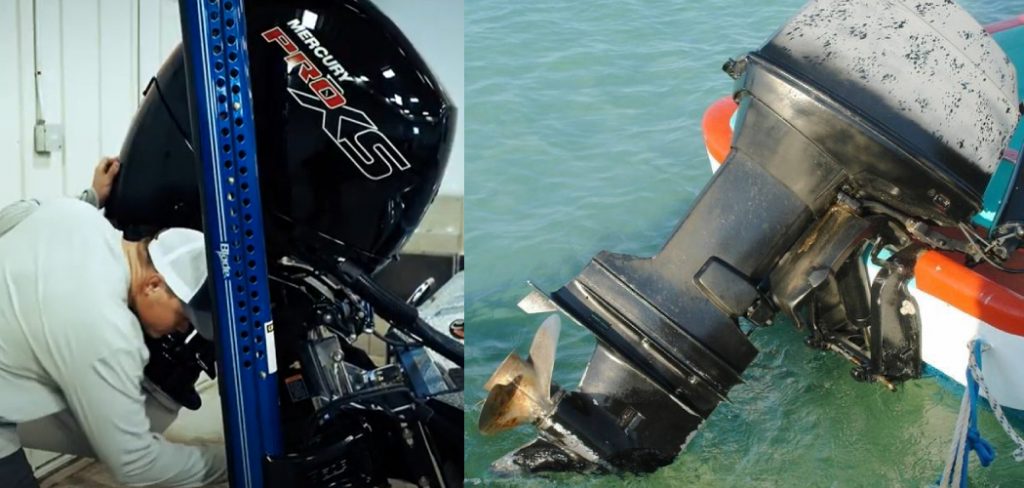
10. Replacing Outboard Motor Parts
If you have already tried all of the above and your outboard motor is still not working as well as it should, it may be time to replace some parts. This could include your propeller or your fuel lines. When you replace these parts, you will want to make sure that they match what came with the motor you purchased. You may also want to replace your trim tabs and even the keel if it is not working well.
Some Tips and Suggestions
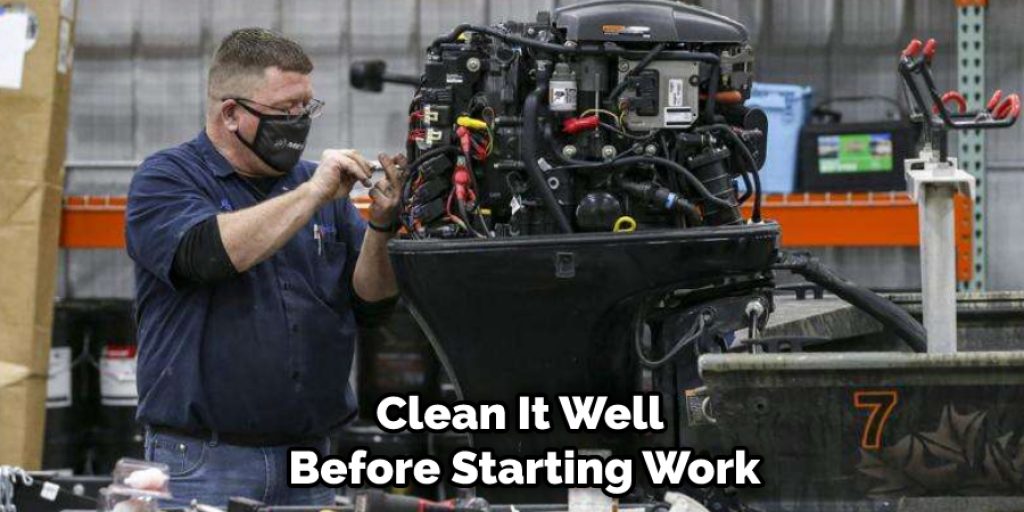
1. The outboard motor should be clean. Dirt, sand, and rust are the enemies of smooth operation. Clean it well before starting, but do not use solvents to remove grease or oils; later, you may need these for lubrication.
2. Do not work in a poorly lit area or at night unless using electric power. A light on the motor or your face will be sufficient.
3. Place some grease on your hands before you touch any moving part of the engine. Grease helps hold the dirt in place and does cleaning that much easier later.
4. Keep one hand on the tiller for steering control at all times. The tiller is the control device, so do not let go of it unless you have some other way to steer the boat.
5. Always have a life jacket on while operating an outboard motor or driving a boat. You can get “bumped” into by another vessel, or one that is underway may pass close enough to throw you overboard.
6. It is a good idea to keep the engine neutral while you are working on it. This will prevent a kickback or surge of power from damaging your hands.
7. If you have never worked on an outboard motor before, practice on a motor that has been set aside for training purposes. Also, practice removing the flywheel, disengaging the gears, etc., before working on your actual motor.
8. A roll of masking tape or electrical tape, a piece of garden hose, and some plastic grocery bags are excellent for placing over the propeller when it is not running. Use them to cover the lower unit while working on it to keep dirt out of the gears.
Things to Consider When Manually Trimming Outboard Motor
1. Knowledge of how gas-oil ratio affects outboard motor performance, including the Knowledge of when to move trim tabs up or down during use.
2. The ability to pay close attention during operation.
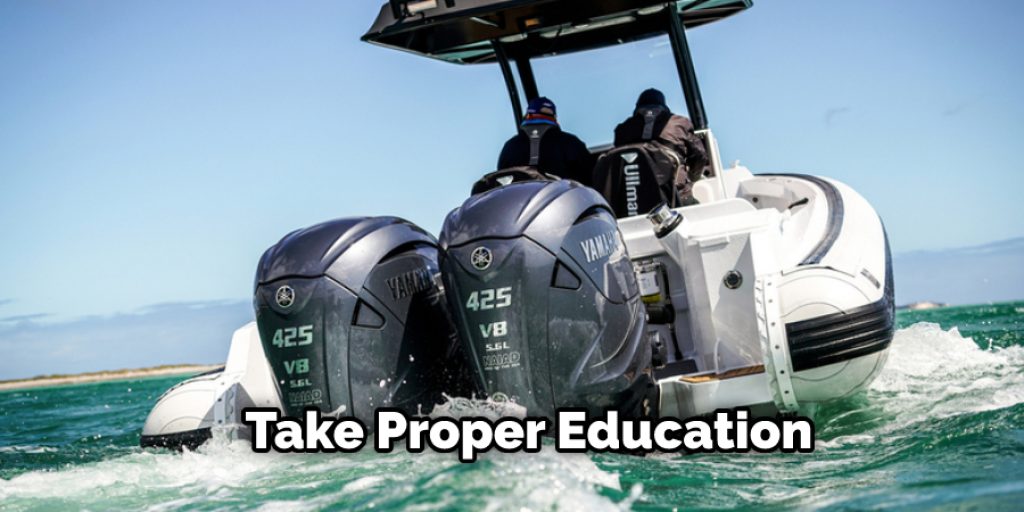
3. The knowledge that outboard motors can be dangerous if not handled properly and safely. For this reason, it is best to consider getting certification and proper education before operating any type of motorized boat.
4. If only one person is operating the boat or performing maintenance, even if they are the most experienced person, it is always wise to have one other person present in case emergencies or worst-case scenarios arise.
5. The ability to lean over the motor and balance on one foot during operation while still applying light pressure with hands placed where trim tabs are located.
6. The ability to lift an outboard motor with two people. This may be necessary when manually lifting the motor to better access to fill in oil or drain water.
7. They can perform maintenance on their motors, including changing spark plugs and fixing problems like clogged fuel filters. This way, if there is a problem while not in the presence of someone with experience, they will possess the knowledge and tools to fix it on their own.
How Do You Manually Trim Outboard Motor?
When you’re out on the water, an outboard motor is what propels your boat. As you go faster, the motor thrusts more air because of the increased speed. Unfortunately, the higher speeds also increase drag or resistance against the boat, making it even harder to move.
One easy way to solve this problem is by trimming your outboard motor. All you need are the right tools and some practice. Depending on how far off-center the motor pulls when in operation, you may have to adjust its position at certain speeds. Outboards today are designed to be trimmed with their steering wheel or tiller control systems.
Before you start the engine, you can manually adjust it until your boat is balanced with its load. For your safety, turn off the engine and set it on a high rack or platform before you start this operation. If you want to know more about how to manually trim outboard motor then consider reading this full blog post.
Conclusion
Oil the connections and tighten the bolts before you start. Make sure to wipe off any excess oil or grease that may drip onto other parts of your boat’s outboard motor, as it can cause corrosion over time. The best way to know if you need a new gasket is by looking for leaks around the headcover area, but this should be done after running at least 10-15 minutes with no issues.
When tightening down nuts on an outboard motor shaft, make sure they are not too tight; otherwise, you will strip them and have trouble removing them later. There’s still plenty more information about how to manually trim outboard motor in our blog! So be sure to check them out!


