
How to Mark Drill Locations From Blind Holes
Drilling holes in metal is a common task in many workshops. The process is usually the same, whether it’s to attach a bracket or make a hole for a bolt. However, what if the location of the hole is unknown? In this case, it’s necessary to mark the drill location from blind holes. Therefore, when drilling a hole in a workpiece, it is often required to mark the drill location on the blind side of the workpiece.
There are several ways to do this, and which one you use will depend on the situation. In this blog post, we will discuss a few methods for how to mark drill locations from blind holes. We’ll also provide tips for each method to ensure your drill locations are accurate. Let’s get started!
Summary: In order to mark drill locations from blind holes, one must first identify the features of the hole. These features can include the type of rock in the hole, the size of the hole, and the location of any obstructions. Once the features are identified, a sketch or map of the hole can be created. The sketch or map should include the location of the drill hole, the location of any obstacles, and the location of the entrance and exit of the hole. The next step is to use a string or rope to mark the location of the drill hole on the sketch or map.
10 Ways on How to Mark Drill Locations From Blind Holes
1. Probe With a Sharp Object:
If you have a sharp object on your hands, such as a nail or a screwdriver, you can use it to probe the surface around the blind hole until you hit metal. Once you’ve found the spot, use a marker to outline the hole.
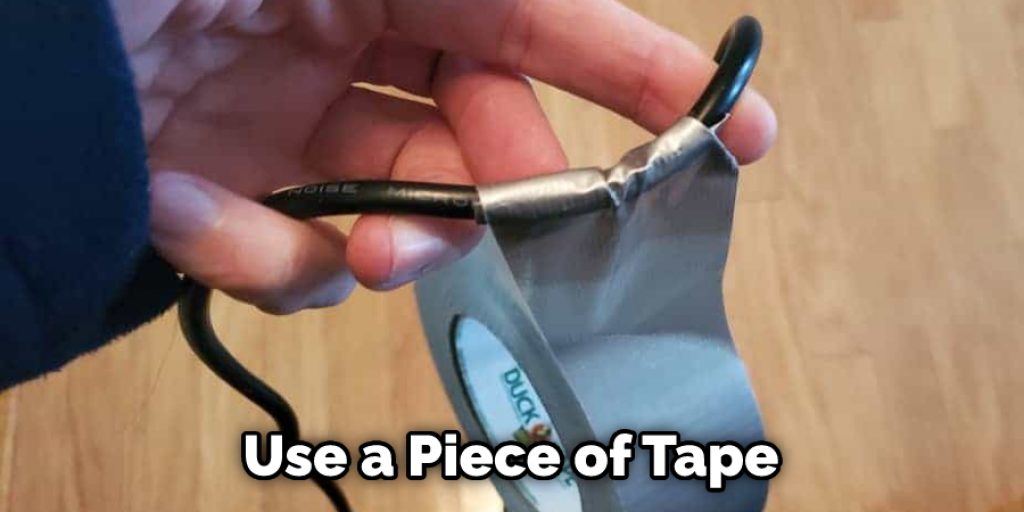
2. Mark the Edge of the Hole With Tape:
Another way to mark the drill location is by using tape. First, place a strip of tape around the hole’s edge and make sure it’s sticking well to the surface. Then use a marker to draw a line on the tape corresponding to where you want to drill.
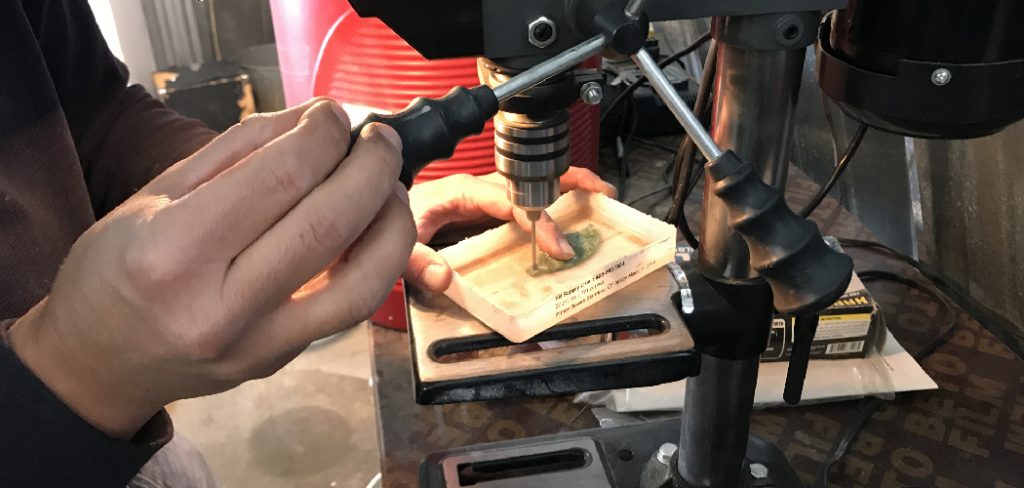
3. Drill a Small Pilot Hole:
If you have a small drill bit on hand, you can use it to drill a pilot hole in the surface around the blind hole. This will give you a better idea of where the actual hole needs to go and make it easier to drill accurately.
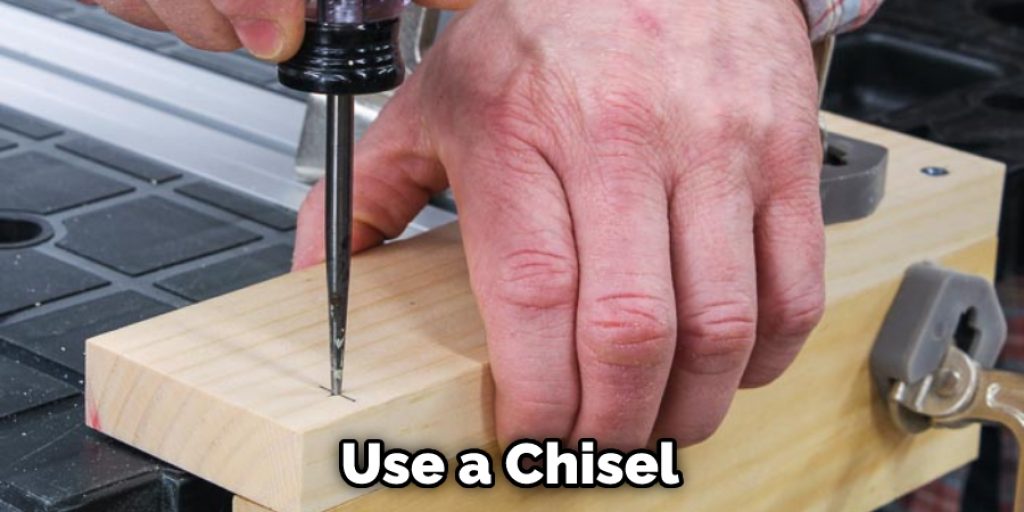
4. Use a Chisel or a Knife:
If you don’t have a sharp object on hand, you can use a chisel or a knife to mark the drill locations. Strike the chisel or knife into the surface of the wood at the desired location and then use a pencil to draw a line around it. Make sure that you’re careful when doing this, as you don’t want to damage the wood further.
5. Make a Template Out of Cardboard:
If you have a cardboard piece about the same size as the hole, you can use it as a template to help mark the drill locations. First, mark the center of the hole on the cardboard.
Then, using a ruler or straight edge, make marks around the hole’s edge at equal distances from the center. Finally, connect the marks with straight lines. Now you can use the template to help mark the drill locations on the surface you are drilling.
6. Use a Nail or Screwdriver:
If you don’t have a punch, you can use a nail or screwdriver to mark the drill location. Drill a small hole in the center of the area you want to mark, and then use the nail or screwdriver to make an indentation in the metal. Be careful not to make the indentation too deep, or you may damage the drill bit.
7. Find the Middle of the Hole With a Nail:
Once you have the center of the hole determined, put a nail in the center and use that as your guide to evenly space out your drill holes. This will ensure that your screws are straight and even. If you’re using a hand drill, use a level to keep the drill itself level. This is especially important when drilling into a surface that is not completely flat.
8. Use a Piece of Wire or a Bent Paper Clip:
Another way to mark the drill location is to use a piece of wire or a bent paper clip. Poke the wire or paper clip through the hole and use it as a pointer to indicate where you want the drill bit to go. This technique can be tricky because you have to be careful not to move the pointer while you’re drilling. You may also want to use a piece of tape to hold the wire or paper clip in place.
9. Use a String:
If you don’t have anything else handy, you can also use a piece of string to mark the drill location. Just tie one end of the string to the drill bit and hold the other end up to the wall. Then, use a pencil to make a dot on the wall where the string crosses it. Again, be careful not to drill into any wiring or plumbing behind the wall.
10. Insert a Bolt or Other Anchor Point:
When you need to place a drill somewhere on a piece of material but don’t have any reference points to go off of, it can be challenging to get the drill in the correct spot. One way to do this is to insert a bolt or other anchor point into the material and use that as your guide. This will ensure that the drill is in the correct spot and help to avoid any mistakes.
Some Helpful Tips and Suggestions
Here we have given tips on how to mark drill locations from blind holes.
- Use a permanent marker to mark the drill location on the blind hole.
- Make sure the drill location is visible and easy to identify.
- Drill at the marked location to avoid any potential mistakes.
- If needed, use a center punch to indent the drill location further.
- Always double-check the drill location before drilling.
- Drill slowly and carefully to avoid any damage to the workpiece.
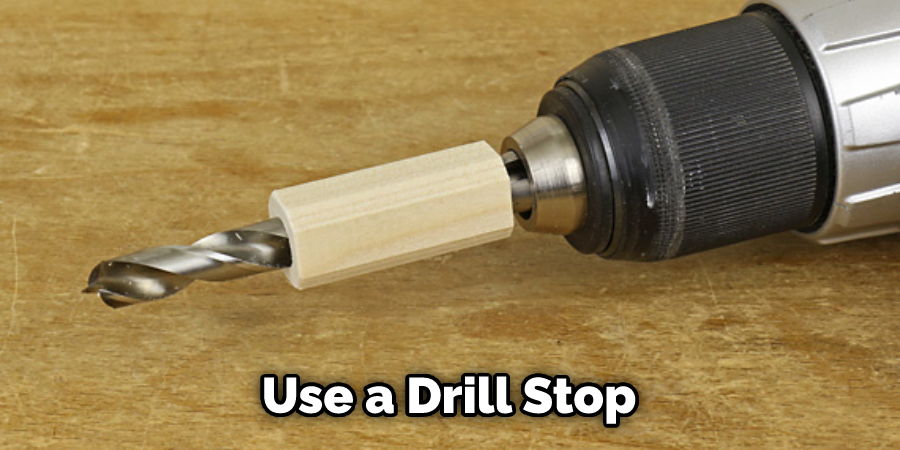
- If possible, use a drill stop to prevent the drill bit from going too deep into the hole.
- Clean up any debris or filings created by the drilling process.
Conclusion
As you can see, it is possible to mark drill locations from blind holes accurately. Using the techniques described in this article on how to mark drill locations from blind holes, you can ensure that your drilling operations are as efficient as possible. Remember to always consider the limitations of your equipment and the nature of the material you are working with when marking drill locations.
With a little practice, you will be able to consistently produce accurate marks that will help you achieve success on your next drilling project. We hope this blog post has been helpful. If you have any questions or want to know more, then feel free to comment below!


