
How to Mix Burnt Orange Acrylic Paint
Burnt orange acrylic paint is a great color for your home decor. It can be used to create accents and focal points in an otherwise neutral space. This blog post will teach you how to mix burnt orange acrylic paint and what it looks like when combined with other colors such as yellow or green. When you are painting with acrylics, it is essential to know the paint’s color. The color of acrylic paint can range from white or black to blue or green.
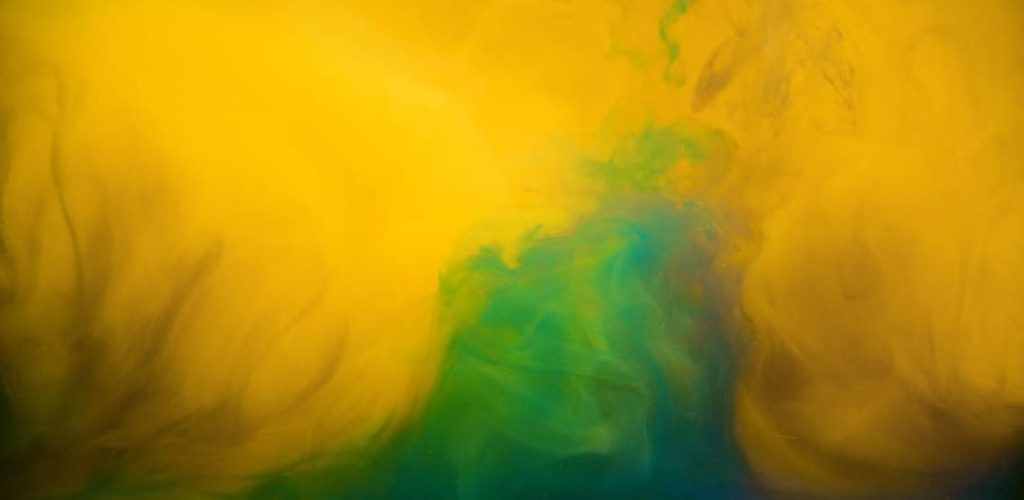
You may wonder how many colors there are between these two extremes; that answer is infinite! Acrylic paints come in every hue imaginable, and most artists have a favorite set of colors that they like to work with. When trying out new colors for my paintings, we use burnt orange because it compliments the earthy tones of fall very nicely. Read on to know how we mix burnt orange acrylic paint!
Five Reasons Why You Should Mix Burnt Orange Acrylic Paint:
1. Some paints come out orange and some come out red. So if you need burnt orange, paint it yourself!
2. Paints will always be slightly different from each other. Mixing your color lets, you get to exactly the tone you want for your project.
3. It’s fun! Everyone loves a little creative expression once in a while, and this is a great way to do it.
4. Practice makes perfect! Getting better at mixing paint colors will help you no matter what other mediums or painting projects you decide to work with in the future.
5. It saves money! You’ll get so much more out of your paints if you mix them yourself rather than just painting with the color straight from the tube.
The Process on How to Mix Burnt Orange Acrylic Paint:
Step 1: Gather your materials!
You’ll need acrylic paint, a palette (any flat surface will do), and a brush for mixing colors as you go along. If it’s easier, you can use a coffee or spice grinder to create the most finely ground paint you can.
Step 2: Identity what colors you’ll need.
You can create a color wheel to create complementary colors that work well together. For example, I looked at my green and found an orange with yellow in it. This is close enough to burnt orange and will create different shades if you use varying amounts of each one.
Step 3: Mix your first color.
This is one of the easiest steps! Just add paint to your palette, combining equal parts at a time. Once you have all the colors you need, you can adjust them by adding or removing the paint as needed. For example, if it’s too bright, add some black. Too dark? Add some white. You can also adjust saturation by adding or taking away the amount of water in your mixture.
Step 4: Mix your second color.
Start with your first mixture, and slowly add some of the new colors to it. If you’re using more than one new color, mix equal parts slowly until you have all new colors on your palette. You can adjust these by adding or taking away the paint as needed. For example, if I had my original mixture of orange and yellow, I would add some red to my palette; then mix that with the other colors. Be liberal with your mixing; you can always take away paint if it’s too much!
Step 5: Add water
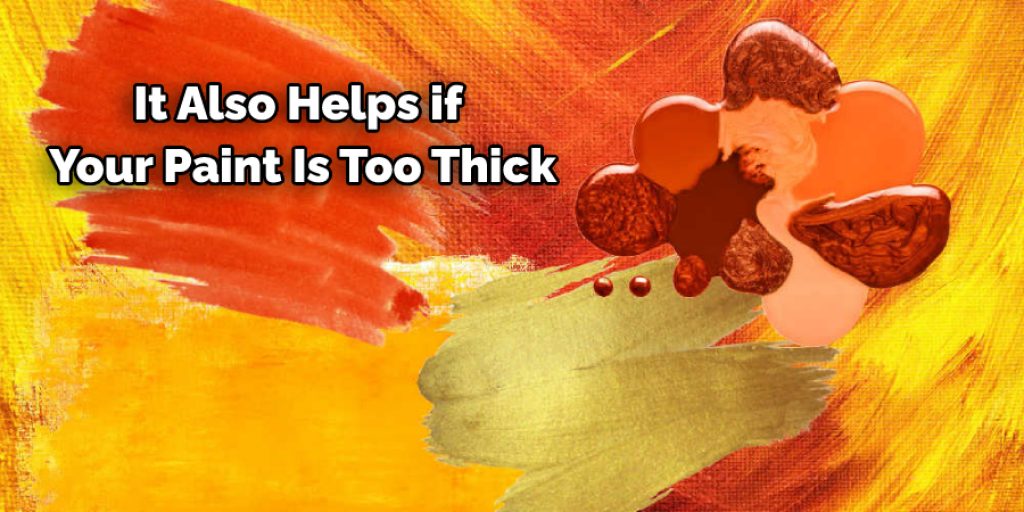
Adding water is an extra step, but it helps to make sure that all of the pigment is( water makes the paint thinner and easier to use. It also helps if your paint is too thick! Add a few drops at a time until it seems like the right consistency.)
Step 6: Paint with it and experiment!
Now that you’ve got all of your colors, you can start painting with them. Just paint on any color surface as if it were white! Of course, you can always add more layers as you go, and you might even want to make some changes later. The nice thing about acrylic paint is that it dries pretty quickly, so you can experiment without having much wait time at all.
5 Common Mistakes You Should Avoid When Mixing Burnt Orange Acrylic Paint:
1) Using the Wrong Paint Color:
You must use a red magenta hue to create your burnt orange color. The best way is to match a complementary cool or warm color with a red-magenta hue, depending on whether you want a warm or cool result.
2) Using too Much of one Color:
Mixing more red magenta with your paint will create a stronger burnt orange, whereas mixing more white (titanium) will make it lighter. If you go overboard and add too much of either one, the result will be pink or gray.
3) Using Acrylic Medium:
Acrylic medium is used to increase the flow and leveling of acrylic paints. It can be used to dilute or extend paint, depending on how much you mix in with the paint. However, do not use this as a substitute for water when mixing burnt orange acrylic color.
Acrylic medium will make your color more opaque and reduce its transparency, resulting in a muddier color. Mix this color on the palette with just enough water to make it transparent so that you can get its most accurate value and hue.
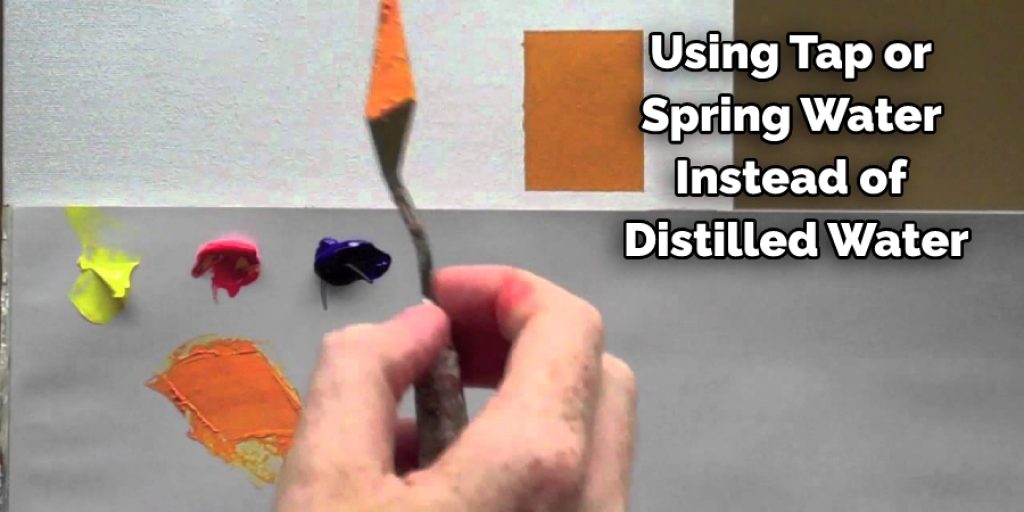
4) Not Using Distilled Water:
Using tap or spring water instead of distilled water will alter the ratio of pigment to the binder, resulting in a changed paint mixture that will not have the same opacity, chroma, nor value as intended.
5) Using the Wrong ratio of Paint to Water:
To achieve a strong color-mixing with this particular paint color, you must immediately use more dry paint than the water after mixing. The second time you mix burnt orange, remember that it is further diluted and requires more water than the first time.
Conclusion:
This post has covered how to mix burnt orange acrylic paint. This hue is also popular in interior design and a great color for fall and winter because its warm undertones create cozy spaces. Painting with it can be tricky, though, as the pigment needs to be mixed correctly before use, or else you’ll end up with an undesirable brownish-orange shade instead!
If you’re ready to try your hand at painting with burnt orange but don’t know where to start, we’ve given some tips on getting the right mixture every time above. What do you think? Would these techniques help make mixing more accessible for you? Let us know by leaving a comment down below!
Elizabeth Davis
Elizabeth is a creative writer and digital editor based in the United States. She has a passion for the arts and crafts, which she developed from a young age. Elizabeth has always loved experimenting with new mediums and sharing her work with others. When she started blogging, she knew that DIYquickly would be the perfect platform to share her tutorials and tips. She's been writing for the blog from the beginning, and her readers love her helpful advice and easy-to-follow instructions. When she's not writing or editing, Elizabeth enjoys spending time with her family and friends.


