How to Open a Scooter Seat Without a Key
Opening a scooter seat without a key can be difficult, but there are a few methods that you can use to get the job done. In this article, we will discuss a few different ways how to open a scooter seat without a key. Whether you’re a new scooter rider or you’ve been using your scooter for a while, there may come a time when you need to open the seat without a key.
This can be helpful if you lose your key or if it breaks off in the lock. We will also provide some tips on preventing this from happening in the future. So, whether you have lost your key or need to get into your scooter quickly, read on for our helpful tips!
What is a Scooter Key?
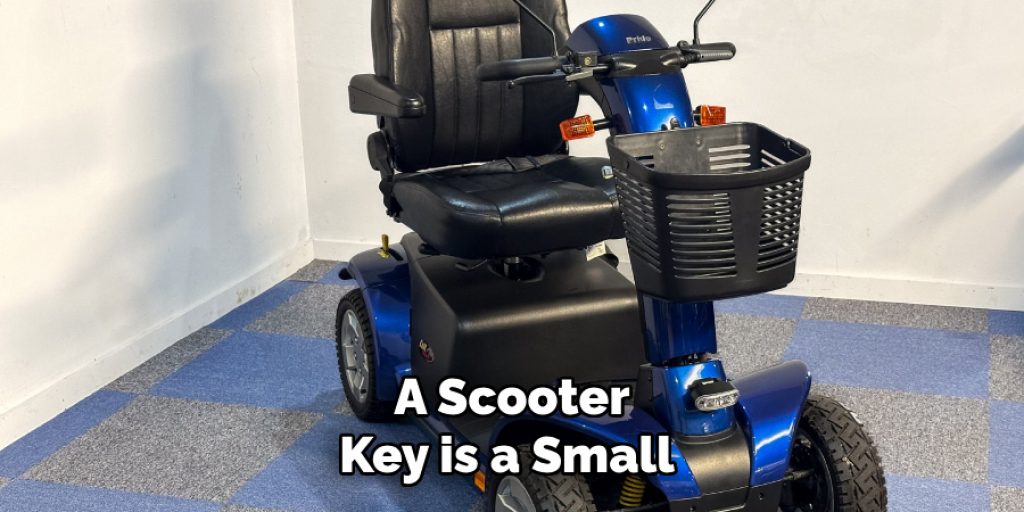
A scooter key is a small, metal object that is used to lock and unlock the seat of your scooter. It usually has a unique shape or pattern that fits into the corresponding lock on your scooter. Without this key, it can be difficult to open the seat and access important items such as the battery or storage compartment.
You may also have a key for your ignition, which is used to start the scooter. This key is usually separate from the seat key and should not be confused with each other.
You should always keep your scooter keys in a safe place and avoid losing them. However, accidents happen and it’s important to know how to open your seat without a key in case of emergency.
Why Do You Need to Open the Seat Without a Key?
There are a few reasons why you may need to open the seat of your scooter without a key. As mentioned before, losing or breaking your key is one of the main reasons. Another reason could be that you left your keys inside the locked seat and have locked yourself out.
It’s also possible that someone has tampered with your lock, making it difficult or impossible to open with a key. In these situations, knowing how to open the seat without a key can save you time and hassle.
You may also need to open the seat without a key if you have recently purchased a used scooter and did not receive the original key. This is a common problem when buying second-hand vehicles, so it’s important to know how to access your scooter without the key.

Needed Materials:
To open your scooter seat without a key, you will need the following materials:
A Flathead Screwdriver:
A flathead screwdriver can be used to pry open the lock on your scooter seat. If you don’t have a screwdriver, you can also use a butter knife or any other flat and sturdy object that can fit into the lock.
A Wire Hanger:
A wire hanger can be manipulated to create a hook shape, which can then be used to unlock the seat. If you don’t have a wire hanger, you can also use a bobby pin or paperclip to create a hook shape.
Lubricant:
If your lock is stuck or difficult to open, lubricant can help loosen it up and make it easier to open without a key. You can use WD-40 or any other type of lubricant that is safe for metal.
10 Ways on How to Open a Scooter Seat Without a Key:
1. Push the Scooter on a Flat Surface:

If possible, find a downward slope to push your scooter down. Since the scooter’s balance largely depends on its front wheel, elevated pushing with the back wheels makes it easier to open the seat. You will need to push the scooter down slowly but with enough force for it to roll and open without the key.
2. Lockout the Brakes:
If you can’t use option 1 for some reason, lock out the brake on the left rear wheel of the scooter. With both wheels locked, the scooter cannot be propelled and it will be easier to open the seat. It’s important to note that this method will only work if your scooter has a locking brake feature. But be careful not to lock the brakes too tightly as this can cause damage to your scooter.
3. Find a Heated Surface:
Push your wheelchair with a heated surface such as concrete, dry sand, or pavement to soften the plastic and make it more malleable. If you don’t have access to these materials, try heating the seat with a hairdryer or a heat gun. Once the plastic is warm and pliable, try to open the seat by pulling or prying it open with a flathead screwdriver.
4. Pry Open the Scooter:
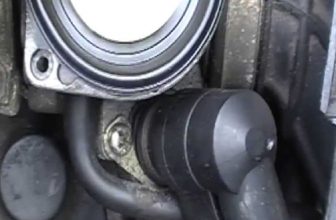
If you have a flat-head screwdriver, insert it between the scooter’s plastic and the metal bar on the side of your scooter model to pop open the seat without damaging any parts. To avoid scratches, place something soft under the scooter and the screwdriver, and be sure to hold it down while forcing the scooter open. This method should only be used as a last resort, as it may damage your scooter if not done carefully.
5. Pry Opens the Front Wheel:
If your older model has a metal bar along both sides of your scooter’s base, place something soft under the metal bar before prying them apart. You can also use a crowbar or an adjustable wrench to force them open without damaging any parts. Unfortunately, this method often needs multiple tries before you get it right. But it’s always worth a shot if you cannot access other tools.
6. Use Tools:
Typically available from hardware stores, these tools are designed explicitly for opening plastic lids and containers that cannot easily be pried by hand. You may need different-sized flat-head or Phillips heads, depending on what type of screws your seat uses. Be tools to open the scooter’s lid. If your seat is locked, these tools can break the lock and open it. This method may sound a bit counterintuitive, but it’s effective in many situations.
7. Remove Nuts and Bolts:
If you have access to a drill or a screwdriver, removing the base of your seat so you can slide the seat off may be easier. If this option is not available to you, another option is to remove both screws that hold the seat in place. Keep track of nuts and bolts once they are removed since it’s difficult to put them back on. You can also use this method to remove the lock altogether so that you can access your scooter without a key in the future.
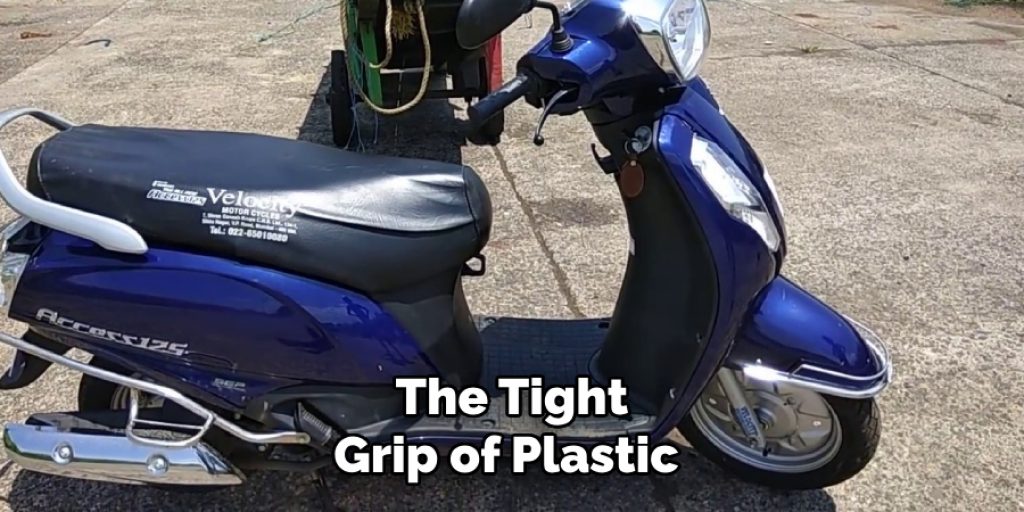
8. Duct Tape:
Using duct tape around the edges of your scooter seat can help loosen up its grip enough for you to pry open the lid with your hands easily. The tight grip of plastic and heat naturally causes thin layers of plastic inside your scooter’s lid to curl up slightly; using duct tape helps lift these curled pieces up and loosens the grip of your seat. Once the layers are slightly loose, try opening your seat with your hand.
9. Use a Hammer:
Use a caution hammer; place something soft underneath your scooter seat before striking to protect its plastic and metal parts. A series of light taps may be needed to open your scooter’s lid without causing any damage completely. If you are not confident with this method, it’s better to try other alternatives.
10. Call a Professional:
If you continue to have difficulties opening your scooter’s seat and none of the above methods work for you, consider hiring a professional if it is safe and affordable. Professional assistance may not be offered free or at a low cost; however, it guarantees faster service than doing it yourself or having another person try their luck on opening the scooter’s lid without damaging parts. Additionally, a professional will have the necessary tools and expertise to open your seat without causing any harm to your scooter.
Following these tips, you can now successfully open your scooter seat without a key. However, it’s always essential to take precautions and avoid damaging any parts in the process. In case of emergency situations, make sure to have access to spare keys or tools that can help you open your scooter seat easily.
Troubleshooting Tips:
Here, we have given some tips on how to open a scooter seat without a key.
1. If you cannot find the screws, check for any release tab or button that may be located on either side of the seat to separate it from the scooter.
2. Make sure you are using a screwdriver and not a drill. There is nothing worse than stripping out your screws with an electric drill because you didn’t have the right tools!
3. If you can’t find a release tab and there are no screws, check the underside of the seat for any screws located underneath.
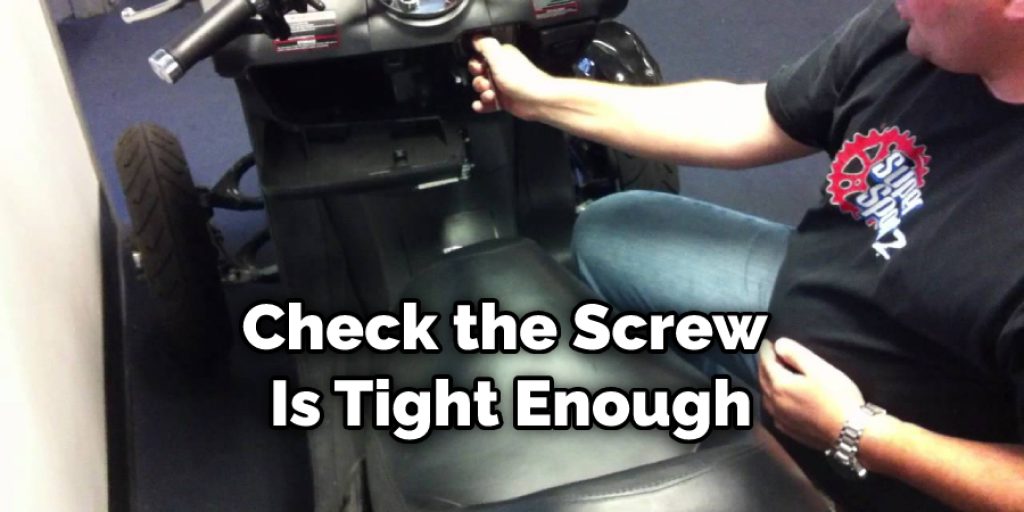
4. When re-installing your screws, do not overtighten them as this could cause damage to your scooter’s frame or other parts such as axles. The nuts should be very tight (snug), but you don’t want to bend the opposite piece of metal holding it onto the scooter!
5. If all else fails and you cannot find where to open up your scooter’s seat, seek professional help from an authorized dealer or repair shop!
6. If you take the scooter apart to replace your seat, we suggest putting everything back together before riding it again on all-terrain scooters! A new seat looks nice, but you will still want to be able to sit on it!
7. If your scooter’s lid comes off easily or appears to be loose, check that the screw holding it onto your frame is tight enough. When working with some types of plastic, screws need to be tightened just enough so they don’t come out when you’re riding around, but not too much where the scooter’s plastic base cracks/breaks.
What Is a Shutter Lock-in Scooter?
Scooter lock-ins are used most often at schools and churches. They usually feature a seat that swings up, allowing users to step into or onto the scooter. Once they’re on, they can be locked in place with a simple pin and clip fastener (which is also how you adjust the position of the seat). The problem: if you don’t have a key for them, you’ll need to find another way to open one.
Many of these seats use an unconventional locking mechanism called a “shutter lock” instead of more standard push-button locks like those found on rollerblades and skateboards. With this kind, all it takes is simply pulling down on either side of the seat support (the round metal handle attached to the seat itself) and pulling up on either side of the lock.
Once you do that, you should be able to easily slide the lockout from its slot and pull up on the seat support. What’s even better is if it uses a regular push-button type lock instead of a shutter lock since those are much easier to break into than shutter locks!
How Do You Unlock a Shutter Without a Key?
Shutter doors are sometimes locked without an obvious keyhole. If there is no keyhole on the inside of the lock, you will have to find another way to unlock it. Some shutters have a bottom lock that you can access and unlock. Others may open with a small screwdriver or specialized key. The steps below will help you open the shutter door if there is no keyhole on the outside.
Steps to Unlocking a Shutter Without a Key:
Step 1:
If your shutter does not have an obvious lock, check for any screws on the side of it where the two panels meet. Remove these screws, and the panels will come apart. Inside this seam, you should see another locked area in which you can insert a tool to release the door.
Step 2:
If you cannot find any screws in this area, look for a small hole right in front of the top hinge between the two panels. You should see a paper clip hanging out of it if you look inside.
Step 3:
Open the top panel and pull the clip down with pliers. The clip will slide downward and unlock the door.
Step 4:
If you cannot find any paper clips inside the hole, use two small screwdrivers to push them towards each other while pulling on the handles of the shutters. This should release the lock, too.
Step 5:
If neither of these options works, look for another way into it, or consider that your shutter is broken and needs replacing.
Step 6:
If your shutter is too difficult to open, you may want to contact a professional. A qualified contractor has the tools and knowledge to open most locks, especially if it gets stuck or breaks over time. They can also replace the lock with a new one if necessary.
Frequently Asked Questions:
Q1: What if I Can’t Find a Keyhole or Release Tab on My Scooter Seat?
A: Check the underside of the seat for any screws or tabs that may have been hidden. If you still cannot find a way to open it, seek professional help. It’s not worth damaging your scooter just to open the seat. You can also contact the manufacturer for assistance.
Q2: Can I Use a Drill to Open My Scooter Seat?
A: It is not recommended to use a drill when trying to open your scooter seat without a key. A screwdriver will work just fine and prevent any damage to your scooter’s parts. The key is to apply gentle pressure and not overtighten or force anything open. You don’t want to cause any unnecessary damage.
Q3: What If I Can’t Find a Professional Repair Shop for My Scooter?
A: You can try contacting the manufacturer of your scooter for assistance or reach out to online forums for help from other experienced scooter owners. If all else fails, you may need to purchase a new seat or scooter altogether. It’s important to take care of your scooter and get it professionally repaired if necessary to ensure safe and proper functioning.
Overall, always prioritize safety when trying to open a locked shutter or any other part of your scooter. Don’t attempt to break or force anything open, and seek professional help if needed. With the right tools and techniques, you can easily unlock a shutter without a key and get back to riding your scooter in no time!
Conclusion:
This article has discussed how to open a scooter seat without a key. This process is simple and can be completed in just a few minutes. If you have lost your scooter key or if it has been damaged, follow the steps mentioned in this blog post to open the seat without it.
We hope this blog post has helped guide you. However, keep in mind that this guide only applies to unlocked seats using a key. If your scooter has a code-based locking system, please consult the owner’s manual for further instructions.