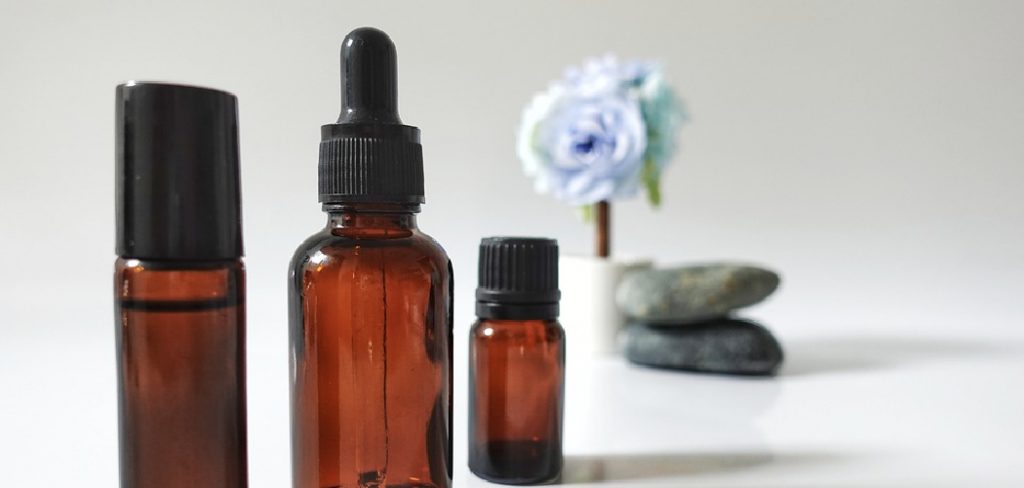
How to Open Essential Oil Bottle Cap
There are many methods to open an essential oil bottle cap. It all depends on the type of cap on the essential oil bottle. In this blog post, we will talk about a few different methods on how to open essential oil bottle cap.
If there is a screw-top, unscrew it by turning it counterclockwise. If there is a pump top, press down and release. Sometimes, there is a lever you have to squeeze as well. For dropper tops, gently squeeze the rubber bulb and release the pressure slowly to create suction until the top pops off. Keep reading to find out more!
What is an Essential Oil Bottle Cap?
Before we get into the different methods of opening an essential oil bottle cap, let’s first talk about what exactly it is. An essential oil bottle cap is a lid or closure that seals and protects the contents of a bottle containing essential oils. These caps come in various types such as screw-top, pump top, dropper top, and more. They are designed to prevent spills, leaks and preserve the potency of the essential oils.
You may be wondering why it’s important to know about the different types of essential oil bottle caps. Well, each type requires a specific method to open it properly, and using the wrong method can damage the cap or cause spills.
Why is it Important to Properly Open an Essential Oil Bottle Cap?
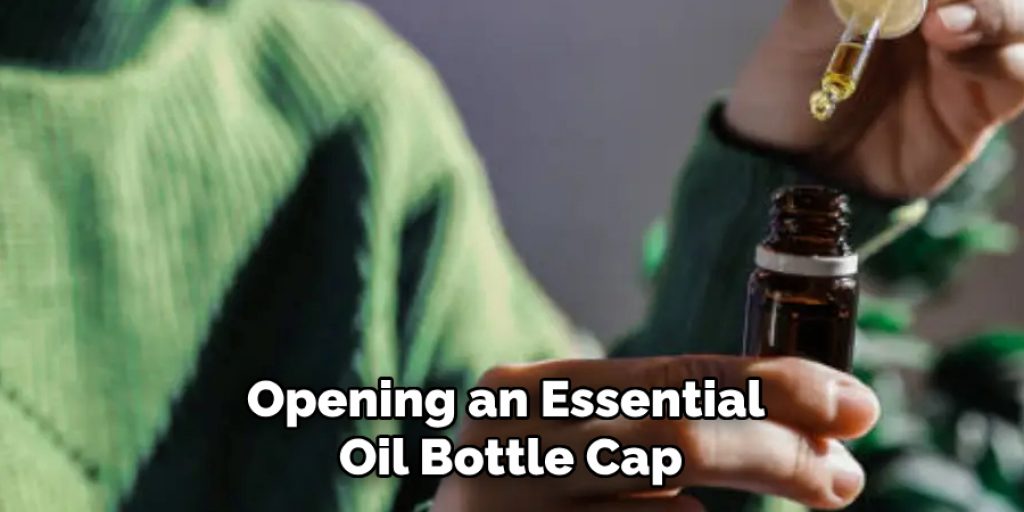
Opening an essential oil bottle cap may seem like a simple task, but if not done correctly, it can lead to spills and damage. Essential oils are highly concentrated and potent substances that should be handled with care. Improperly opening the bottle cap can cause spills, which not only wastes the precious oils but also poses a safety hazard.
In addition, essential oil bottle caps are designed to properly seal the bottle and preserve the potency of the oils. If opened incorrectly, it can compromise the seal and affect the quality and shelf life of the oils.
Now that we understand the importance of properly opening an essential oil bottle cap let’s dive into some methods to do so.
Needed Materials:
Before we begin, here are some materials that may come in handy when opening an essential oil bottle cap:
Essential Oil Bottle With Cap (of Course!):
Make sure the bottle is tightly closed before attempting to open it.
Rubber Gloves:
If you have trouble gripping or turning caps, rubber gloves can improve your grip and make opening easier.
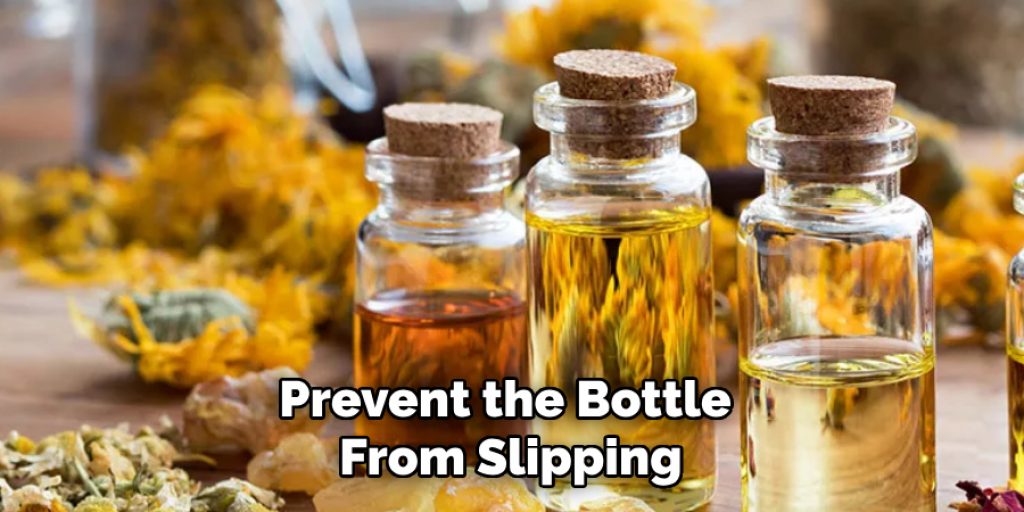
Towel:
Placing a towel on a flat surface can prevent the bottle from slipping while you try to open it.
Essential Oil Key:
An essential oil key is a small tool designed to help you open and properly close essential oil bottle caps. They can be purchased at most health food stores or online. If you have a large collection of essential oils, investing in an essential oil key may be worth it.
Now that we have our materials ready, let’s take a look at some different methods for opening essential oil bottle caps:
Step-by-Step Guide: How To Open Essential Oil Bottle Cap
Step 1: Push Down and Turn Type Caps
There are two types of oil caps: push-down and turn types.
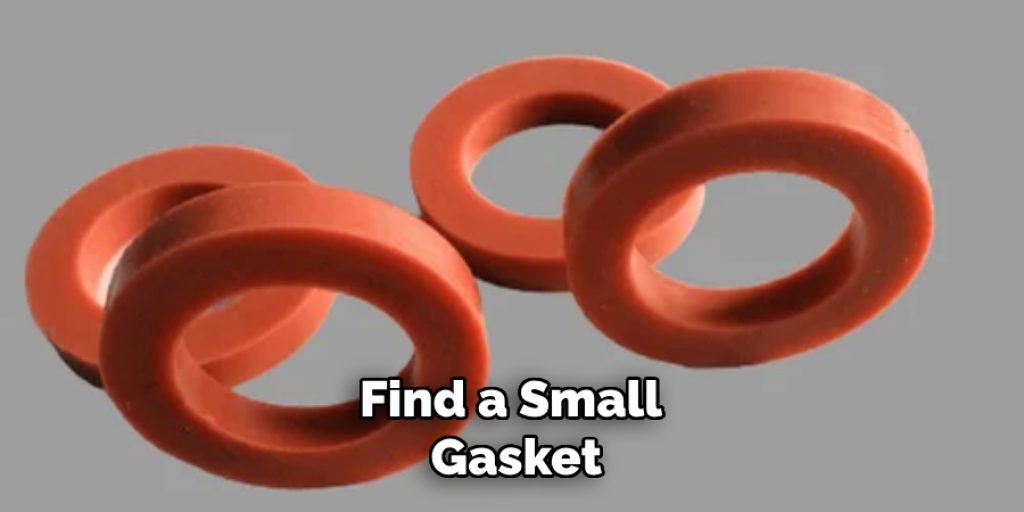
1. Push-Down Type Caps: The classic version is a rubber gasket with a hole in the center pressing down on the bottle lip, which keeps it sealed. It would help if you simply pressed on this gasket to release the seal and open the bottle cap.
2. Turn Type Caps: This newer version of the essential oil bottle cap has a textured ring you can grab onto with your fingertip. To release the seal and open the bottle cap, you need to twist this ring.
Step 2: Remove the Outer Label
After you’ve located the cap, peel off the outer label to remove the protective cover and expose the inner portion of the cap that needs to be pushed or twisted. Make sure to keep the label in a safe place so you can easily find it when needed. Otherwise, write down the name of the blend or oil on a new label to avoid confusion. It’s essential to keep the bottle and cap clean to prevent contamination.
Step 3: Push the Gasket Down to Access the Screw Top Threads
You’ll likely find a small, gasket-like rubber piece on the inside of your bottle cap with one side indented slightly. This part needs to be pushed down into the surface of your bottle to create an airtight seal that allows you to bring the oil with you wherever you go.
Push down on this gasket, so it protrudes far enough to expose the threads on the inside of your bottle cap, where the screw top will attach. Depending on how deep your indentation is, you may need to press quite hard or even use a flathead screwdriver to expose the threads fully.
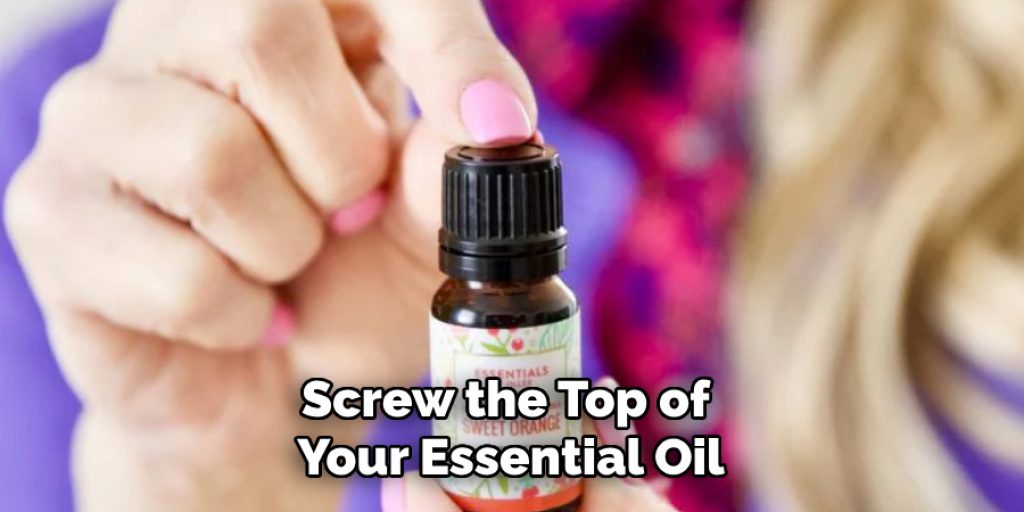
Once you’ve successfully pressed down on the gasket to expose the inside of your bottle cap, screw the top of your essential oil onto this part. This should be done gently and carefully, as too much force can damage either your oil or your new bottle; both items are fragile!
Step 4: Twist Counterclockwise to Open
Once you’ve screwed the tops onto your bottle (make sure they’re tightly attached), use one hand to hold the top section and the other to turn it counterclockwise. This motion will break or loosen whatever seal was created when the gasket was pressed down, allowing you to open your essential oil container. Make sure to turn it slowly and steadily; otherwise, you may end up spilling some of your precious oil. Otherwise, you may end up spilling some of your precious oil.
Step 5: Pour out the Oil
Once you’ve successfully twisted off your bottle top, it’s time to pour yourself a little bit of essential oil. We’d recommend doing this over a small plate or cup as some oils create stains on surfaces they come into contact with. You can also use a funnel to pour the oil into another container or your diffuser. You can also use a dropper to transfer a small amount of oil. It’s essential to pour slowly and carefully to avoid spills.

This guide provides a simple and easy-to-follow method for opening an essential oil bottle cap. Remember, it’s crucial to properly open and close the bottle to preserve the quality and potency of your oils. With these tips and techniques, you can safely and efficiently open any essential oil bottle cap and enjoy the benefits of these powerful natural substances.
Step 6: Replace the Bottle Cap and Store
Once you’ve poured out your desired amount of oil, simply twist the top back into place and return your bottle to its storage location. Again, we recommend a room that stays about 70 degrees Fahrenheit for proper storage. Even better, invest in a wooden box with individual compartments to keep your essential oils organized and accessible.
Congratulations! You’ve successfully opened an essential oil bottle cap without any spills or damage. Remember always to use caution when handling essential oils and their bottles, and be sure to follow the proper steps for opening them to preserve their quality and potency. Now go enjoy your favorite aromatherapy blend or essential oil!
Do You Need to Get Help From an Expert?
Don’t hesitate to reach out to a certified aromatherapist for guidance and advice on safely handling and using essential oils. They can also provide you with personalized blends and recommendations for your specific needs and concerns. Remember, the proper opening of an essential oil bottle cap is just one small step in the journey toward a healthier and more holistic lifestyle. Keep exploring, learning, and enjoying the benefits of these incredible natural remedies!
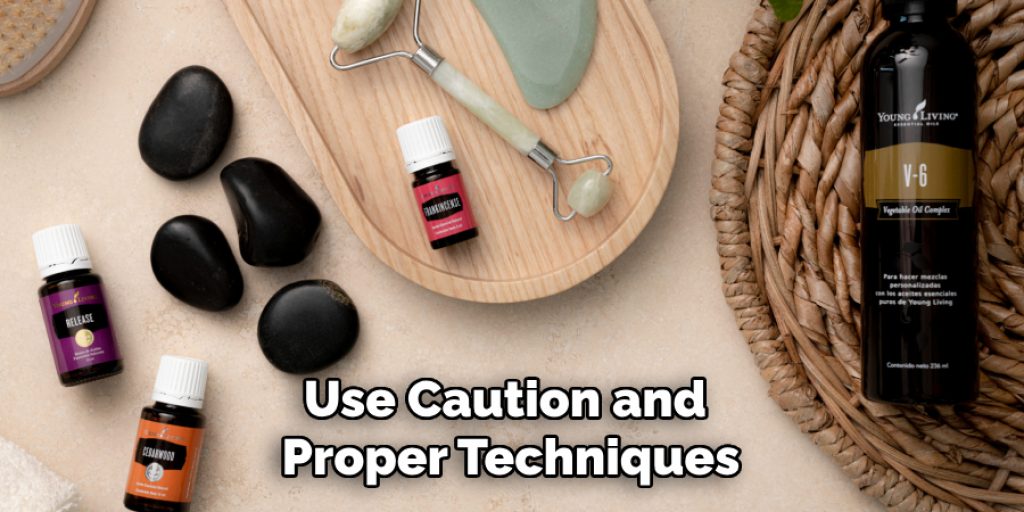
But always remember to use caution and proper techniques when handling essential oils, as they are potent and should be respected. With these tips and tricks, you’ll be an expert in opening essential oil bottle caps in no time! If you found this guide helpful, please share it with others who may also benefit from it. Happy oiling!
Few Tips & Warnings:
- 1. Do not use any sharp object or knife when opening oil bottles; it will tear and damage the label of your oils.
- If you have a white cotton cloth under the oil spill, it will absorb any spilled oil on top of it, or if you want to wipe off some excess oil that may be left on the bottle opening just for safety purposes, then use a soft dry piece of white paper towel on top of it.
- Be careful when opening your bottle so as not to drop any of the small glass beads or vase-shaped objects inside it; they often break very easily.
- Keep in mind that all oils should be stored away from direct sunlight and heat; do not store them directly on top of the heat source, such as vents, heaters, fireplaces, ovens, etc.
- If you drop your bottle, do not worry as it can be glued back together with superglue gel, be sure to wash the glass first before gluing. Make sure you keep it away from heat while letting the superglue dry completely.
- When using an essential oil key, make sure to gently press down and twist the cap open. Do not use excessive force, as it can cause the cap to become stuck or break.
- Keep essential oils out of reach of children and pets.
- Essential oils are highly concentrated and should always be diluted before application on the skin.
- If you have any allergies or sensitivities, consult with a healthcare professional before using essential oils.
- Always check the expiration date on your essential oil bottle and discard it if it has passed.
- Properly seal and store your essential oil bottles after use to maintain their potency and prevent contamination.
- Avoid ingesting essential oils unless under the guidance of a certified aromatherapist or healthcare professional.
- Do not mix different essential oils in the same bottle without proper knowledge and guidance to avoid adverse reactions.
- Always perform a patch test before using an essential oil on your skin to check for any adverse reactions.
- If you experience any adverse reactions, discontinue use immediately and seek medical advice.
- Remember to always handle essential oils with caution and care to ensure your safety and satisfaction with their use. Enjoy the many benefits of essential oils in a responsible manner!
Frequently Asked Questions:
Q: What Should I Do if the Bottle Cap is Stuck or Difficult to Open?
A: If your essential oil bottle cap is stuck, try running hot water over the cap for a few seconds to loosen it. You can also use a rubber band for extra grip when trying to twist open the cap. It’s also important to make sure the bottle is not overfilled, as this can cause pressure and make it difficult to open. You can also try using a bottle opener or jar gripper to help with opening the cap. The key is to be patient and gentle to avoid damaging the bottle or spilling any oil.
Q: Can I Use Tools Like Pliers to Open the Bottle Cap?
A: It is not recommended to use tools like pliers or any sharp object when opening an essential oil bottle cap as it can cause damage and potentially contaminate the oil. It’s best to use your hands or a gentle tool specifically designed for opening bottles. You can also try tapping the sides of the cap gently to help loosen it before attempting to twist open.
Q: How Do I Know If My Essential Oil Is Spilling?
A: You may notice a distinct smell, feel a wetness on the outside of the bottle, or see visible droplets on the cap or bottle. If you suspect that your oil has spilled, it’s best to clean it up immediately to avoid any damage to surfaces or potential injuries from slipping. Use a white cotton cloth or paper towel to absorb the oil and wipe down the bottle before returning it to storage. But don’t worry; with proper handling and storage, spills can easily be avoided.
Q: Can I Reuse My Essential Oil Bottle?
A: Yes, you can definitely reuse your essential oil bottle. Make sure to clean and dry it thoroughly before refilling with a new oil. It’s important to note that some oils may have a strong scent and can linger in the bottle, so consider using a different bottle for each type of oil or do a thorough cleaning between uses. But generally, as long as the bottle is in good condition, it can be reused multiple times.
Q: Are There Any Special Tips for Storing Essential Oil Bottles?
A: It’s recommended to store essential oil bottles in a cool, dry place away from direct sunlight or heat sources. This helps to preserve the potency and quality of the oils. You can also use a storage box or case specifically designed for essential oil bottles to keep them organized and protected. And remember to always securely close the bottle cap after use to prevent any spills or accidents. Overall, proper storage is key to ensuring your essential oils last a long time and remain effective.
Q: Can I Bring My Essential Oil Bottle with Me When Traveling?
A: Yes, you can bring your essential oil bottle with you when traveling as long as it is properly sealed and secured. It’s recommended to place the bottle in a travel case or bag to prevent any potential spills or damage. Also, check airline regulations before bringing essential oils on flights, as some may have restrictions on liquid quantities. It’s always better to be safe and pack your oils in checked luggage if there are any concerns. Traveling with essential oils can also provide you with soothing scents and relaxation while away from home. So go ahead and bring your favorite oils on your next adventure!
Remember to always handle and store essential oil bottles with care to ensure their longevity and effectiveness. With these simple steps, you can confidently open, use, and store your essential oils without an issue. Happy oiling!
Final Thoughts:
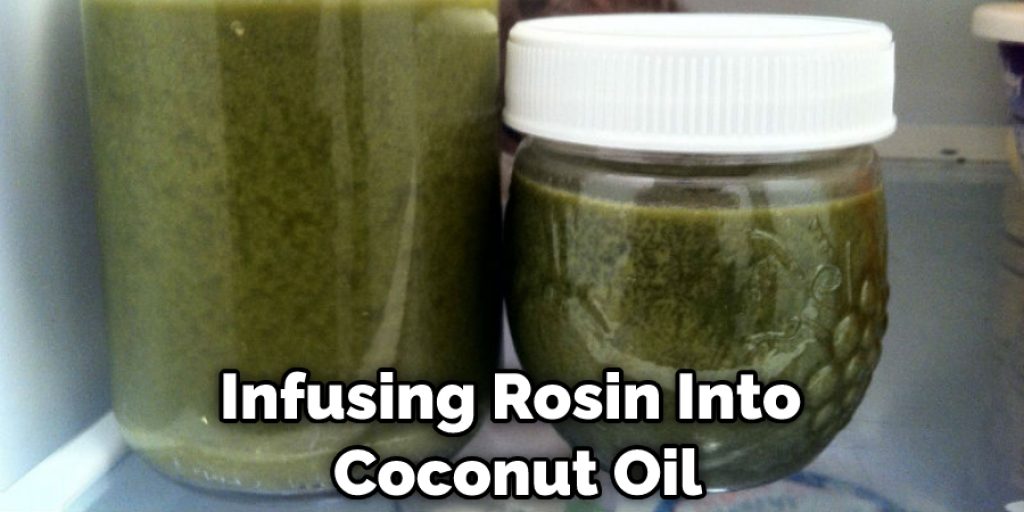
Infusing rosin into coconut oil is an easy way to create a new product that provides significant benefits for your customers. The most common way is to use a keychain opener. Another way is to use your fingernails. You can also use a small screwdriver. The keychain opener is the easiest way to open the bottle cap.
It’s also the safest way to open the bottle cap because you don’t have to touch the bottle’s lid. We hope you found this article on how to open essential oil bottle caps useful and it has given you some ideas about how to start experimenting with different ingredients in the future. If you need more information on any of these topics, please feel free to contact us anytime!