
How to Open Prismacolor Pencil Sharpener
Introduction:
Prismacolor Pencils are pencils that use oil-based color. Prismacolor coloring pencils may contain either natural mineral or synthetic cores, with the former being more expensive. The casing of the lead is hard but brittle, so when applying force to sharpen them, it can cause one side of the lead holder to crack and crumble.
There are many different models of PrismaColor Pencil Sharpeners on the market today. While they differ in housing design and sharpening mechanism, they share a common weakness: They have small flat blades that grind away at the wood-cased leads until they meet an internal wall that prevents further grinding. In this article, I will discuss how to open Prismacolor pencil sharpener. So let us get started.
What are Prismacolor Sharpeners?
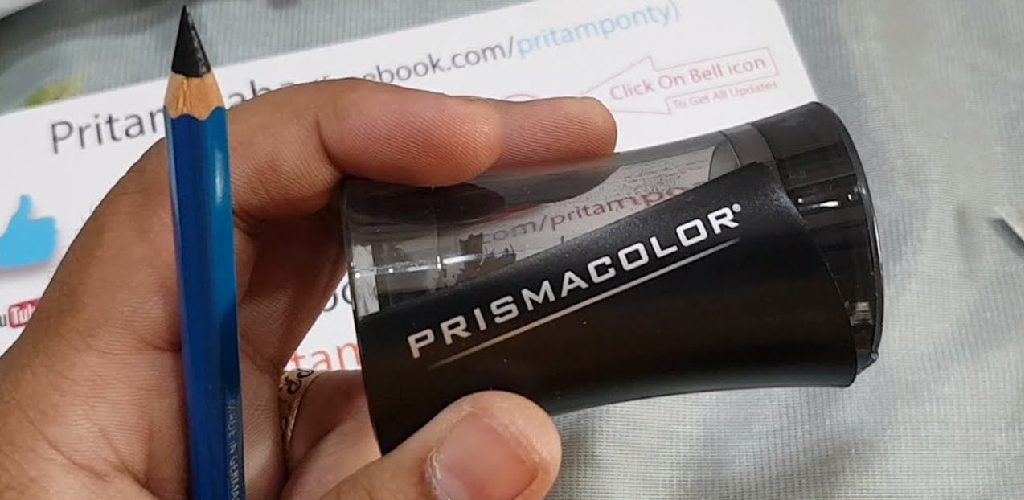
Prismacolor Sharpeners are made for Prismacolor Premier and Preference pencils. These sharpeners have a compact, safe, durable design that is perfect for home or office use. Prismacolor Premier and Preferred pencils are ideal for coloring, sketching, and tracing. They come in a wide range of fully pigmented colors to provide rich color output and smooth layering.
Step-wise Guide on How to Open Prismacolor Pencil Sharpener:
A product’s air-tightness is what makes it durable. Over time, though, the air-tightness decreases, which is why a new product might not seem as good as when you first got it.
Usually, the problem gets solved in a few days or weeks, but there’s no need to worry if this doesn’t happen because there are ways to inspect an air-tightened device. For example, you will learn how to open a Prismacolor pencil sharpener using an easy step by step guide below:
Step 1: Get Familiarized With the Tool Before Use!
The first thing you need to do is check out what kind of material the sharpener is made of. If it’s metal, you can use tools designed to be used on metal and vice versa. After getting familiar with what you need, go ahead and grab a plier from your toolbox.
Step 2: Find the Right Location Where to Press!
There are two main parts to a pencil sharpener – the blades and the holder. The blades are the part that actually sharpens the pencil, and the holder is the part that holds the pencil in place while you sharpen it. It’s important to open the blades before you try to sharpening anything, so that you don’t break them. Applying pressure to the left side of the holder will help you find the correct spot to sharpening your pencil.
Step 3: Put Everything Back Together!
What’s left is for you to pull out the shavings. For them to come out easily, use a cloth or something similar that will help you protect the sharpener from scratches.
Step 4: Take Out the Shavings!
The last thing you need to do is put everything in its place and see if it still works properly. If yes, then congratulations; if not, try again because this method only takes one more time to be applied successfully.
Precautions While Opening a Prismacolor Pencil Sharpener:
1. If the blades in the pencil sharpener are made of steel, then you should place a piece of material that will not be harmed by sweltering temperatures on top of the opening to protect the safety of your hands and fingers (Note: The temperature generated from this experiment is less than 100 degrees Celsius).
2. If you have them, wear protective goggles or glasses while doing this experiment. Contact lenses can shatter due to intense heat, so it’s best not to wear them. Goggles or glasses also allow you to see more clearly and avoid possible burns on the cornea. In addition, it may be advisable to wear gloves or use tongs when touching any part of the Prismacolor Pencil Sharpener during this experiment since some portions become really hot.
3. Place the sharpener on a heat-resistant surface or object to protect it from harm due to possible external sources of extreme heat.
4. If you are using a sharpener that has been in use, then make sure that there is no dust buildup inside the unit to avoid any premature explosions upon heating due to unburned elements inside.
5. Always be aware of your surrounding area when doing this experiment, especially if you have pets or small children running around at the time. Make sure they do not come near the Prismacolor Pencil Sharpener while it’s hot, as their bodies could touch some portions and get burned instantly without them even knowing what happened until later.
How to Clean A Prismacolor Pencil Sharpener?
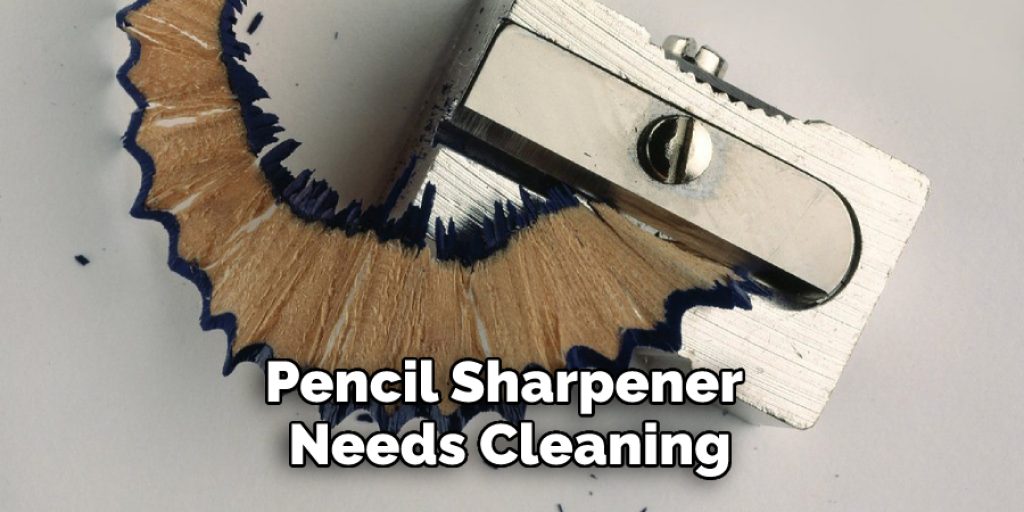
Prismacolor Pencil Sharpeners are made of rubber and metal. Therefore, the Prismacolor Pencil Sharpener needs cleaning, especially if more than one person uses it. You don’t want to end up with your pencil tips colored with paint from another student’s pencil.
To clean your sharpener, start by removing the top. Next, take out all the broken bits of pencil lead and put them in a bag for later disposal (or reuse). Then, remove any excess cosmetic powder from inside the machine using an old toothbrush or similar tool. Finally, rinse everything in a sink filled with warm water containing a mild detergent (about three tablespoons) and let air dry completely before replacing top/bottom parts on the sharpener and putting them away in storage.
Once a week, take the sharpener completely apart and wash all of it with warm water, soap, and an old toothbrush. Don’t forget to clean around the blade area too! Then, let your sharpener air-dry completely before you reassemble it for storage.
If you are using oil-based paints or colored pencils, be sure to clean your sharpener after each class because oils from these products can cause your blades to become clogged over time. If you don’t have time for cleaning between classes, change the blade and be careful not to over-tighten. Your Prismacolor Pencil Sharpener will last a lot longer if you take care of it properly!
If you are cleaning an electric sharpener, use a brush dipped in warm soapy water to clean all the shavings out from under where the metal plate goes. Again, lens paper makes a great disposable tool for this job.
Frequently Asked Questions
Can You Sharpen Prisma color Pencils With a Normal Sharpener?
Prisma color pencils are designed to be sharpened with a special sharpener specifically designed for Prisma color pencils. However, if you have a standard sharpener that can sharpen other types of pencils, you can use it to sharpen Prisma color pencils.
Are Prisma color Pencils Worth It?
Prisma color pencils are worth it! They come in various colors and have a soft lead that is easy to use. The lead does not smudge or bleed, which is great for drawing on delicate surfaces.
Is Faber Castell Better Than Prisma color?
There is no definite answer as to which pen is better than the other. It depends on your personal preferences and needs.
Prisma color pens are known for their high-quality ink that can last for a long time. They are also affordable, making them a good option for students and people on a budget.
Faber Castell pens are known for their luxurious feel and accurate coloring. They may be more expensive than Prisma color pens, but they offer great value.
What Kind of Sharpener Is Best for Colored Pencils?
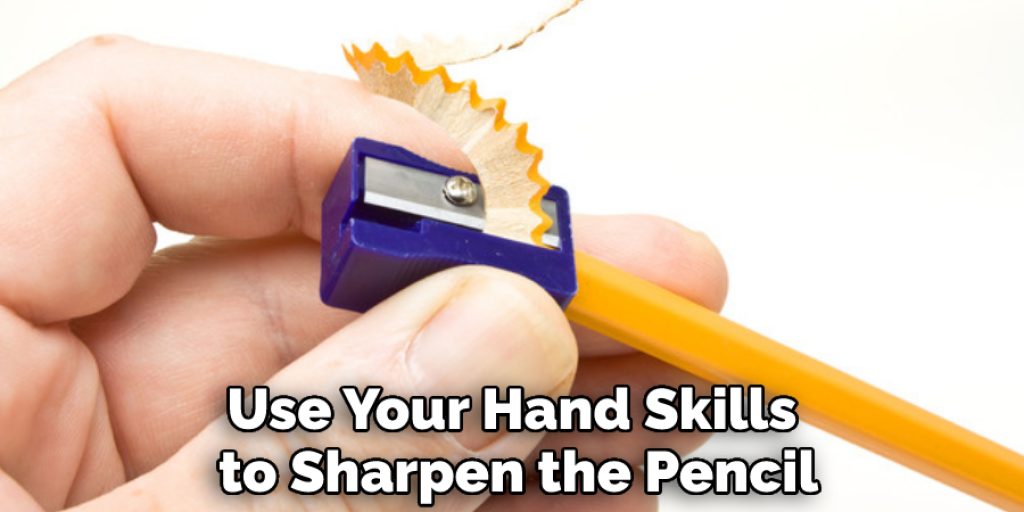
There are a few types of sharpeners that can sharpen colored pencils. The most common type is the manual sharpener, which requires you to use your hand skills to sharpen the pencil. There are also electric sharpeners available that do the job for you.
The electric sharpener is the best type of sharpener for colored pencils, as it does a better job of getting the pencil sharpened evenly and quickly. Electric sharpeners are also easier to use than manual sharpeners, as they have buttons that you need to push to sharpen the pencil.
Conclusion
I hope this article has provided you all the information on how to open Prismacolor pencil sharpener. Thank you and have a nice day!


