
How to Open Tabletop Photo Frame
In a world of digital photos, tabletop photo frames are a great way to display your memories in a physical format. While many photo frames have an automatic open feature, others require you to open the frame in order to insert your photo manually. Tabletop photo frames come in various sizes, shapes, and colors, so finding the perfect one for your home is easy.
There are a few things to keep in mind when it comes to opening your tabletop photo frame. The first is the type of frame you have. Some frames have an automatic open feature, while others require you to open the frame manually. If your frame has an automatic open feature, insert your photo into the top of the frame, and the frame will open on its own. On the other hand, if your frame does not have an automatic open feature, you’ll need to open the frame manually to insert your photo.
This article will show you how to open tabletop photo frame. We will also provide some tips on choosing the right photo frame for your needs.
What Are Tabletop Photo Frames?
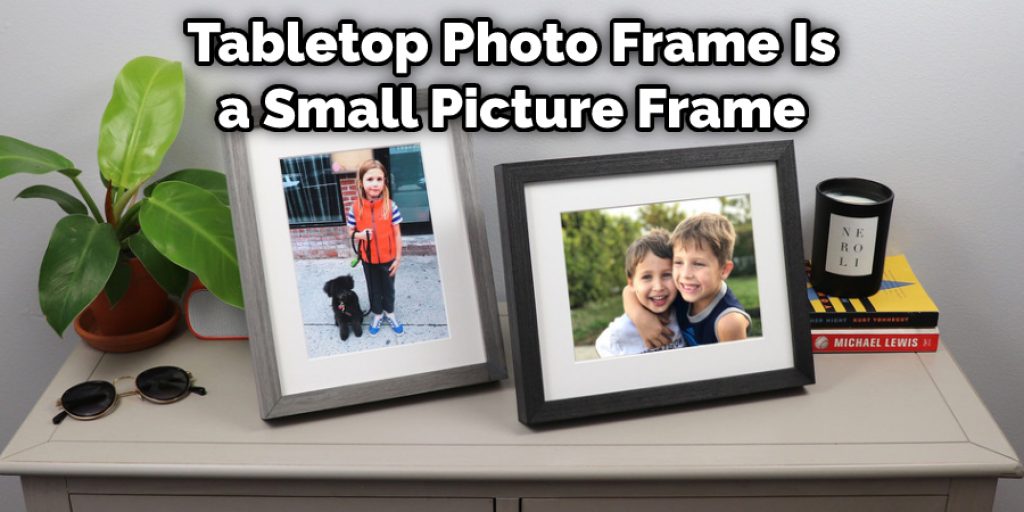
A tabletop photo frame is a small picture frame that is meant to be placed on a table or another flat surface. They are usually made of wood, metal, or plastic. Some may have a glass front, while others will have a clear plastic film that protects the photo. Tabletop photo frames come in many different sizes, but they are typically smaller than standard picture frames. They are also usually less expensive than their larger counterparts.
Tabletop photo frames are a great way to display your favorite photos, whether they are of family, friends, or cherished memories. They can also be used to show off your sense of style and decorate your home or office.
10 Effective Ways on How to Open Tabletop Photo Frame
1. Look for an Automatic Open Feature.
If your frame has an automatic open feature, insert your photo into the top of the frame and let the frame do the rest. Automatic open tabletop frames are simple to use and require no extra effort on your part. It is the best way to open your tabletop photo frame.
2. Use a Manual Crank.
If your frame does not have an automatic open feature, you will need to use a manual crank to open it. To do this, insert your photo into the top of the frame and then turn the knob on the side of the frame until the photo is fully inserted. It is important to turn the knob slowly so that you do not damage the photo.
3. Manual Open Tabletop Frames.
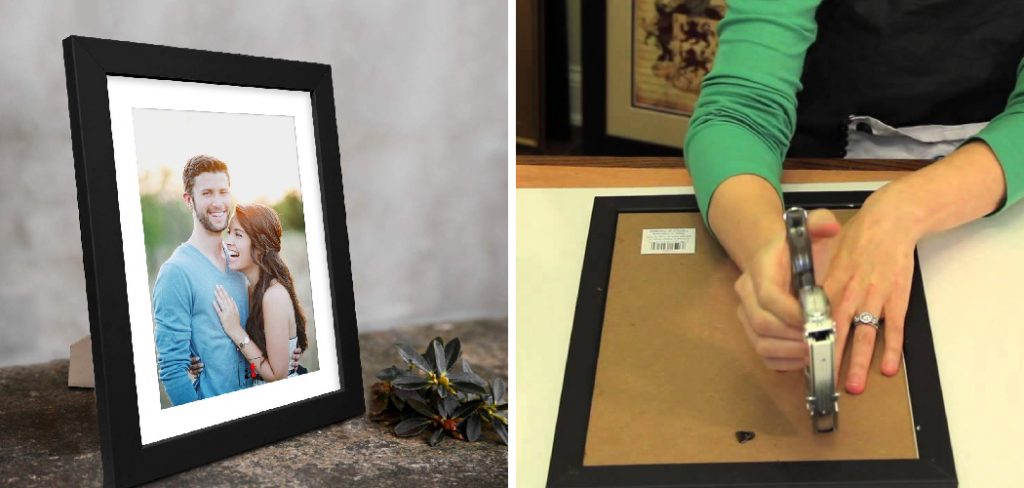
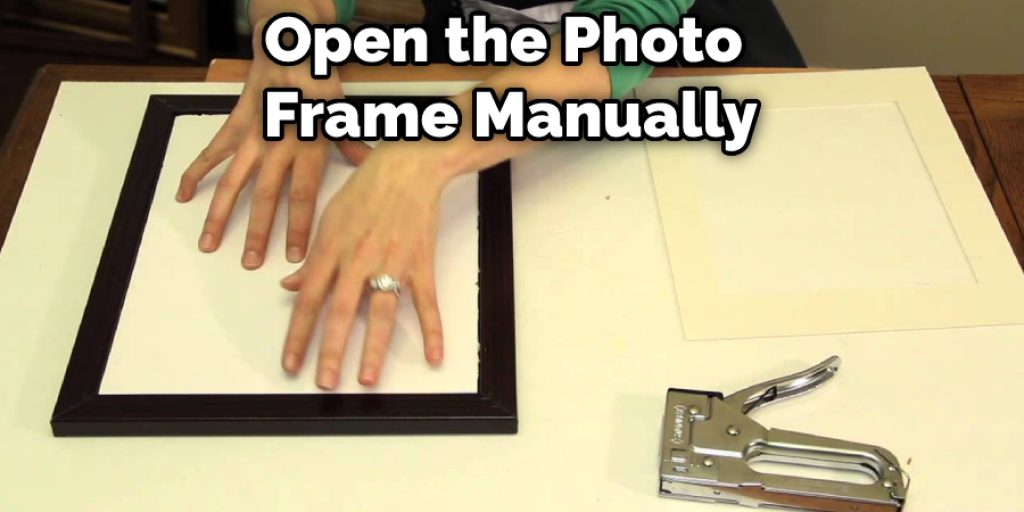
You’ll need to open the frame manually for those frames that don’t have an automatic open feature. To do this, hold the frame in one hand and use your other hand to pull back on the top of the frame. This will cause the frame to snap open. Once the frame is open, you can then insert your photo. Make sure to insert the photo correctly so that it doesn’t get damaged when you close the frame.
Hold the frame in one hand and use your other hand to push down on the top of the frame to close the frame. This will cause the frame to snap shut. Make sure that the frame is completely closed so that your photo doesn’t fall out.
4. Use a Screwdriver.
If your frame does not have an automatic open feature, you will need to use a screwdriver in order to open it. First, look for a small hole on the back of the frame. This is where you will insert the tip of the screwdriver. Once you have inserted the screwdriver, twist it until you hear a click. This click indicates that the frame has been unlocked. You should now be able to open the frame without any issues.
5. Look for a Button.
Some frames have a small button that you need to press to open the frame. This button is usually located on the back of the frame. If you cannot find a button, try looking for a small knob or lever. The button may also be located on the side of the frame.
6. Open the Frame.
Once you have found the button, press it in and gently pull the back of the frame away from the front. If there is a small knob or lever, turn it until the back of the frame comes loose. If the back is hinged, lift it up and away from the front of the frame.
7. Remove the Old Picture.
Gently pull the old picture out of the frame. If it is stuck, you may need to use a putty knife or other thin object to loosen it. Be careful not to damage the frame. Old pictures can be fragile, so handle them with care. Set the old picture aside for now.
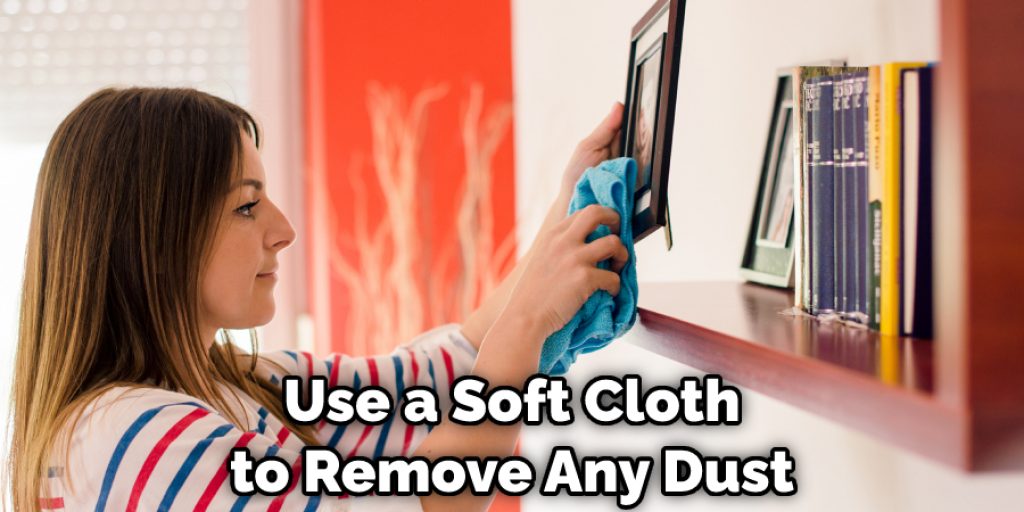
8. Clean the Frame.
Use a soft cloth to remove any dust or dirt from the frame. If the frame is very dirty, you can use a mild soap and water solution. Clean the glass as well. Dry them with a soft cloth once the frame and glass are clean.
9. Add the New Picture.
Place the new picture into the frame. Make sure that it is secure and will not fall out. Then, close the frame and re-hang it on the wall. New pictures make great conversation starters and can personalize your home.
10. Hang the Frame.
Find a spot on your wall or table where you want to display the frame. Use the built-in hooks or wire hangers on the back of the frame to secure it in place. Next, decide whether you want to display the frame horizontally or vertically. Then, use the leveler on the back of the frame to ensure it’s even before hammering in your nails or screwing in your screws. Finally, add your photos and enjoy your new tabletop photo frame.
Tips and Warnings on How to Open Tabletop Photo Frame
Tips:
- Look for a small knob or latch on the back of the frame. This is usually located in the center near the top or bottom.
- Gently push or pull on the knob/latch to open the frame. If it feels stuck, try wiggling it back and forth until it comes loose.
- Some frames may have a hinged door that opens to the side. In this case, swing the door open to access the photo.
Warnings:
- Avoid using excessive force when opening the frame, which could damage the frame or photo.
- Be careful not to drop the frame or photo when opening it.
- If the frame is particularly old or delicate, it’s best to consult a professional before attempting to open it.
5 Ways to Choose the Right Photo on Tabletop Photo Frames
1. Pick a Photo That Is Special to You.
The best photos are the ones that have personal meaning. Choose a picture that reminds you of a happy memory or represents your relationship with the person in the photo. Special photos can be of any subject, including people, places, things, or even animals.
2. Consider the Size of the Frame.
Make sure to pick a photo that is proportional to the size of the frame. If the frame is too small, the photo may look cramped. If the frame is too big, the photo will look lost. Right-size your photo for the frame to create a polished look.
3. Coordinate the Colors.
Choose a photo that has colors that coordinate with the frame. For example, if the frame is black, look for a photo with black in it. If the frame is gold, look for a photo that has gold in it. This will help the photo and the frame to complement each other.
4. Go for Contrast.
If the frame is busy, look for a photo that is more simple. If the frame is simple, look for a photo with a little more going on. A great way to make your subject pop is to put them in front of a contrasting backdrop. The rule of thumb is to have your subject take up about 1/3 of the frame.
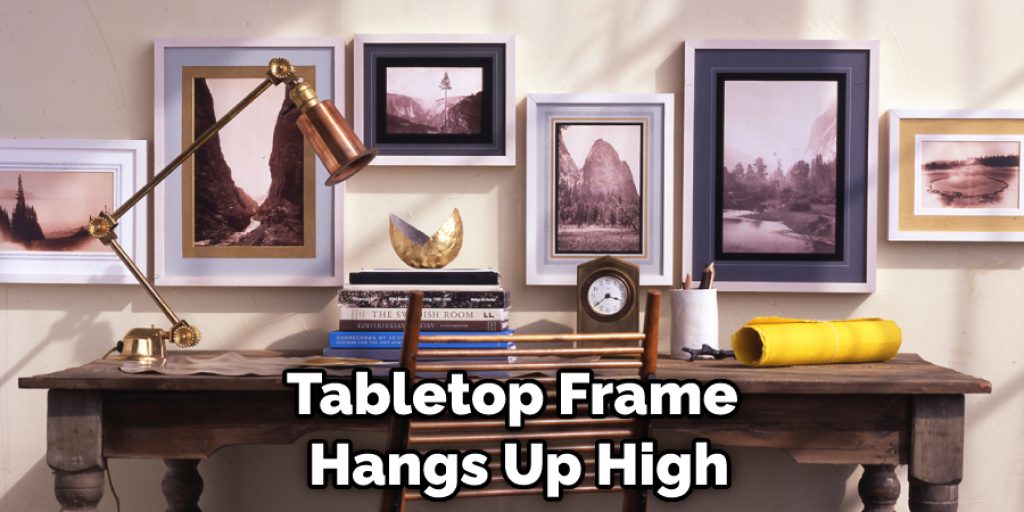
5. Find the Right Angle.
When choosing a photo, think about the angle at which you want to view it. For example, if you want to see the photo from a low angle, look for a tabletop frame that hangs down low. If you want to see the photo from a high angle, look for a tabletop frame that hangs up high. It’s all about finding the right angle for you.
Conclusion
This article will show you how to open tabletop photo frame. Hopefully, by following the ten ways above, you can get the best photo in your tabletop photo frames. Opening a tabletop photo frame is easy. Hold the frame in one hand and use your other hand to twist off the back panel.
The panels should come apart easily if you are using a new frame or one that has been stored properly. If the panels do not come apart, try gently tapping the sides of the frame near where the screws attach it to the front panel.
This will help loosen any adhesive that may have formed over time. Be careful not to damage your photos by pulling on them too hard! Set it aside once you have removed the back panel and take out your photos.


