How to Paint a Wood Stove
Are you looking for a creative way to revamp a room in your home? One of the most impactful changes that you can make is painting your wood stove. This simple and relatively inexpensive project will bring life to any living space, making it look more modern and stylish.
Painting your wood stove can be done quickly if you know how, so read on for our step-by-step guide on how to paint a wood stove! With this guide, you’ll have the perfect painted woodstove for your home in no time!
Advantages and Disadvantages
Given below are the advantages and disadvantages of painting a wood stove.
Advantages:
- Painting Your Wood Stove Will Add a Modern Touch to Your Home and Bring Life Back Into the Room.
- It’s an Easy Project That Can Be Completed in Just a Few Hours With Minimal Effort.
- You Can Customize the Look of Your Wood Stove to Match the Rest of Your Home Decor.
- Painting Your Wood Stove is a Relatively Inexpensive Way to Make a Big Impact in Any Room.
Disadvantages:
- Depending on the Type and Condition of the Wood, It Can Be Difficult to Maintain an Even Finish When Painting.
- The Paint May Start to Peel or Chip if Not Applied Properly.
- You Will Need to Use a Special Kind of Paint That is Designed for Use on Wood Stoves.
- It’s Important to Make Sure That the Wood Stove Is Clean and Free of Any Grease or Dust Before You Start Painting.
What You Need
Before you start painting your wood stove, it’s important to have all of the necessary supplies on hand. Here is a list of what you will need:
- High Temperature Paint
- Paint Brush (preferably one with synthetic bristles)
- Cleaning Cloth
- Sandpaper or Steel Wool
- Primer (optional)
- Safety Equipment such as Gloves and Goggles
11 Step-by-step Guides on How to Paint a Wood Stove
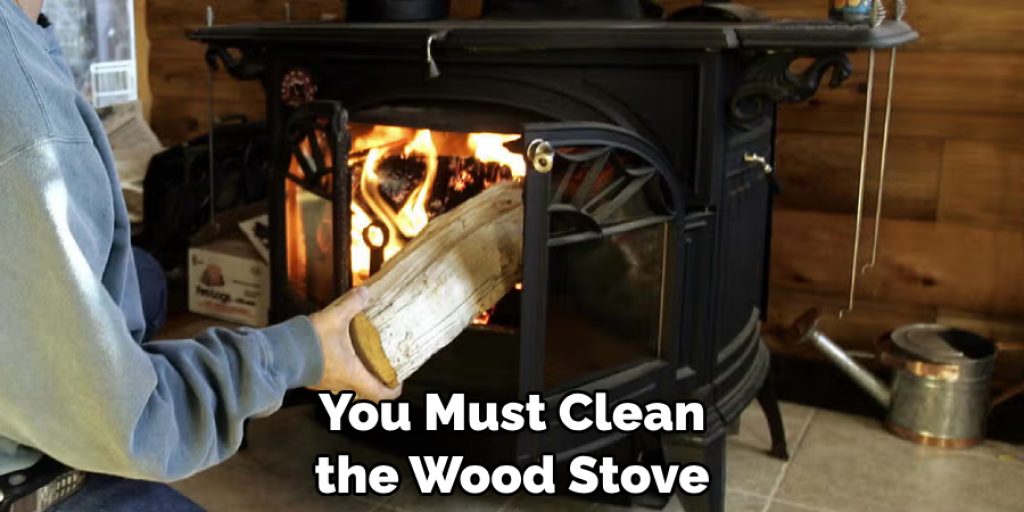
Step 1: Clean the Wood Stove Thoroughly
First, you must clean the wood stove to ensure that the paint adheres evenly. Use a degreasing cleaner and a cloth to get rid of any dirt or grease. If there are any areas with rust, use fine-grit sandpaper or steel wool to remove it. If the wood stove is particularly dirty, you may need to use a wire brush.
Step 2: Prime the Wood Stove
If you want to ensure that the paint adheres evenly and lasts for a long time, it’s best to use a primer before you start painting. Apply an even coat of primer and let it dry completely before proceeding. But if the wood stove is relatively new, you may be able to skip this step. It will depend on the condition of the wood stove.
Step 3: Apply the High Temperature Paint
Once the primer is dry, you can start painting. The best type of paint to use on a wood stove is high-temperature paint. This type of paint is designed to withstand the heat from the wood stove without cracking or peeling. It’s important to apply several thin coats of paint rather than one thick coat. This will ensure that the paint adheres evenly and lasts for a long time.
Step 4: Allow the Paint to Dry Completely
Once you have finished applying the paint, allow it to dry completely before you use your wood stove. The drying time will vary depending on the type of paint you are using, so be sure to check the instructions on the can. This step is very important as it will ensure that the paint lasts for a long time.
Step 5: Touch Up Any Areas That Need It
If you notice any areas that need touching up, do it now while the paint is still wet. If there are any drips or uneven spots, you can use a damp cloth to smooth them out before they dry. It’s important to take your time and make sure that the paint looks even. But don’t worry if it’s not perfect—you can always add an extra coat of paint later on.
Step 6: Allow the Paint to Cure
Once the paint has dried completely, you will need to allow it to cure before you use your wood stove. Depending on the type of paint, this can take anywhere from 24 hours to several days. It’s important to follow the instructions on the paint can so that you don’t damage your wood stove.
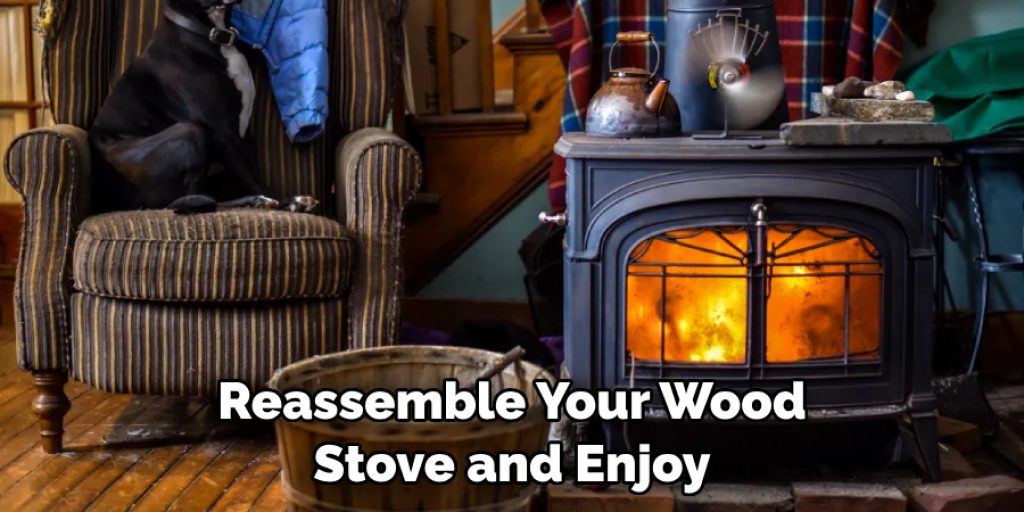
Step 7: Reassemble and Enjoy Your New Wood Stove!
Once the paint is fully cured, you can reassemble your wood stove and enjoy the new look! Painting your wood stove is a great way to give any room in your home a modern touch. You will be sure to enjoy the new look for many years to come. It’s a project that can be done quickly and relatively inexpensively.
Step 8: Regularly Check for Wear and Tear
It’s important to regularly check your painted wood stove for signs of wear and tear. Over time, the paint may start to chip or peel off due to heat exposure. If you notice any areas where the paint is starting to break down, touch them up with a fresh coat as soon as possible.
Step 9: Consider Adding Accessories
Adding accessories such as logs, stones, or decorative pieces can give your painted wood stove a unique look. You can also consider adding a protective sheet or cover to keep the paint looking fresh and prevent it from wearing off. You can find a variety of accessories to choose from at your local home improvement store.
Step 10: Maintain Your Wood Stove Properly
It’s important to maintain your wood stove properly in order for it to last longer and stay looking great. Clean the wood stove regularly with a soft cloth and vacuum any dirt or debris that may have accumulated. Always use a fire screen when burning wood in your stove and never overload it with too much wood.
Step 11: Enjoy the Results!
Now that you’ve completed your project, it’s time to enjoy the results! Your wood stove will look great and be ready for many years of use. With the right maintenance and care, it will keep looking new for a long time to come! It’s time to start enjoying the warmth and ambiance of your painted wood stove!
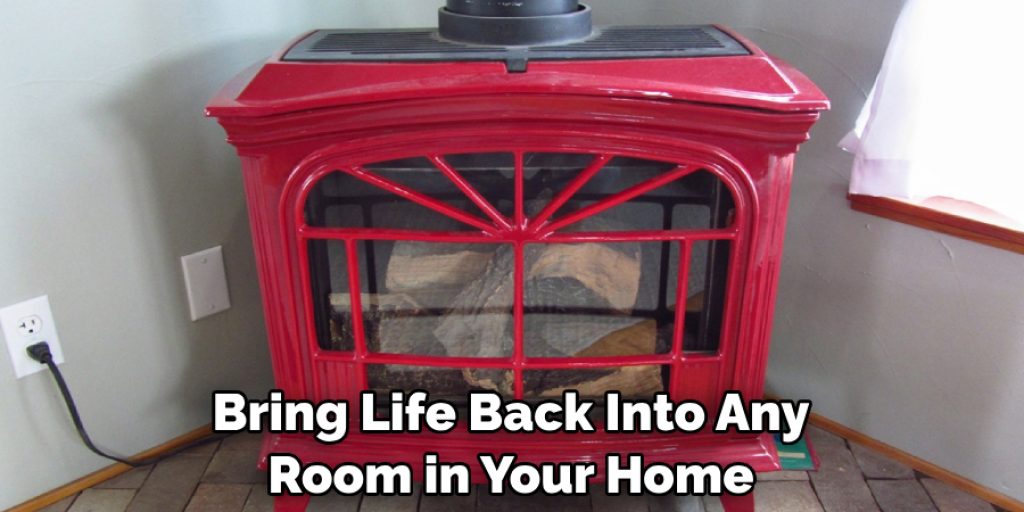
Now that you know how to paint a wood stove, you can start your project and bring life back into any room in your home. Add a modern touch with the help of this simple and relatively inexpensive project!
How Much Will It Cost?
The cost of the supplies needed to paint a wood stove will vary depending on how much paint you need and what type of primer and high-temperature paint you choose. You can expect to spend anywhere from $30 to $50 for the supplies, plus any additional costs if you decide to add accessories. It’s also important to factor in the cost of labor if you decide to hire a professional.
Frequently Asked Questions
Q: Can I Paint a Wood Stove By Myself?
Yes, you can paint a wood stove by yourself! With the right supplies and some patience, you can complete the project in just a few hours.
Q: What Kind of Paint Should I Use?
It’s important to use a high-temperature paint designed specifically for wood stoves. This type of paint will adhere to the surface and withstand the heat produced by the stove without cracking or peeling off.
Q: How Long Does It Take for the Paint to Cure?
The drying and curing time of the paint will depend on the type of paint you are using. Generally, it can take anywhere from 24 hours to several days for the paint to cure completely. It’s important to wait until the paint is fully cured before you use your wood stove.
Q: How Can I Make Sure the Paint Lasts?
It’s important to regularly check your wood stove for signs of wear and tear. If you notice any areas where the paint is starting to chip or peel off, touch them up with a fresh coat as soon as possible. Additionally, using a protective sheet or cover when burning wood in your stove can help protect the paint over time.
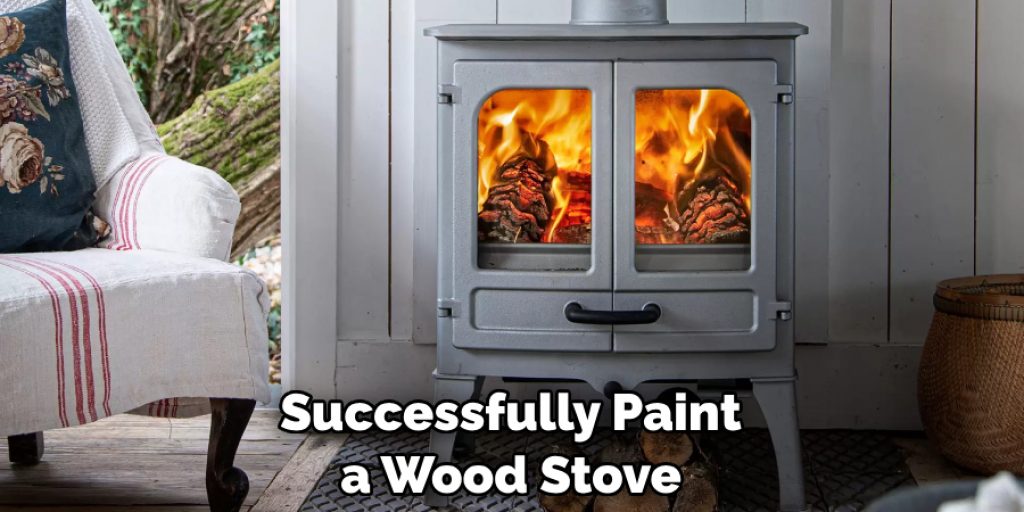
Hopefully, this guide has helped provide you with all of the information you need to successfully paint a wood stove. With the right supplies and careful attention to detail, you’ll be able to create a beautiful addition to any room in your home!
Conclusion
Thanks for reading this article on how to paint a wood stove. Overall, painting a wood stove is no easy task, but with the right set of steps and necessary materials, you can achieve an amazing result within a reasonable time frame. If this project feels like one you’d like to take on, remember that safety always comes first—take all the necessary precautions so you don’t put yourself at risk.
It’s a difficult and creative project that requires some dedication and patience to see it through! Plus, when it’s finished, you can be proud of the work that went into making your very own painted wood stove. All in all, this is one craft worth tackling!
Angela Ervin
Angela is the executive editor of DIY quickly. She began her career as an interior designer before applying her strategic and creative passion to lifestyle and home. She has close to 15 years of experience in creative writing and online content strategy for housekeeping, home decorations as well as other niche efforts. She loves her job and has the privilege of working with an extraordinary team. She lives with her husband, two sons, and daughter in Petersburg. When she's not busy working she spent time with her family.