
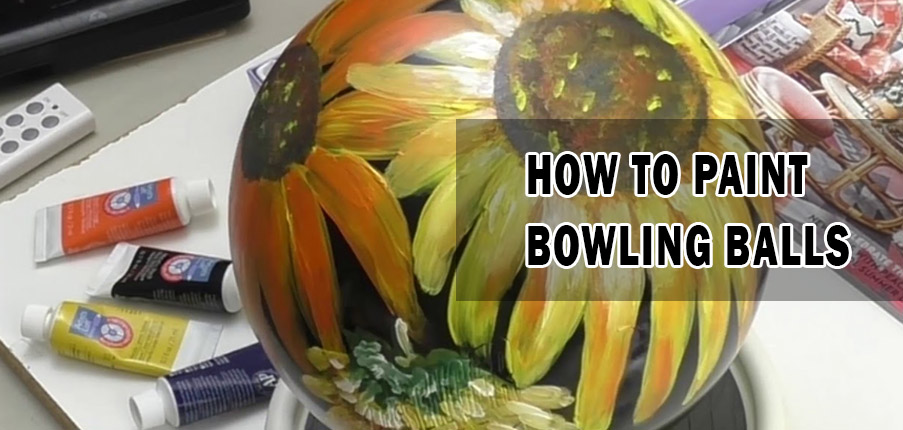
How to Paint Bowling Balls
Not every day does someone asks you how to paint bowling balls. I mean, it is pretty straightforward – but there are some things you need to know before starting. This blog post will teach you everything from proper surface preparation to choosing the right painting supplies for your project!
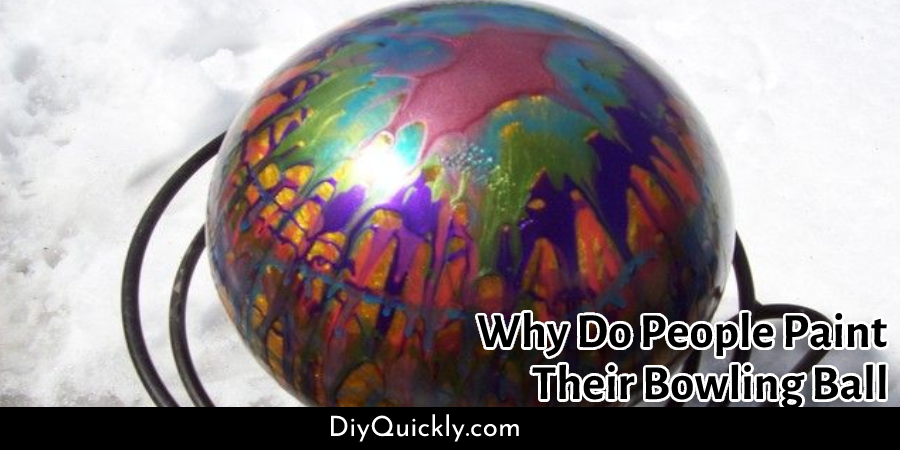
Why Do People Paint Their Bowling Ball?
People paint their bowling ball because it looks cool! This may seem a shallow reason, but many people find the dull, glossy bowling ball unattractive. Some consider it an art form and devote hours of their time to learning how to paint them in very intricate designs.
Steps on How to Paint Bowling Balls
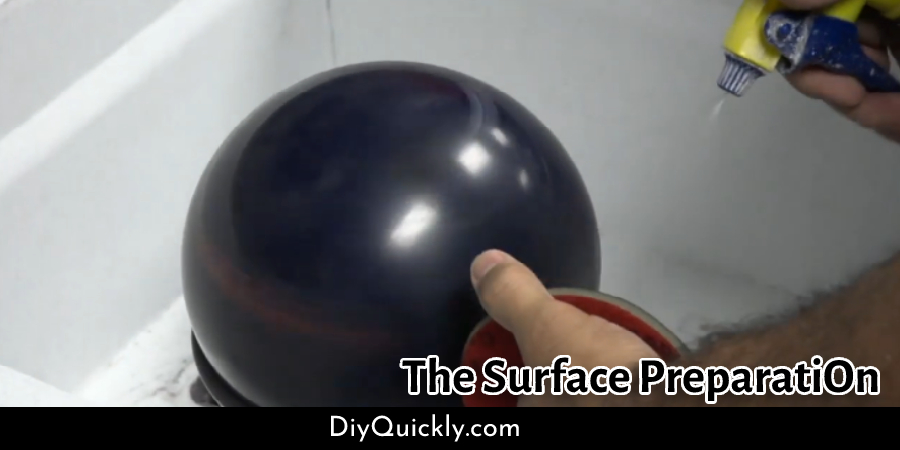
Step one – The Surface Preparation
Preparing the surface of a bowling ball is very important to how the paint will look when it dries. For this project, I used spray adhesive on my fingertips and wiped down all visible surfaces with rubbing alcohol (70% or higher). Make sure you get in every nook and cranny too! It’s also recommended that you use some sort of release agent – like Vaseline. This will help prevent your fingers from sticking while painting which can lead to smudges or scratches during the process…
Step Two – Choose Your Tools Wisely for Success!
For this project, I used acrylic paints mixed with Liquitex Heavy Body Artist Acrylics Professional Series Medium. These paints are high quality and can be mixed with Liquitex Heavy Body Artist Acrylics Professional Series Medium to create a vibrant, durable finish for indoor or outdoor use.
Step Three – Choose Your Colors!
I chose the colors Burnt Sienna, Cadet Blue, Vermillion Red, Cobalt Teal, Raw Umber, and Titanium White. I also used Mid-Tone Gray in my project, but you may want to experiment on your own if you’re just starting out…
Step Four – Mixing the Paint:
For this step, it’s important to remember how much paint you’ll need so that your mixture consists of one ounce of paint per color. Mixing the paint can be time-consuming, so be careful not to over mix.
The color I wanted was a light green, so I mixed some neon green with a little bit of black and white paint. The more you put in, the more it will turn green, so be careful! I started by painting my bowling ball white, then used painter’s tape to tape off the top 3/4 part of the ball so I could paint it green. Once you’ve done both sides of the bowling ball, use your clear coat to protect it.
Step five:
Apply one coat of white acrylic paint to your bowling ball using an old toothbrush. This will serve as your undercoat for all future coats…
I did this with my two colors (the half at a time) to save some painting time later on when it came time to do my final steps like baking or sealing the bowling balls. Do what feels right for you!
Step Six:
It’s now safe to bake these babies after letting them dry overnight! Bake them according to package directions. Just ensure they are completely cool before handling them because hot plastic is not good for anyone’s fingers.
I’m sure you have already noticed that my bowling balls are not completely smooth. This is because I did not take the time to sand them down before painting, and they dried with imperfections from their cast-metal molds. If you want perfect-looking surfaces on your finished goods, it’s good practice to make sure everything has been smoothed out first so that all your coats will be even!
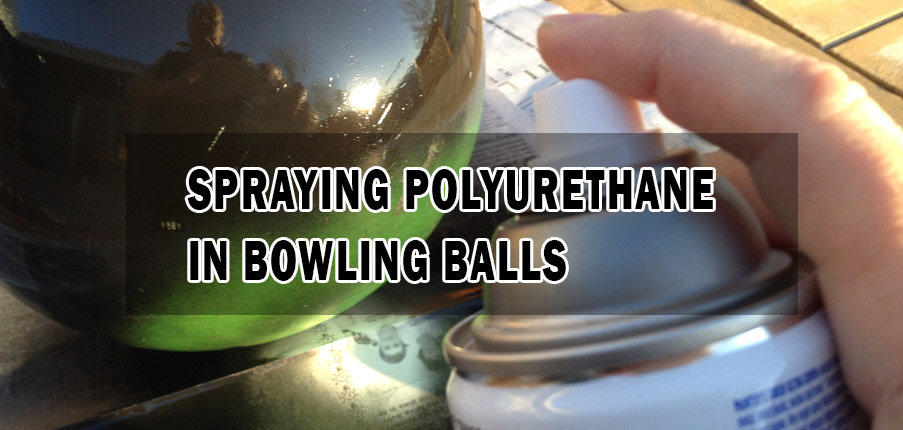
If you’re like this and don’t care about how rough these look (or if this was a mistake!), go ahead and seal them up for protection from dust or liquids by spraying polyurethane over each one generously until there isn’t any paint left peeking through. You might need two cans, depending on how many bowling balls you work with.
Once your polyurethane coat is dry and buffed out to a high shine, it’s time to start painting! The first thing I do when starting any painting project is get my paints together in their designated area so that they are all ready for use at once.
I’m using acrylics here because they have an incredibly wide range of colors available (in oil paint or spray form) and require no mixing before usage–the downside is the need for more cleaning than watercolors would. Acrylics also don’t hold up well on furniture due to how hot the final product can be without proper sealant coats applied, but this won’t matter much since we want to seal our bowling balls with polyurethane.
If you’re using oil paint, be sure to mix your colors on a palette before applying them–the clear plastic tray and sectioned trays are great for this purpose as they let you keep track of how much of each color you’ve used so that the next time will go more smoothly. The most important thing is patience! You’ll have plenty of opportunities to get it right, but mistakes can happen if you rush things. Remember: nobody’s perfect all the time!
When painting one side at a time (like we’re doing here), I try not to do swirls or detail work until both sides are done in order (otherwise, they may get mixed).
This is especially important to consider if you’re using a lighter color on the top side of your bowling ball. If this happens and it’s not what you wanted, don’t worry about fixing it–just wait until both sides are dry and then sand away the mistake with 180 grit paper before painting again!
Once everything has been painted, let them sit outside for at least one day to fully cure (or longer in cold weather) before doing any work that might cause scratches or removing paint. You can also use lacquer thinner with no more than 20% acetone (the part that causes damage when used too often), which will help give a quick-drying finish.
After drying overnight, I applied two coats of clear lacquer to each ball, and they were done.
I love how fresh and shiny the balls look now! They make a great decoration in our home, but I’m also excited to use them!
Precautions Before Painting Your Bowling Ball:
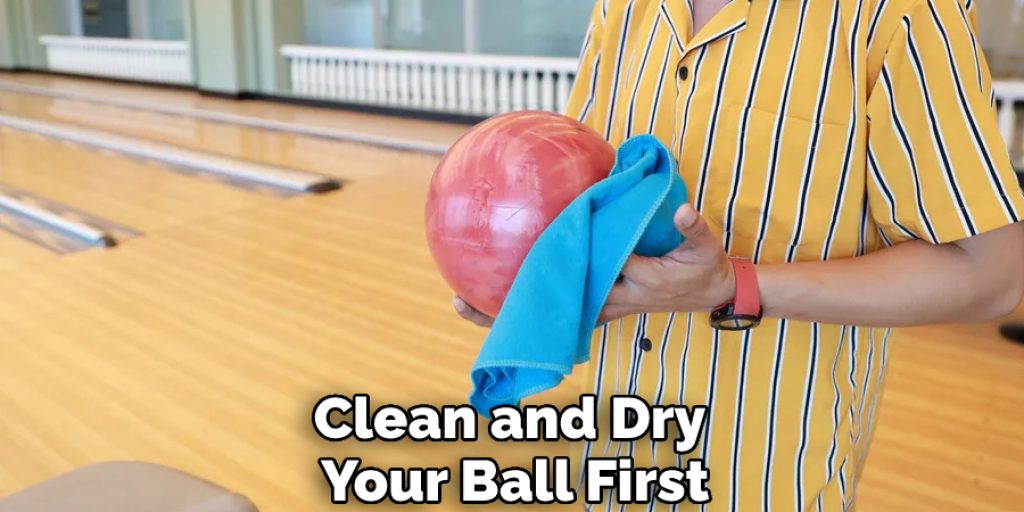
- Be sure to clean and dry your ball first. Otherwise, it will not have a nice coat of paint.
- Paint in the shade or well-ventilated area: this is important so that fumes don’t get into your lungs! And make sure you’re painting outside because paint can drip onto delicate surfaces like carpeting if you’re working inside.
- It’s always good to do multiple thin coats rather than one thick coat when applying paint (i.e., from wet on top of wet). This prevents drips and runs and avoids an overly “thick” look with too much color depth, making the balls appear dated.
I hope these tips help make your next DIY project go smoother!
Frequently Asked Questions
What Kind of Paint Do You Use on a Bowling Ball?
Many types of paint can be used on a bowling ball. The most popular type of paint is called oil-based paint. This type of paint is easy to apply and does not require any primer or sealant. It is also the most durable type of paint and will last for several rounds of bowling.
What Is Latex-Based Paint?
Latex-based paint is a type of paint that is made from latex. Latex-based paints are typically used for indoor applications because they are water-resistant and have a high level of durability.
Some benefits of using latex-based paint include:
• They are resistant to water, oil, and other chemicals.
• They are easy to clean and maintain.
• They have a long-lasting finish.
Should I Use Latex or Oil-Based Paint?
There is no definite answer as to which type of paint is better, as both have their own benefits and drawbacks.
Latex paint is a good choice if you want a painting that will last for a long time because it is resistant to water, dirt, and other elements. However, latex paints are also more expensive than oil-based paints.
Oil-based paints are cheaper and easier to work with, but they may not last as long as latex paints. They also tend to be less resistant to water and dirt.
What Is the Difference Between Acrylic and Latex Paint?
Acrylic and latex paint are two types of paint that are used to create different effects on a surface. Acrylic is a water-based paint with a smooth, shiny finish. Latex is an oil-based type of paint and has a glossy finish.
Why Is Oil-based Paint Illegal?
Oil-based paint is dangerous and illegal because it can cause serious fires if used incorrectly. It’s also difficult to clean up if it gets on your skin or clothes.
Conclusion
Painting bowling balls is such a fun project–it can be really easy or might take some practice depending on your skill set. It’s been years since I last painted one (just my luck it’s raining outside), so this time around, instead of gloss paint for the black stripes like we used before, I wanted to try something new: an all-in-one Gelcoat that can also produce colorless swirls.
If you’re unsure which colors should go where there are no worries about having to sand down the gel to start over or risk ruining your clear coat. The Gelcoat is applied thinly on each side; then, you just wait for it to dry.


