
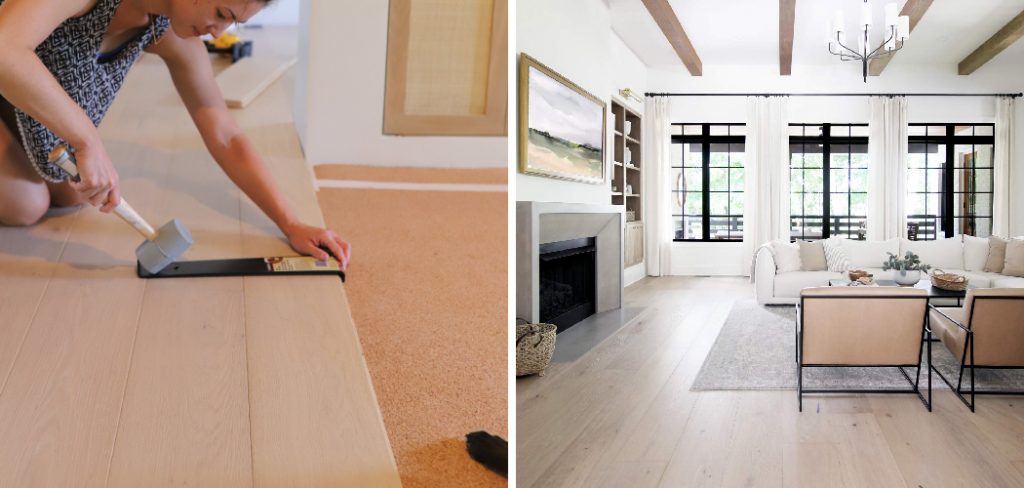
How to Paint Engineered Wood
Whether you’re a seasoned DIYer or just starting out on your home improvement journey, painting engineered wood can seem like a daunting task due to its surface composition. After all, engineered wood is made up of layers of plywood and particleboard; it’s not exactly the same as regular timber panels!
But don’t be intimidated — with the right know-how, tools and techniques, painting engineered wood doesn’t have to be such an intimidating process!
In this blog post on how to paint engineered wood, we’ll walk you through step-by-step how to properly paint your engineered wood so that it looks perfect every time and lasts for years ahead. Let’s get started!
12 Step-by-step Instructions on How to Paint Engineered Wood
Step 1: Gather the Materials
Before you begin painting, make sure that you have all the necessary tools and supplies ready:
- Painters Tape
- Sanitizing Wipes
- Sandpaper
- Primer
- Foam Brushes
- Paint Tray
- Paintbrush or Roller
- Your Choice of Interior/Exterior Paint
Step 2: Prepare the Surface for Painting
Before you can start painting, you’ll need to create a smooth surface on your engineered wood that the paint will be able to adhere to. Start by wiping down the wood with sanitizing wipes, then use medium grit sandpaper to lightly sand any rough surfaces or minor imperfections. It’s important to make sure that the surface is clean and completely dry before you start painting.
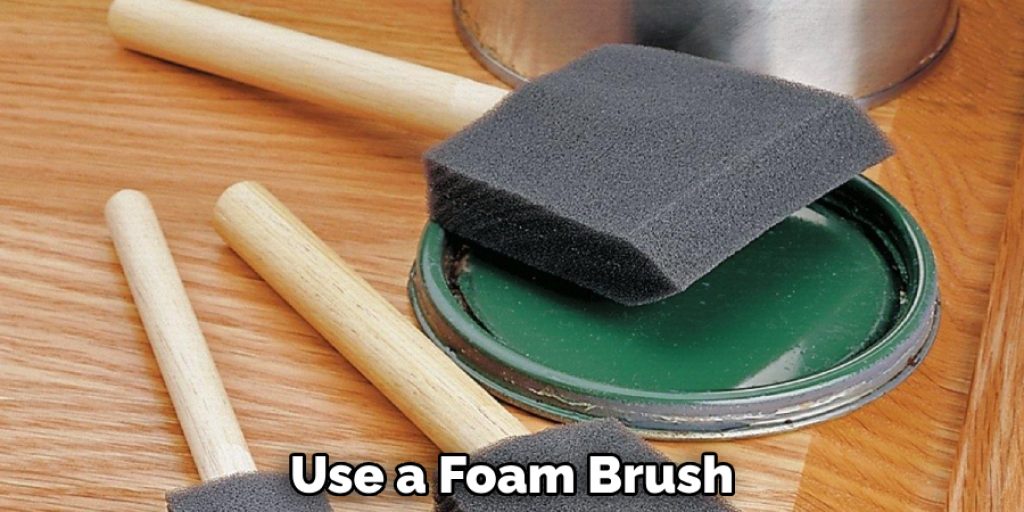
Step 3: Apply Primer
Priming is an important step in the painting process as it helps create a more even finish. Use a foam brush to apply a thin coat of primer to the surface, making sure to cover all edges and corners. Allow the primer to dry completely before moving on to the next step. But don’t worry if the primer isn’t completely even, you’ll be able to sand it down in the next step.
Step 4: Paint in Thin Coats
Once your engineered wood is primed, select a high-quality interior or exterior paint and pour it into a paint tray. Using either a paintbrush or a roller, apply the paint in thin coats, making sure to cover all areas. Allow each layer of paint to dry completely before applying the next one. You may need to apply several thin coats of paint in order to create a more even finish.
Step 5: Add an Additional Coat of Paint
Once you have applied your first coat of paint and it has dried completely, add one more coat for extra protection and durability. Again, make sure to apply the paint in thin layers and let it dry thoroughly between each coat. After all, the more layers of paint you apply, the better and longer-lasting your finish will be.
Step 6: Touch-Up Edges
After you have applied your final layer of paint, check all edges and corners for any areas that may have been missed or need a bit of touch-up. If needed, use a small brush to carefully fill in any gaps or unevenness. This will ensure that your paint job looks professional and uniform. It’s also a good idea to inspect the surface for any drips or runs and use sandpaper to smooth them out.
Step 7: Remove Painter’s Tape
Once the paint is completely dry, carefully remove the painter’s tape from around the edges and corners. Make sure that you pull the tape off slowly and at a 45° angle to prevent peeling or chipping of the paint. This will help ensure that your paint job looks smooth and professional. It’s also a good idea to inspect the surface for any irregularities or mistakes and touch them up if needed.
Step 8: Clean Up
Once all the painter’s tape has been removed, start cleaning up any remaining dust, dirt or debris left behind by sanding the wood. Using a clean soft cloth or rag, wipe down the surface of the engineered wood to make sure it is completely clean and free of dust. But don’t forget to wear a mask while cleaning!
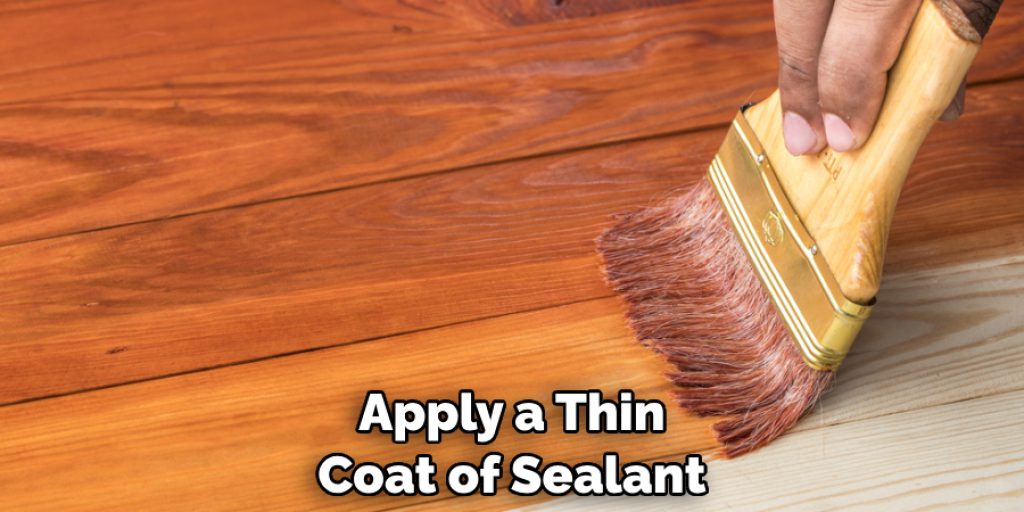
Step 9: Apply a Protective Sealer
A protective sealant is the final step in painting engineered wood and should not be skipped! Using a foam brush, apply a thin coat of sealant to the entire painted surface. This will help protect your paint job from scratches, scuffs and other damage that may occur over time. Allow the sealant to dry completely before moving on to the next step.
Step 10: Maintenance Tips
To keep your paint looking its best, make sure to regularly clean the surface with a soft cloth or mild detergent. Additionally, you should inspect the paint periodically for any chips or scratches that may have occurred, and touch these up with a small brush if needed. You should also apply a new coat of sealant every few years to keep the paint looking fresh and protected.
Step 11: When to Repaint
If the paint on your engineered wood starts to look dull or faded, it may be time for a fresh coat of paint. Also, take note of any areas that have discolored due to weathering or sunlight exposure and consider reapplying paint to these areas. It’s important to repaint regularly in order to keep your engineered wood looking great and lasting for years. Always remember to sand down the surface before reapplying primer and paint in order to create a smooth finish.
Step 12: Consider Professional Painting Services
If you are not experienced in painting or do not have the tools and materials necessary for the job, consider hiring a professional painter. A professional painter will be able to ensure that your engineered wood is painted perfectly with no mess or hassle. But don’t forget to check their references and ask for a quote before making a final decision.
And there you have it! With these 12 steps, you now know how to paint engineered wood effortlessly and with beautiful results. So what are you waiting for? Get painting!
Helpful Tips
- Be Sure to Use High-quality Interior or Exterior Paint That Will Be Able to Withstand Wear and Tear Over Time.
- Make Sure to Read the Instructions on the Paint Can and Follow Them Exactly.
- Take Your Time With Each Step – Rushing Through Any Part of the Painting Process Will Result in a Poor Finish.
- When Rolling or Brushing on the Paint, Use Long Strokes to Create a Smooth Surface.
- If You’re Feeling Overwhelmed by the Task, Hire a Professional Painter Who Can Take Care of All the Work for You.
We hope that this blog post has been useful in helping you to understand how to paint engineered wood! With the right materials, tools and techniques, your painted engineered wood will look great and last for years ahead. Good luck and have fun painting!
Frequently Asked Questions
Q: What Kind of Paint Should I Use?
A: It is best to use a high-quality interior or exterior paint that will be able to withstand wear and tear over time. Make sure to read the instructions on the paint can and follow them exactly.
Q: How Many Coats of Paint Should I Use?
A: Generally speaking, two coats of paint should be sufficient for engineered wood. However, if you are painting an area that is exposed to harsh weather conditions or heavy sunlight exposure, consider adding a third coat for extra protection.
Q: How Can I Ensure a Smooth Finish?
A: When rolling or brushing on the paint, use long strokes to create a smooth surface. Additionally, make sure that each layer of paint is applied as thin as possible and allowed to dry completely before adding the next one. This will help ensure a beautiful, even finish.
Q: Can I Hire a Professional Painter?
A: Absolutely! If you are not experienced in painting or do not have the tools and materials necessary for the job, consider hiring a professional painter who can take care of all the work for you. A professional painter will be able to ensure that your engineered wood is painted perfectly with no mess or hassle.
Conclusion
Painting engineered wood is a quick and easy way to update the look of any room. Not only is it budget-friendly, but it also adds warmth and character to a space. In order to achieve the best results, it’s important to prepare your surface properly and use high-quality paint that matches the type of engineered wood you are working with.
With the right tools, materials, and techniques, you can transform an outdated piece of furniture into something more modern and sophisticated.
By following these tips on how to paint engineered wood, you can easily add value and charm to your home without breaking the bank. In addition to being budget savvy, repainting engineered wood can be enjoyable as well – giving you a unique way to express yourself through art in your house. So grab some inexpensive paints and brushes and get out there –you won’t regret it!
Angela Ervin
Angela is the executive editor of DIY quickly. She began her career as an interior designer before applying her strategic and creative passion to lifestyle and home. She has close to 15 years of experience in creative writing and online content strategy for housekeeping, home decorations as well as other niche efforts. She loves her job and has the privilege of working with an extraordinary team. She lives with her husband, two sons, and daughter in Petersburg. When she's not busy working she spent time with her family.


