
How to Paint Hair in Oil
If you’re a beginning painter, oil painting hair can be confusing. Read this article for tips on how to paint hair in oil and make your subject look natural! This article will talk about the different ways to paint hair with oils, from greasy to silky. We’ll also discuss how to create realistic-looking locks of hair that are both shiny and matte.
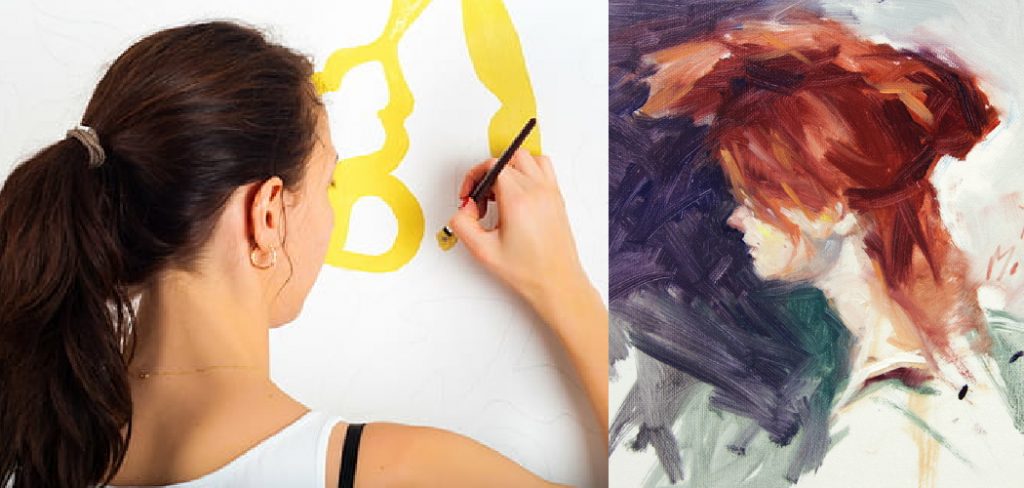
Oil painting is an art form that has been around for centuries. And, while it may seem intimidating to try, oil painting can be done by anyone with the right tools and knowledge. So if you want to know more about oil painting techniques for handling all kinds of wild hairstyles – read on!
Which is the Right Brush Size to Paint Hair in Oil?
Hair can be a tricky element to paint, especially for beginners. This is because hair often looks flat or unnatural if not done correctly. A lot of it has to do with the size of the brush you’re using, but other factors can affect how your hair turns out. Learning what works best for you will take time and practice, but this article will give you a few tips on getting started with painting hair in oil paint.
Oil paintings have been around for centuries, which means making mistakes is part of art history’s past! But another thing they’ve gotten right over time is choosing the correct brushes when tackling different techniques or styles. One primary process for oil painting is painting hair.
The way you choose to portray your subject’s hair can say a lot about them, their age, and even what sort of life they lead. Usually, the more coarse or messy hair looks, the less formal the sitter appears to be in your portrait.
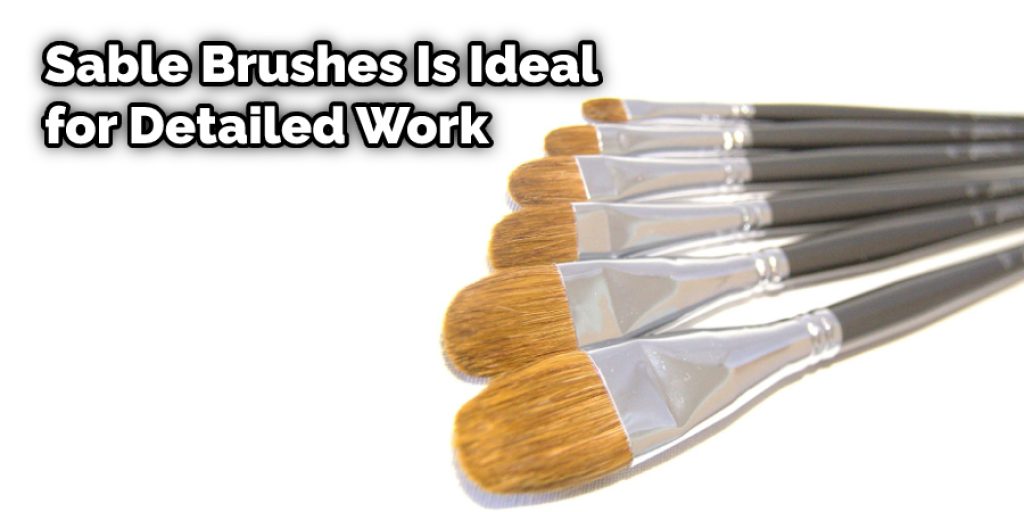
There are many different types of brushes that you could use when it comes to hair. However, the two most popular choices for painting hair in oil are either a bristle brush or a sable brush. Bristle brushes are made with natural hairs from animals like hogs, badgers, or boars.
There is a variety of shapes and sizes when it comes to brushes, each giving a different textured effect. Sable brushes are made with the fur of water animals such as martens, weasels and minks. They are softer than bristle brushes and usually have a more nuanced point, making them ideal for detailed work.
So next time you’re faced with painting some lovely locks on your favorite model, don’t panic!
Tools and Materials
- Oil paints in a variety of colors
- Paintbrush
- Canvas or paper
- Reference photo of hair (optional)
A Detailed Guide on How to Paint Hair in Oil
Step 1
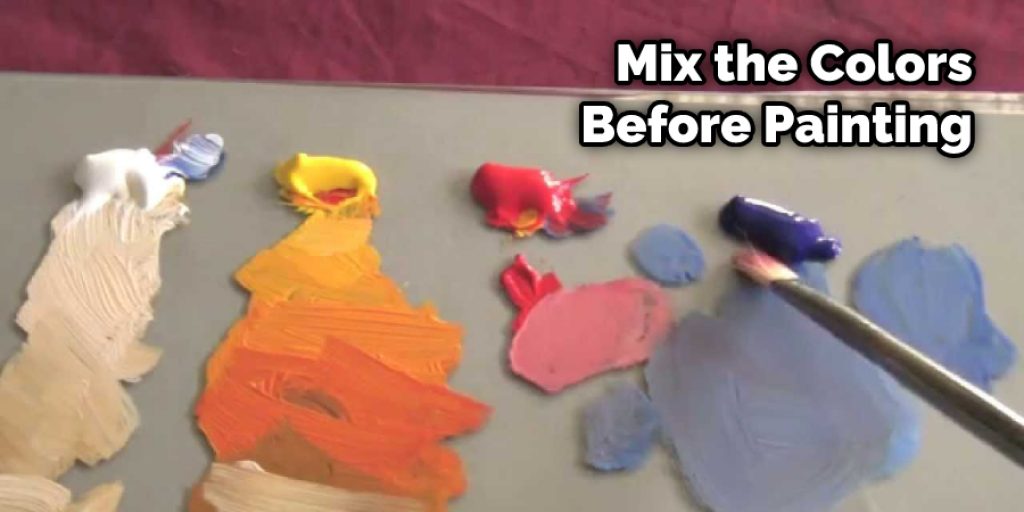
The first step in painting hair in oil is to mix the colors you want to use. You can experiment with different shades and combinations until you find something you like. Once you have your colors ready, begin painting the hair using thin, even strokes. Start at the roots and work your way towards the tips. If you need to blend two colors, use a brush dampened with linseed oil.
Keep in mind that it’s essential to be patient and take your time while painting hair. It can be easy to make mistakes, so slowly and take your time. Then, if you need to, you can always go back and make corrections.
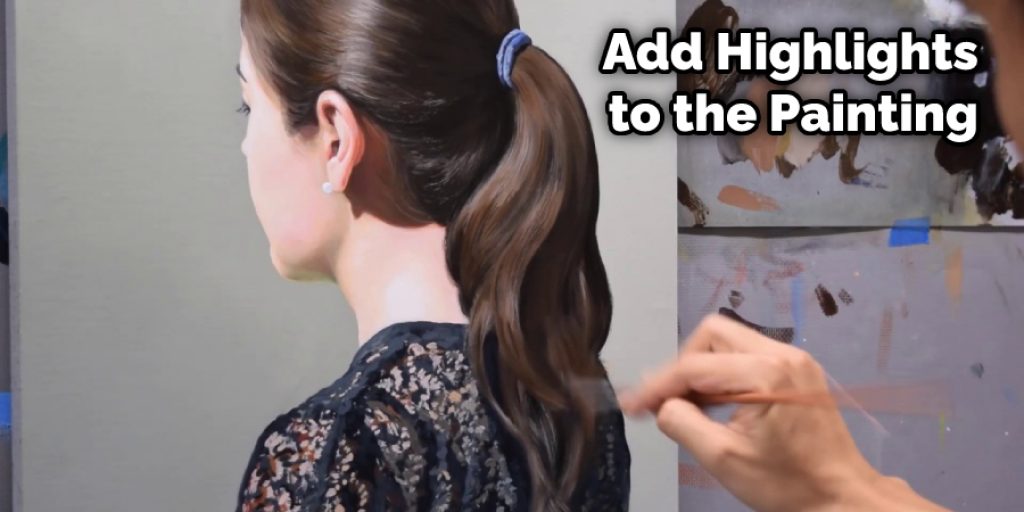
Step 2
The next step is to add in some highlights. To do this, mix a little white paint into your original color mixture. Then, use a thin brush to paint small highlights in the top part of the hair. Be careful not to overdo it, or the highlights will look unnatural.
Step 3
Once the hair is painted, it’s time to add any highlights or shadows. To do this, use a lighter or darker shade of the color you’re already using. For example, if you’re painting light brown hair, you might want to add in a few highlights of blonde. Again, use thin, even strokes and take your time. Don’t worry if the shadows are too dark because they can permanently be corrected later.
Step 4
You might want to mix in some black paint to create darker hair colors. The trick with painting black hair is to use a skinny brush to create harsh highlights or shadowing. Generally, it’s usually best not to include any pure blacks at all – instead, opt for greyer shades whenever possible.
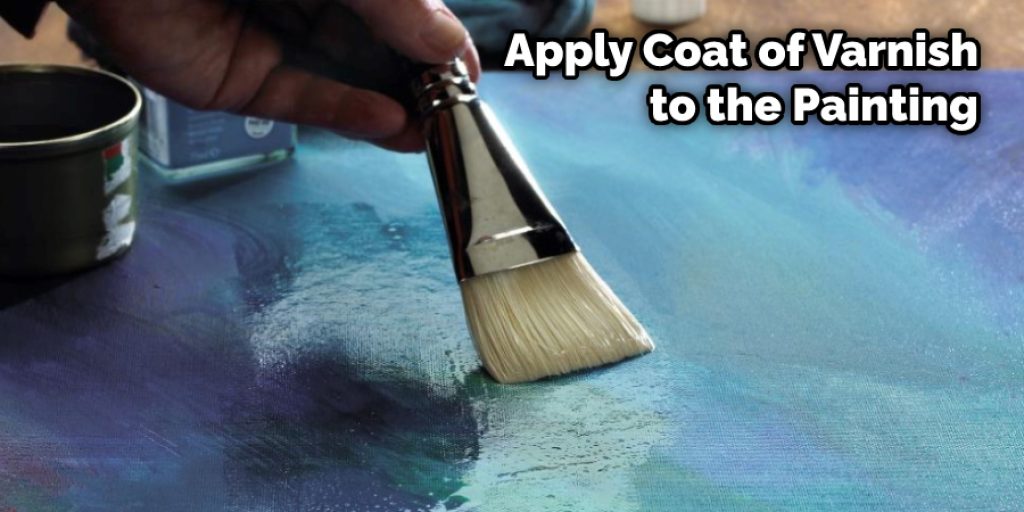
Step 5
Once the paint has dried completely (it can take several hours), cover your work with a coat of varnish and let it dry again overnight. Then get ready to frame and display your work of art!
Step 6
Last but not least, give the hair some depth by adding in some shadows. To do this, mix a dark color (such as black) with a bit of linseed oil. Then, using a thin brush, paint the shadows around the roots and tips of the hair. Be careful not to overdo it, as too much shading can make the hair look artificial. This will help give the hair more depth and dimension.
Step 7
The final step is to apply a coat of varnish to protect the paint from fading or smudging. Let the varnish dry completely (this could take several hours) before framing and displaying your artwork. Congratulations – you’ve just created a masterpiece!
Some Tips for Beginners on Painting Hair
1. Start with the lightest colors and work your way up to the darkest. This will help create a sense of depth and realism in your painting.
2. When painting hair, it’s important to use thin layers and build them up gradually. This will help to avoid any streaks or patches in your painting.
3. Use a small brush for the fine details in hair, such as the strands themselves and the shadows they cast.
4. Take your time and be patient when painting hair. It can be a tedious process, but the results are worth it!
And that’s it! These are just a few tips to get you started on painting realistic hair in oil paint. Have fun and be creative!
You Can Check It Out to Mix Paint With Water Before Painting
Precautions
1. Always do a test on a piece of paper before you start painting on the canvas to check the colors and mixing ratios.
2. Make sure that the surface of the canvas is thoroughly dry before you start painting.
3. Use only high-quality oil paints – this will ensure better results.
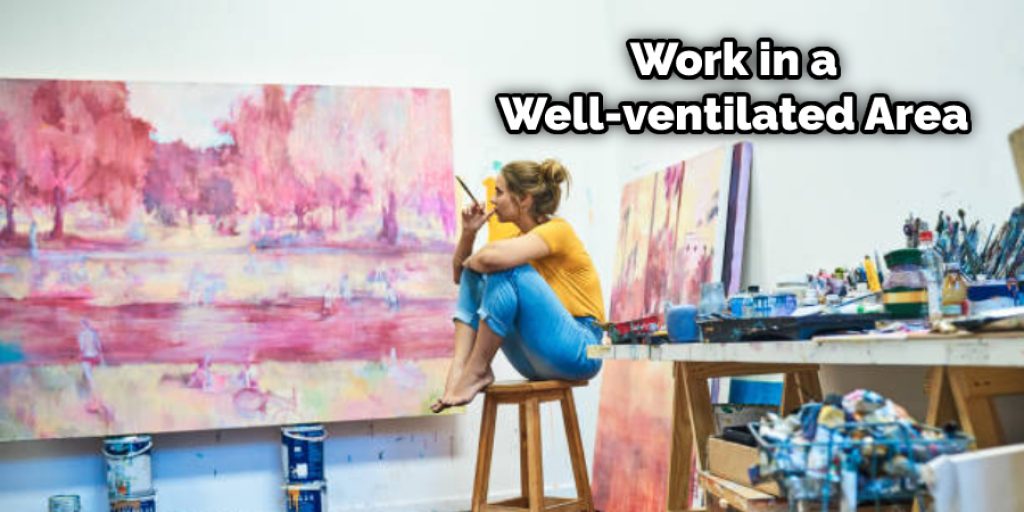
4. Work in a well-ventilated area, as oil paint fumes can be toxic.
What’s the Best Technique for Painting Hair in Oil?
You can use a few different techniques when painting hair in oil. Which one you use will depend on the look you want to achieve.
One common technique is to paint the hair in layers. Begin by painting the roots, then add some highlights and lowlights. Finally, add the finishing touches.
A different way to paint hair is to do it all at once instead of in sections. This can be harder to do, but it can look more realistic.
No matter which technique you choose, make sure to use plenty of paint and build up the layers gradually. This will help create a realistic look and prevent your hair from looking too flat or two-dimensional.
You can also check out to Make Fake Facial Hair With Makeup
How Do You Choose Colors for Hair Painting?
The first step in how to paint hair in oil is to mix the colors you will need. To do this, you will need to know what color your model’s hair is and what color you want it to be. You can choose any color you want for your model’s hair, but it is essential to remember that not all colors look good on every person.
For example, some colors will look better on lighter skin tones, while others will look better on darker skin tones. You will also need to consider your model’s eye color and the color of her clothes when choosing a hair color.
Once you have chosen the colors you want to use, it is time to mix them. To do this, start by mixing a little bit of each color. Then, add more of each color until you have the desired shade. Of course, you can always add more white to lighten color or black to darken it, but be careful not to add too much, or your paint will become too thick and will be challenging to work with.
How Do You Make Hair Look Realistic?
When painting hair in oil, it’s essential to understand the structure of the hair and how it is formed. How you paint your subjects’ hair can determine whether your paintings look realistic or not.
Hair consists of three main parts: the cuticle, which is the outer layer, cortex underneath, and medulla in between both layers. You must never forget that there are many different types of hairstyles when choosing what kind of style you want to paint – straight, wavy, curly, etc.
Conclusion
Follow this article on how to paint hair in oil; if you want to paint hair in oil, the first step is understanding how light interacts with different colors. The second step is finding a color that works for your mood and style. Thirdly, it’s important not to overwork the painting or add too many details at once because this can make your work appear messy and blotchy.
And last but not least, always remember to have fun! Painting hair in oil might take some practice before you get comfortable doing it yourself – so don’t be discouraged by any mistakes along the way!
Jane Hubbard
Jane has always been passionate about hair and beauty. After many years of working as a hairdresser specialist, she decided to start her own consultancy business. She is an experienced haircare and beauty consultant, and she loves helping others find the perfect look for them. She has been writing articles for DIY quickly for over 3 years. In her free time she enjoys keeping up with the latest news in the industry, practicing yoga, and spending time with her friends and family.


