How to Paint Plastic Planter Pots
Painting plastic planter pots is a creative and enjoyable way to add a personal touch to your gardening style. Whether you’re looking to liven up your outdoor space or simply want to express your artistic flair, customizing your pots can transform the look of your plants and enhance your home decor.
This guide on how to paint plastic planter pots will walk you through the essential steps and tips for achieving vibrant, lasting results, enabling you to breathe new life into your plastic planters while showcasing your unique personality.
Why Paint Plastic Planter Pots?
Painting plastic planter pots has numerous benefits. First and foremost, it allows you to customize the appearance of your pots to suit your personal style and preferences. With the wide range of paint colors and techniques available, you can create a one-of-a-kind design that complements your home decor or garden theme.
Moreover, painting plastic pots helps protect them from harsh weather conditions such as sun exposure, rain, and frost. The paint acts as a barrier between the pot’s surface and external elements, preventing it from becoming weak or brittle over time. Additionally, painting can also prolong the lifespan of the pots by preventing discoloration or fading due to UV rays.
Materials Needed
Before you get started, gather all the necessary materials to ensure a smooth and successful painting process. Here are some of the essentials you will need:
Plastic:
Choose plastic planter pots made from high-quality, durable materials such as polypropylene or polyethylene. These types of plastic are ideal for painting as they have a smooth surface and can withstand outdoor conditions.
Primer:
A good primer creates a strong bond between the paint and the plastic surface, ensuring long-lasting results. Choose a primer specifically designed for use on plastics.
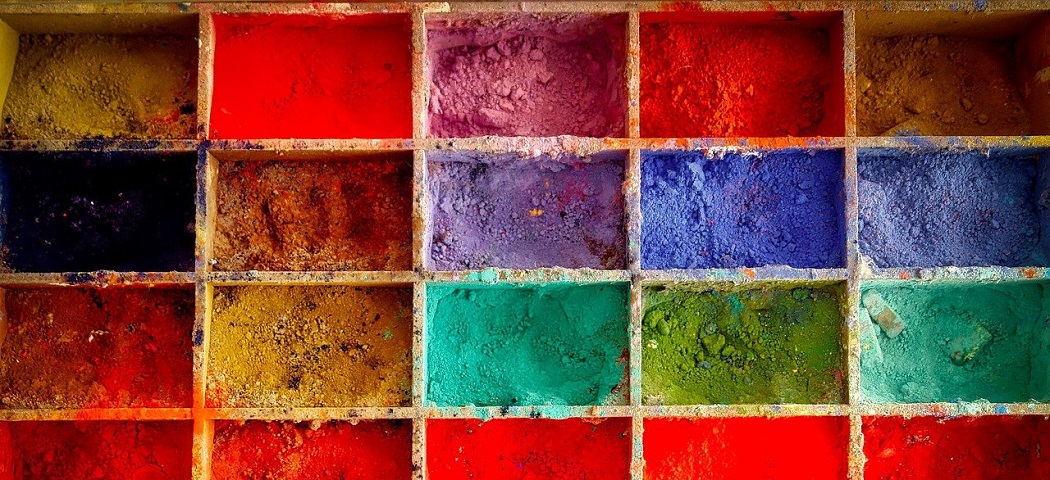
Acrylic Paint:
Acrylic paints are versatile and come in a wide range of colors, making them perfect for creating custom designs on your plastic planters. They also dry quickly and are water-resistant, making them suitable for outdoor use.
Paintbrushes:
Invest in different sizes of paintbrushes to achieve various effects and details in your design. Synthetic brushes are best for acrylic paint, as they have smooth bristles that won’t leave streaks or brush marks.
Sealant:
To protect your painted pots from wear and tear, apply a sealant over the dried paint. Choose a clear, waterproof sealant designed for use on plastic surfaces.
7 Step-by-step Guidelines on How to Paint Plastic Planter Pots
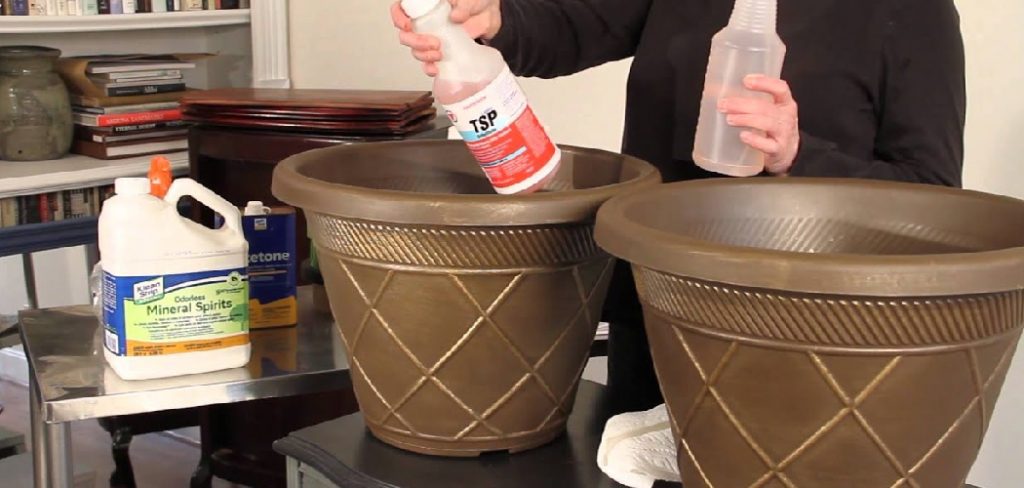
Step 1: Clean and Dry the Pots
Before you begin painting, it’s essential to prepare your plastic planter pots properly. Start by cleaning the pots with warm, soapy water to remove any dirt, dust, or grease that may interfere with the paint’s adhesion. Use a soft cloth or sponge to scrub the surfaces gently. Rinse thoroughly with clean water and allow the pots to air dry completely.
Ensuring the pots are clean and dry is crucial, as any residue or moisture can prevent the primer and paint from adhering properly, potentially leading to peeling or chipping in the future.
Step 2: Sand the Pots (Optional)
Sanding the surface of your plastic planter pots can enhance paint adhesion and create a smoother finish, although this step is optional. If you choose to sand the pots, use fine-grit sandpaper (around 220 grit) to gently scuff the exterior. This process helps to create a rough texture that allows the primer to grip better.
After sanding, wipe the pots with a damp cloth to remove any dust or debris, and allow them to dry completely before proceeding to apply the primer. Keep in mind that if you prefer a smoother finish, skipping this step is perfectly acceptable, especially if your pots have a textured surface.
Step 3: Apply Primer
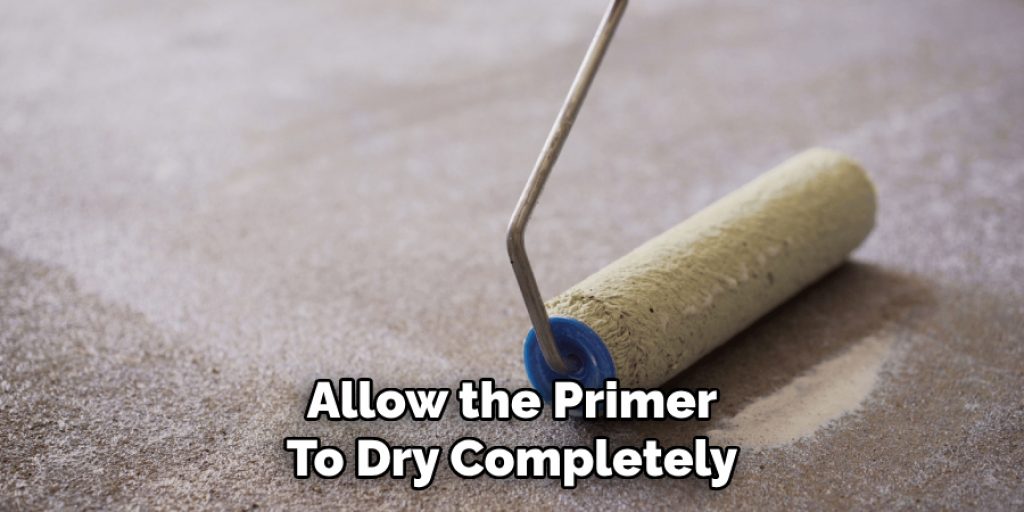
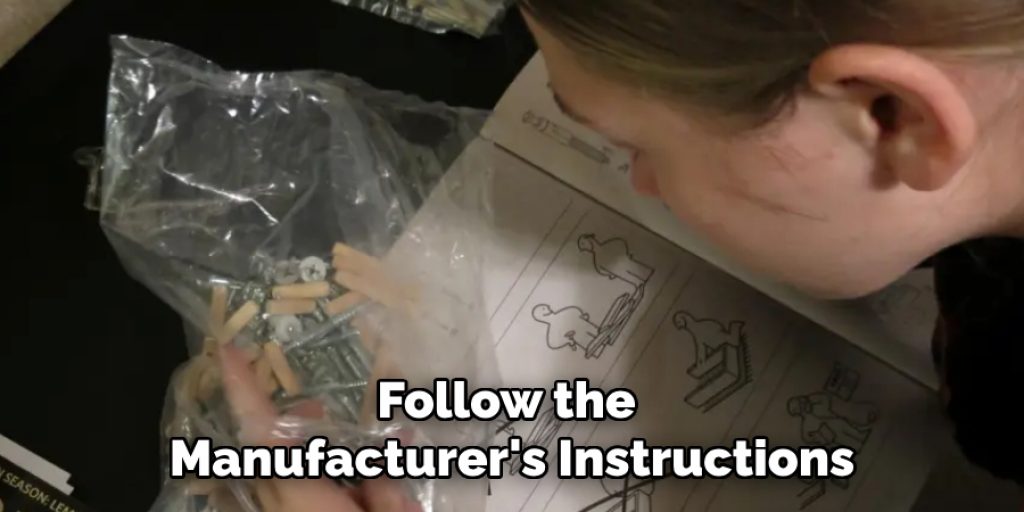
Using a paintbrush or spray, apply an even coat of primer to the pots. Make sure to cover all surfaces, including the bottom and any crevices. Follow the manufacturer’s instructions for drying time and the recommended number of coats.
Generally, one coat is enough, but if you notice any uneven areas or missed spots, you can apply additional coats as needed. Allow the primer to dry completely before proceeding to the next step.
Step 4: Choose Your Design
Now comes the fun part! Before diving into painting your plastic planter pots, decide on a design or pattern that you want to create. You can draw inspiration from natural geometric shapes or even use stencils for more intricate designs.
Additionally, consider the color scheme and how it will complement your plants and garden decor. You can also add personal touches like initials or quotes to make the design uniquely yours.
Step 5: Apply Acrylic Paint
With your design planned out and your primer dry, it’s time to apply the acrylic paint to your plastic planter pots. Using a clean paintbrush, begin by applying your chosen base color, ensuring even coverage across all surfaces. If you’re using multiple colors in your design, start with the lighter shades first, as they can be easily layered with darker colors without muddying the appearance.
Allow each coat to dry completely before adding additional layers or details. For intricate designs, consider using smaller brushes or fine-tip markers for precision. Remember to have fun with it; the beauty of painting your pots is in the creative expression it allows!
Step 6: Seal the Paint
Once you are satisfied with your painted design and it has fully dried, it’s time to protect your artwork with a sealant. Apply a clear, waterproof sealant over the painted surfaces to guard against scratches, fading, and weather damage. Using a clean, synthetic brush, apply an even coat of sealant, ensuring full coverage without pooling.
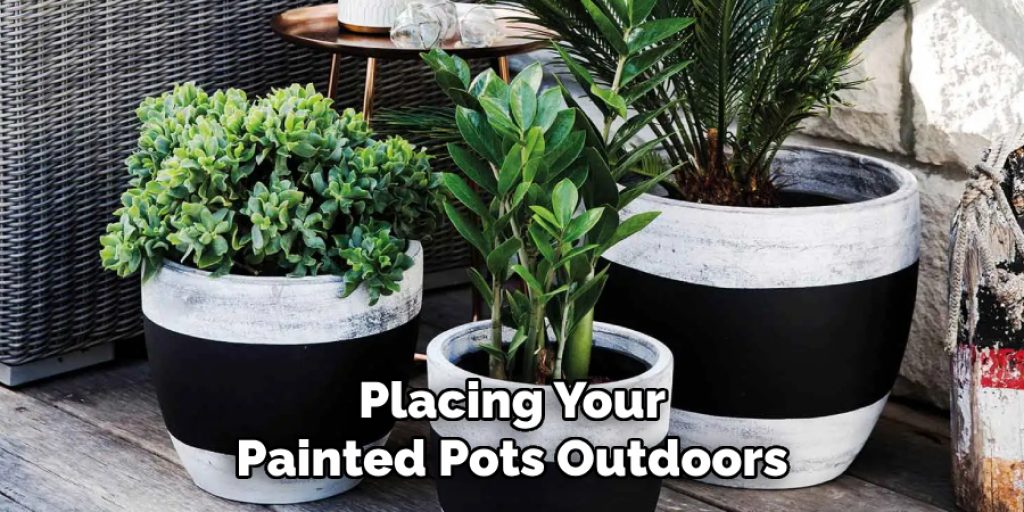
Be sure to follow the manufacturer’s instructions for drying times and the number of coats recommended. Typically, one or two coats should suffice for optimal protection. Allow the sealant to dry completely before placing your painted pots outdoors or using them to hold plants. Sealing your design enhances the longevity of your decorative work, allowing you to enjoy your beautifully painted planter pots for years to come.
Step 7: Add Plants and Enjoy!
Once the sealant has dried, your newly painted plastic planter pots are ready to add some greenery. Fill them with your favorite plants, herbs or flowers, and enjoy their new vibrant look in your garden or home.
Remember to water and care for your plants as usual, taking extra care when watering so as not to damage the paint. With proper maintenance and protection from harsh elements, these painted pots will continue to add beauty and personality to your space.
Additional Tips
- Consider using stencils for more intricate designs.
- Experiment with different brush sizes for various effects and details.
- Avoid placing painted pots in direct sunlight or extreme weather conditions to prevent color fading.
- Use a clear sealant with UV protection for extra protection against sun damage.
- If using spray paint, make sure to do so in a well-ventilated area and wear a mask for protection.
- Don’t be afraid to make mistakes and have fun with the painting process. Each pot is unique, and imperfections can add character to your design. So, go ahead and let your creativity flow!
With these practical guidelines on how to paint plastic planter pots and some creativity, you can transform your plain plastic planter pots into stunning pieces of art that will add a touch of color and personality to your home or garden. Happy painting!
Frequently Asked Questions
Q: Can I Use Regular Spray Paint to Paint My Plastic Planter Pots?
A: It is not recommended as the adhesion and durability may not be suitable for plastic surfaces. It’s best to use a primer specifically designed for plastic surfaces, followed by acrylic paint and a sealant.
Q: Can I Skip Sanding the Pots?
A: While sanding is an optional step, it can help improve paint adhesion and create a smoother finish. If your pots have a textured surface or if you prefer a more rustic look, sanding may not be necessary.
Q: How Many Coats of Sealant Should I Use?
A: Typically, one to two coats of sealant are enough for proper protection. However, follow the manufacturer’s instructions for drying times and recommended number of coats for best results.
Q: Can I Paint Over Already-Painted Plastic Planter Pots?
A: Yes, as long as the previous paint is fully dry and the surface is clean and smooth. You may need to lightly sand the surface and apply a primer before painting for better adhesion.
Conclusion
In summary, transforming ordinary plastic planter pots into vibrant, eye-catching displays is a rewarding project that allows for personal creativity and expression. By following the steps on how to paint plastic planter pots outlined—prepping the surface, applying primer and paint, sealing the artwork, and finally adding your favorite plants—you can enhance not only the aesthetic appeal of your garden or living space but also enjoy a sense of accomplishment.
Remember to take your time and have fun during the process, letting your individual style shine through in your painted pots. With the right care and protection, these unique creations will bring joy and beauty to your surroundings for years to come.
Elizabeth Davis
Elizabeth is a creative writer and digital editor based in the United States. She has a passion for the arts and crafts, which she developed from a young age. Elizabeth has always loved experimenting with new mediums and sharing her work with others. When she started blogging, she knew that DIYquickly would be the perfect platform to share her tutorials and tips. She's been writing for the blog from the beginning, and her readers love her helpful advice and easy-to-follow instructions. When she's not writing or editing, Elizabeth enjoys spending time with her family and friends.