How to Pit Fire Pottery
Pit firing is one of the oldest known methods for firing pottery, dating back thousands of years and rooted in ancient indigenous cultures. This traditional technique involves burying pottery in a pit filled with combustible materials, allowing the natural elements and smoke to contribute to the final appearance of the pieces. The result is often a unique texture and an array of rich, earthy colors, making each piece truly one-of-a-kind.
In this guide on how to pit fire pottery, we will explore the steps involved in pit-firing pottery, covering everything from preparation to firing and finishing techniques, ensuring you can create beautiful and distinctive pottery using this ancient method.
Why Choose Pit Firing?
Before we dive into the instructions, let’s first discuss why you might want to choose pit firing as your preferred method for firing pottery.
One of the main reasons people are drawn to pit firing is the unpredictability and organic nature of the process. Unlike firing in a kiln, where temperature and atmosphere can be carefully controlled, pit firing relies on natural elements such as wind, rain, and wood type to create unique patterns and colors on the pottery. This element of surprise adds excitement to the firing process and produces truly one-of-a-kind pieces.
Furthermore, pit firing is a more accessible method for those who do not have access to a kiln or other specialized equipment. It can be done outdoors with basic materials found in nature, making it a great option for individuals looking to connect with their surroundings and practice sustainable art-making techniques.
Necessary Supplies for Pit Firing
Before you begin the pit firing process, it’s essential to gather all necessary supplies. Here is a list of items you will need:
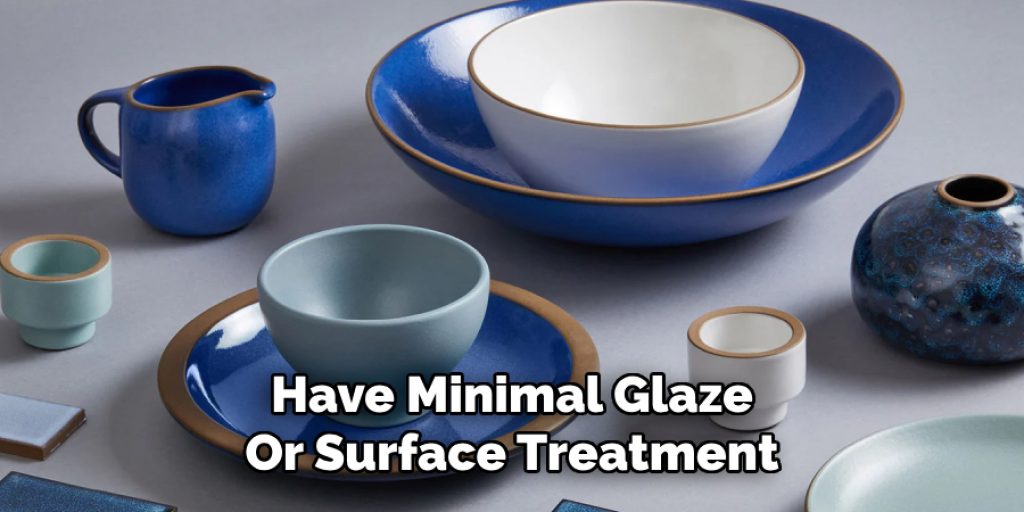
Pottery Pieces:
Choose pieces that are thin-walled and have minimal glaze or surface treatment, as the pit firing method may cause cracking or warping on the surface.
Combustible Materials:
This can include sawdust, wood chips, leaves, straw, or any other materials that will create smoke and ash during firing.
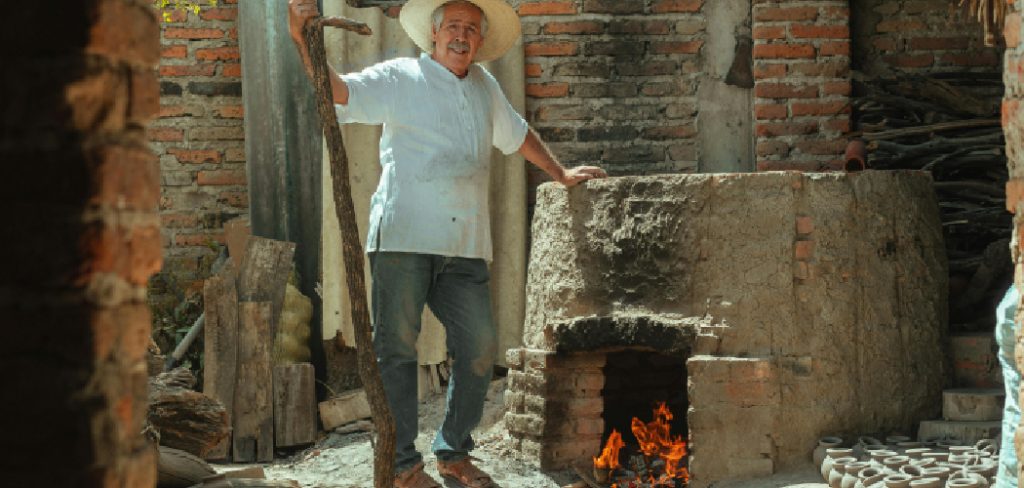
Fire Pit:
The size of your fire pit will depend on the number and size of your pottery pieces. It should be deep enough to bury the pieces and have a layer of combustible materials at the bottom.
Firing Tools:
Long tongs or sticks for handling hot pieces, gloves for protection against heat, and a metal grate or mesh for supporting pottery in the fire pit.
Fire Source:
You can use wood, charcoal, or a combination of both as your fire source. Make sure to have enough to sustain the firing for several hours.
7 Step-by-step Guidelines on How to Pit Fire Pottery
Step 1: Preparation
Preparation is crucial for a successful pit firing. Start by selecting a suitable location for your fire pit—ideally, it should be a clear outdoor space away from flammable materials and structures. Once you’ve chosen your site, gather all the necessary supplies listed previously. It’s important to ensure that your pottery pieces are completely dry and free from any moisture, as this will help prevent cracking during the firing process.
Additionally, consider creating a design or pattern for your combustible materials beforehand, as this can influence the final appearance of your pottery. Organizing your workspace and planning your firing arrangement will streamline the process and enhance your creative outcome.
Step 2: Loading the Fire Pit
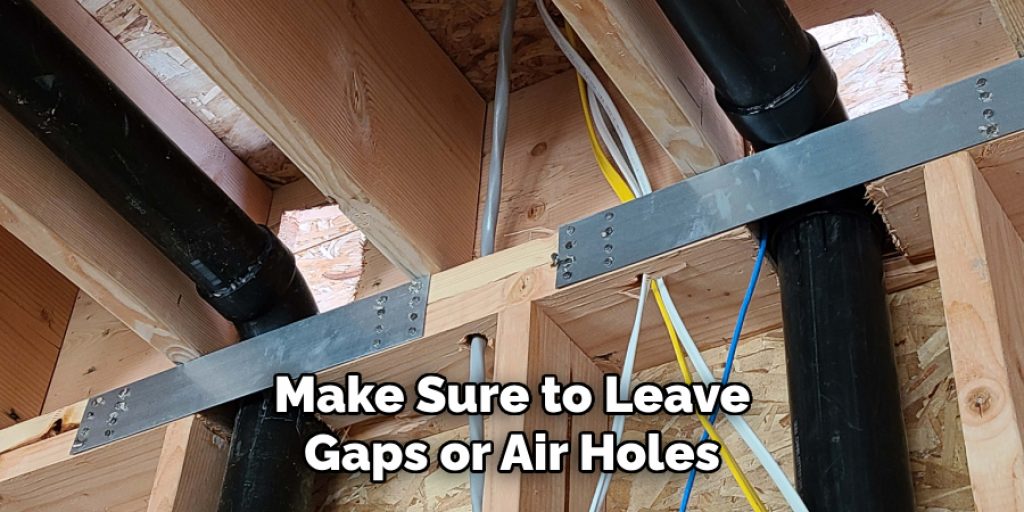
Layer your fire pit with a few inches of combustible materials, such as sawdust or wood chips. Place your pottery pieces on top, leaving space between them to allow heat and smoke to circulate evenly. Use your planned design for the combustible materials by arranging them around and on top of the pottery pieces.
It’s essential to have good airflow throughout the firing, so make sure to leave gaps or air holes between the pieces and around the edges of your fire pit.
Step 3: Covering the Pit
Once your pottery pieces are arranged in the fire pit, cover them with a layer of combustible materials. This can include more sawdust, leaves, or straw. The thicker this layer, the longer it will take for the fire to reach the pottery pieces and complete the firing process.
You can also experiment with different materials, such as seaweed or salt, to add unique patterns and colors to your pottery.
Step 4: Starting the Fire
Using a long lighter or matchstick, start a small fire on top of the pit’s combustible layer. Gradually add more wood or charcoal to sustain the fire. Make sure you keep an eye on the direction of the wind and adjust your fire accordingly if needed.
But be careful not to add too much fuel, as a large fire can cause your pottery pieces to crack or break.
Step 5: Firing Process
As the fire grows, it will begin to reach the pottery pieces buried underneath. Keep an eye on the temperature and make sure it stays consistent throughout the firing process. You can use a handheld temperature gauge or observe the color of the flames and smoke for an idea of how hot the fire is. The goal is to reach temperatures between 800-1000 degrees Celsius for a successful pit firing.
During this stage, you can also experiment by adding different materials to create unique patterns and effects on your pottery.
Step 6: Cooling Down
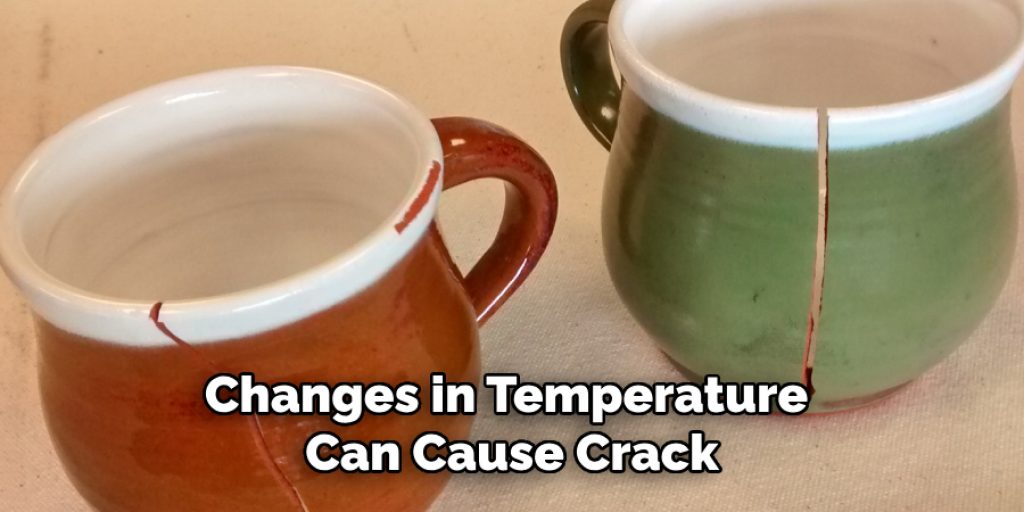
Once the desired temperature is reached, let the fire burn down naturally until it extinguishes. This cooling process can take several hours or even a whole day, depending on the size and thickness of your pottery pieces.
It’s crucial to resist the temptation to remove your pottery from the pit too soon, as sudden changes in temperature can cause it to crack or break. Patience is key to achieving successful pit-fired pottery.
Step 7: Uncovering and Finishing
When your fire pit has cooled down completely, carefully uncover your pottery pieces using tongs or sticks. Gently brush off any ash or debris using a soft brush or cloth. You can also use sandpaper to smooth out any rough edges or surfaces on your pieces.
Congratulations, you have successfully learned how to pit fire pottery! Now, it’s time to marvel at the unique patterns and colors created by natural elements and embrace the element of surprise in this ancient and sustainable firing method.
Do You Need to Use Professionals?
While pit firing can be an enjoyable and rewarding DIY process, some may wonder whether it’s necessary to involve professionals. Generally, pit firing is designed to be accessible for enthusiasts at all skill levels, making it a great option for individuals looking to experiment with their pottery in a hands-on manner. However, if you are seeking very specific results or wish to ensure a high level of detail and precision in your pottery, consulting with a professional potter or ceramic artist can offer valuable insights and techniques.
Professionals can provide guidance on design choices, firing techniques, and how to effectively manage the variables that impact the final outcome. In essence, involving professionals can enhance your learning experience, but it is not a requisite for enjoying and succeeding in pit-firing pottery.
Frequently Asked Questions
Q: Can I Pit Fire Glazed Pottery?
A: Yes, but keep in mind that the firing process may cause changes or damage to the glaze surface. It’s best to use minimal glazing or surface treatments for successful pit firing. You can also apply glaze after the firing process for a more controlled and precise finish.
Q: Is Pit Firing Safe?
A: As with any fire-related activity, safety precautions must be taken. Make sure to have a fire extinguisher on hand and always monitor the fire closely. Avoid using toxic materials in your pit, such as plastics or treated wood.
Q: How Long Does Pit Firing Take?
A: The entire process can take anywhere from 8-12 hours, depending on the size and thickness of your pottery pieces and the type of materials used in the firing. Patience is key for a successful pit firing!
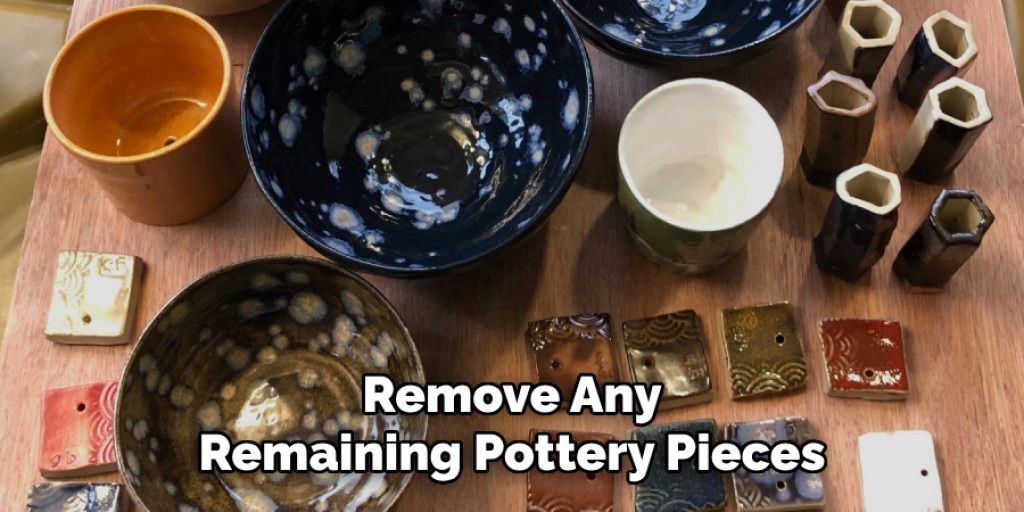
Q: Can I Reuse the Combustible Materials?
A: Yes, you can reuse the combustible materials for multiple firings. Just make sure to remove any remaining pottery pieces and thoroughly dry out the materials before using them again. It’s also essential to replenish and add new materials as needed for each firing. Overall, pit firing is a sustainable and eco-friendly method of pottery firing.
Conclusion
Pit firing is an accessible, environmentally-friendly way to create beautiful and one-of-a-kind pottery. By utilizing natural elements such as fire, smoke, and ash, each piece becomes a reflection of its surroundings and the creative process.
With a little patience and experimentation, anyone can learn how to pit fire pottery and enjoy the excitement and satisfaction that comes with creating something truly unique. So gather your supplies, find a suitable location, and start your pit firing journey today! So gather your supplies, find a suitable location, and start your pit firing journey today!
Elizabeth Davis
Elizabeth is a creative writer and digital editor based in the United States. She has a passion for the arts and crafts, which she developed from a young age. Elizabeth has always loved experimenting with new mediums and sharing her work with others. When she started blogging, she knew that DIYquickly would be the perfect platform to share her tutorials and tips. She's been writing for the blog from the beginning, and her readers love her helpful advice and easy-to-follow instructions. When she's not writing or editing, Elizabeth enjoys spending time with her family and friends.