
How to Preserve Branches for Decoration
Are you looking for ways to preserve branches for decoration? Do you want to keep your beautiful branches intact and use them as decorative pieces in your home?
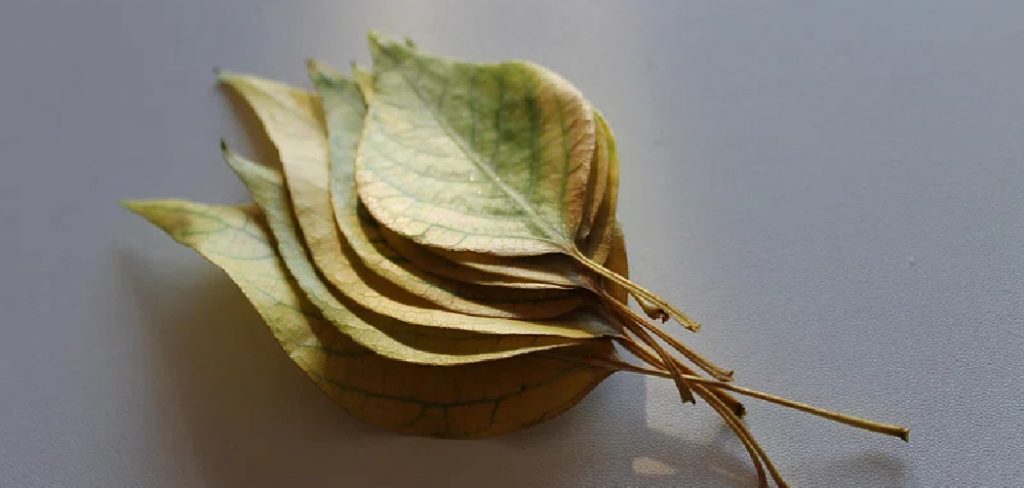
Preserving branches for decoration is a wonderful way to bring a touch of nature’s beauty into your home. Not only does it allow you to create unique, rustic decor items, but it also offers a sustainable approach to home decoration.
This guide will walk you through the simple yet effective process of how to preserve branches for decoration. Whether you want to create a statement piece for your living room, add a natural feel to your office, or craft handmade gifts for loved ones, preserved branches provide a versatile, eco-friendly option. From the initial selection of branches to the preservation process itself, we’ll cover all you need to know to get started on your botanical decor journey.
Why Preserve Branches for Decoration?
Preserving branches for decoration has numerous benefits, making it a popular choice among nature enthusiasts and DIY lovers. Here are some reasons why preserving branches for decoration is a great idea:
- Sustainable: Instead of buying plastic or artificial decorative items, preserving branches allows you to use natural materials that can be sustainably sourced.
- Budget-friendly: Branches can be easily found in nature or collected from pruning your own trees, making them a budget-friendly option for home decoration.
- Unique and Versatile: Each branch is unique in its shape, texture, and color, which gives you endless possibilities for creating one-of-a-kind decor items.
- Eco-friendly: By preserving branches, you’re not only reusing natural materials but also reducing waste that would otherwise end up in landfills.
- Brings Nature Indoors: Adding preserved branches to your home decor brings a touch of nature and its calming, therapeutic benefits into your living space.
These are just a few reasons why preserving branches for decoration is becoming increasingly popular. Now, let’s dive into the steps to preserve your branches and turn them into stunning decor pieces.
What Will You Need?
Before we begin, here’s a list of materials you’ll need to preserve your branches for decoration:
- Fresh branches
- Pruning shears or garden saw
- Sandpaper
- Wood sealer or wood glue (optional)
- Natural preservative such as glycerin or borax (for preserving leaves and foliage)
Now that you have your supplies ready, let’s move on to the preservation process.
10 Easy Steps to Preserve Branches for Decoration
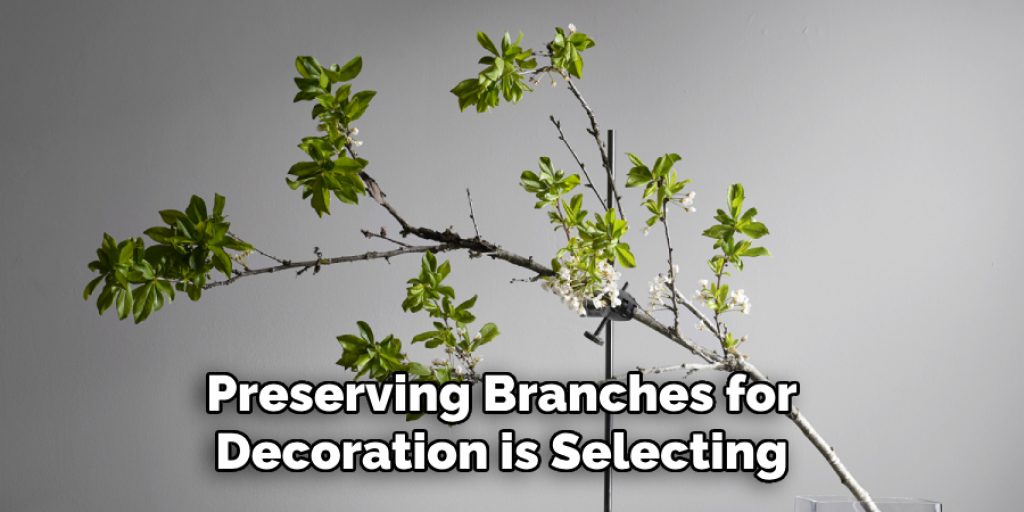
Step 1: Selecting Branches
The first step in preserving branches for decoration is selecting the right ones. When choosing branches, consider their size, shape, and overall condition. You want to pick healthy branches, have an interesting shape or texture, and can fit into your desired decor project.
Step 2: Pruning
Once you have selected your branches, the next step is to prune them to your desired shape and size. Using pruning shears or a garden saw, carefully trim away any excess twigs, leaves, or parts of the branch that you don’t need for your decoration. When pruning, always cut at an angle to promote healing and prevent damage to the remaining parts of the branch.
This step is crucial for ensuring your branches will fit well within your décor plans and look their best. Remember to wear gloves to protect your hands during this process and work on a stable, flat surface to ensure precision cutting.
Step 3: Sanding
After pruning your branches to the desired shape and size, the next step is smoothing out any rough edges with sandpaper. This is an important step as it not only cleans up the appearance of the branches but also prepares the surface for better absorption of the wood sealer or glue, and, ultimately, the preservative.
Start with a coarse sandpaper to remove any significant burrs or rough patches, and then switch to a finer grit sandpaper for a smoother finish. Sand the branches gently, following the wood’s natural grain, until you achieve a uniformly smooth surface. Pay special attention to areas where cuts were made during pruning, as these often require extra smoothing to integrate seamlessly into your design.
Sanding not only improves the aesthetic quality of your branches but also ensures they are safe to handle and incorporate into indoor spaces, removing any sharp or splintery edges. Remember to wipe down the branches with a clean, dry cloth after sanding to remove all dust and debris, preparing them for the next step in the preservation process.
Step 4: Applying a Wood Sealer or Glue
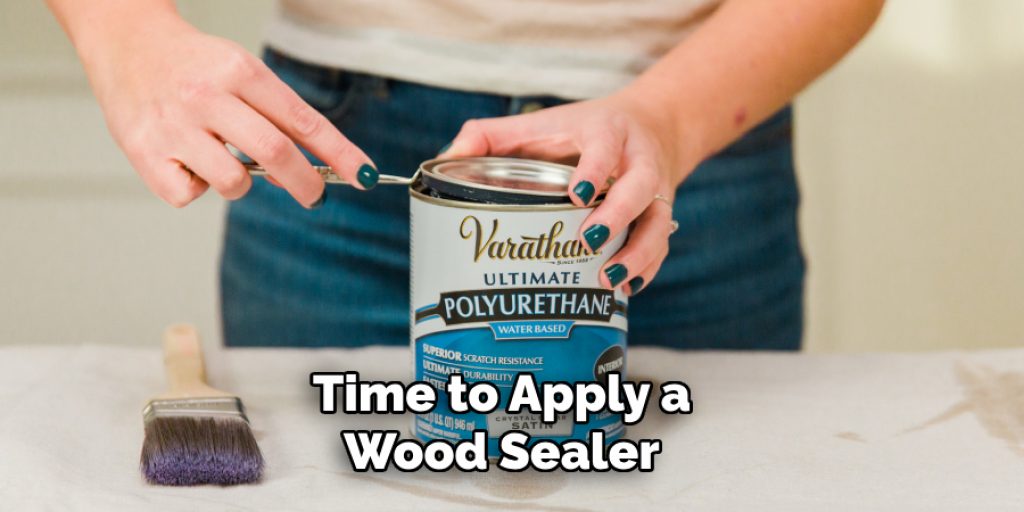
Once your branches are pruned and sanded to perfection, it’s time to apply a wood sealer or wood glue. This step is vital for preserving the integrity of the wood, sealing in moisture, and protecting it from the elements. If you prefer a more natural look, opt for a clear wood sealer highlighting the branch’s natural color and grain. Alternatively, wood glue can be diluted with a little water and brushed over the branches for a similar protective effect.
Apply the sealer or glue solution evenly with a brush, making sure to cover all surfaces, especially the ends of the branches, which are most susceptible to cracking and splitting. Allow the branches to dry completely according to the product’s instructions — this may take anywhere from a few hours to overnight, depending on the humidity and temperature. This protective coating not only extends the life of your decorative branches but also prepares them for any additional embellishments or uses in your home decor projects.
Step 5: Drying and Curing
After applying the protective sealer or glue, the next crucial step in preserving branches for decoration is letting them dry and cure properly. It’s essential to place the treated branches in a well-ventilated area where they can dry evenly without any disturbances. Avoid direct sunlight as it may cause the wood to warp or the sealer to crack. Depending on the thickness of the branches and the type of sealer or glue used, drying time can vary significantly.
Ensure the branches are fully supported during this phase to maintain their shape and prevent any bending or warping as they dry. You may need to wait several days for the branches to cure completely; patience is key during this step. Once dry, check the branches to ensure the coating has hardened and is no longer tacky to the touch.
Step 6: Adding a Natural Preservative
If your branches still retain their leaves or if you’re interested in preserving the foliage for a more natural look, applying a natural preservative like glycerin or borax is the next step. These substances help to maintain the pliability and color of the leaves, ensuring they don’t become brittle or discolored over time.

Mix glycerin with water in a ratio of 1 part glycerin to 2 parts water. Submerge the branch ends in the solution and allow them to soak for several days or until you notice the leaves have absorbed the glycerin. Borax can be used in a similar way by either soaking the branches in a borax solution or gently brushing the mixture onto the leaves.
Each method helps in preserving the natural beauty and vibrancy of your branches, turning them into lasting decorative items for your home. Remember to carefully monitor the process and adjust the soaking time based on the thickness of the foliage and the specific look you aim to achieve.
Step 7: Final Touches
After your branches are fully preserved and dried, the final step is adding any decorative touches that complement your design vision. This can range from painting the branches to match a specific color scheme, wrapping them with fairy lights for a glowing effect, or even attaching ornaments for a seasonal display.
When painting, use a small brush for precision and allow each layer of paint to dry completely before adding another, to avoid smudging and ensure a smooth finish. If adding lights, ensure they are battery-operated or have a safe, nearby power source. For hanging ornaments, evenly space them to maintain balance and prevent the branches from becoming overloaded on one side. This final step is where your creativity can truly shine, transforming the preserved branches into a unique and personal piece of home decor.
Step 8: Displaying Your Decorative Branches
Once you’ve added your final decorative touches, the next step is integrating your branches into your home’s decor. Choose a location that showcases their beauty without obstructing daily activities.

For larger branches, consider placing them in a tall vase or pot, which can be filled with stones or sand for added stability. Smaller branches can be arranged on mantels, shelves, or as part of a table centerpiece. Be mindful of the branch size and the space available to ensure a harmonious addition to your room’s aesthetic.
Additionally, think about the lighting in the area where you’ll display the branches; natural light can enhance their features, while artificial lighting can create intriguing shadows and highlights. With careful placement and consideration, your preserved branches will add a unique, natural element to your home, bringing an organic charm and personalized style to your interior spaces.
Step 9: Maintenance and Care
To ensure your decorative branches retain their beauty and durability, regular maintenance and care are essential. Dust them gently with a soft brush or a feather duster to keep them clean. If you’ve added lights or other elements that require batteries, check and replace them as needed to keep your display vibrant.
Avoid exposing your branches to excessive moisture or direct sunlight over prolonged periods, as this could deteriorate their protective coating and fade their color. Periodically review the stability of your display, especially if it’s placed in an area with high traffic or if you have pets and children. This will help prevent accidents and prolong the life of your decorative branches, allowing you to enjoy their natural beauty for years to come.
Step 10: Seasonal Updates and Rotations
Refreshing your decorative branches with seasonal updates and rotations is an excellent way to keep your decor dynamic and in tune with the changing seasons. Consider integrating fresh blooms or pastel-colored ornaments into your branches to inject vibrancy and freshness into your space for spring. Summer might call for lighter, airier decorations, such as small lanterns or strings of seashells, for a beachy vibe.

Autumn offers the opportunity to add rich, warm colors through faux autumn leaves or small pumpkins, and winter is perfect for adding a touch of sparkle with silver and gold accents or hanging crystal ornaments to mimic icicles.
By thoughtfully rotating your decorations, you can effortlessly transition your home decor throughout the year, keeping it fresh, engaging, and seasonally appropriate. This approach not only maximizes the utility of your decorative branches but also continuously rejuvenates your living environment, making each season’s decor something to look forward to.
By following these simple steps and incorporating your own creative flair, you can turn ordinary branches into eye-catching, unique decorations for your home.
5 Additional Tips and Tricks
- Sealing the Ends: After cutting your branches, immediately seal the ends with wax or a sealant. This prevents them from drying out too quickly and preserves their natural color and flexibility for a longer period.
- Use of Glycerin: Glycerin is an effective agent for branch preservation. They maintain a supple and fresh appearance by allowing branches to absorb glycerin. Mix one part of glycerin with two parts of water, and allow the branches to soak in this solution for several weeks.
- Spray with Hairspray: Spraying thinner branches and twigs with hairspray is a quick and easy way to preserve them. This method locks in moisture and maintains the branch’s natural look, making it more durable for crafting and decoration.
- Drying with Silica Gel: For branches that you wish to preserve with flowers or leaves attached, drying them in silica gel can be particularly effective. The silica gel helps to remove moisture while maintaining the shape and color of the branches and any foliage.
- Store Properly Before Use: Once treated, store your branches in a cool, dry place away from direct sunlight until you are ready to use them. Wrap them gently in paper or place them in a cardboard box to prevent dust accumulation and accidental breaks.

With these additional tips and tricks, you can ensure that your preserved branches remain in top condition for use in various creative projects.
5 Things You Should Avoid When Preserving Branches for Decoration
- Remember to Overlook the Importance of Cleaning: Only preserve branches after first cleaning them thoroughly. Dirt and insects can affect the longevity of the branches and potentially damage them over time. Gently wash and allow them to air dry before starting any preservation process.
- Avoid Using Direct Heat or Sunlight for Drying: Direct heat or sunlight can cause the branches to warp or crack, compromising their natural beauty and structure. Always opt for air drying in a well-ventilated, shaded area.
- Do Not Skip the Sealing Process: Failing to seal the ends of the branches after cutting can lead to premature drying and splitting. Always seal the ends with wax or a suitable sealant to lock in moisture and maintain integrity.
- Avoid Keeping Preserved Branches in Humid Conditions: Storing preserved branches in humid conditions can lead to mold and mildew growth. Ensure that the storage area is cool, dry, and well-ventilated to protect the branches.
- Do Not Rush the Preservation Process: Rushing the preservation process, especially when using methods like glycerin soaking or silica gel drying, can result in improperly preserved branches that won’t last. Patience is key to achieving the best results, allowing enough time for the branches to fully absorb treatments and dry.
By avoiding these common mistakes, you can achieve beautifully preserved branches that will enhance your decorative projects for a long time.
How Do You Make Your Branches Last Longer?
In addition to the preservation techniques mentioned above, there are a few other steps you can take to ensure that your branches last as long as possible:
- Properly Trim the Branches: Cutting the branches at an angle and removing any excess foliage can help them absorb water and nutrients more efficiently, extending their lifespan.
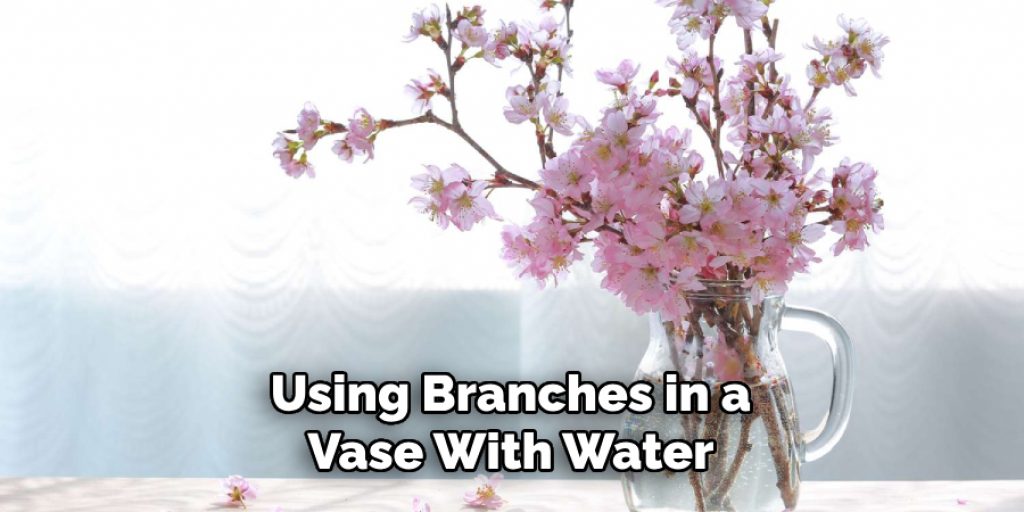
- Change the Water Regularly: If you are using branches in a vase with water, be sure to change the water every few days to prevent bacteria growth.
- Mist the Branches: For preserved branches, lightly misting them with water every once in a while can help them maintain their moisture.
- Handle With Care: When using branches in crafts or decorations, be gentle to avoid breaking or damaging them. Proper handling can greatly extend their lifespan.
By following these tips and tricks, you can make your branches last longer and enjoy their beauty for longer.
Conclusion
How to preserve branches for decoration offers a beautiful way to bring a touch of nature into your home, crafting projects, or event decor. Through the detailed steps and considerations outlined above, from cleaning, cutting, and choosing the right preservation method to the storage and care of your branches, you can extend the life of these natural elements significantly.
Remember, the key to successful preservation lies in following these procedures and avoiding common pitfalls such as neglecting to clean the branches, exposing them to harsh conditions, or rushing the preservation process. Adhering to these guidelines and tips will ensure that your preserved branches maintain their beauty and integrity for a long time, adding a unique and natural flair to your decorative endeavors.
Whether you’re a professional florist, a crafting enthusiast, or someone looking to add a natural touch to your environment, mastering the art of branch preservation is an invaluable skill that will enhance your creative projects and bring the beauty of nature indoors.
Angela Ervin
Angela is the executive editor of DIY quickly. She began her career as an interior designer before applying her strategic and creative passion to lifestyle and home. She has close to 15 years of experience in creative writing and online content strategy for housekeeping, home decorations as well as other niche efforts. She loves her job and has the privilege of working with an extraordinary team. She lives with her husband, two sons, and daughter in Petersburg. When she's not busy working she spent time with her family.


