How to Preserve Clay Paw Print
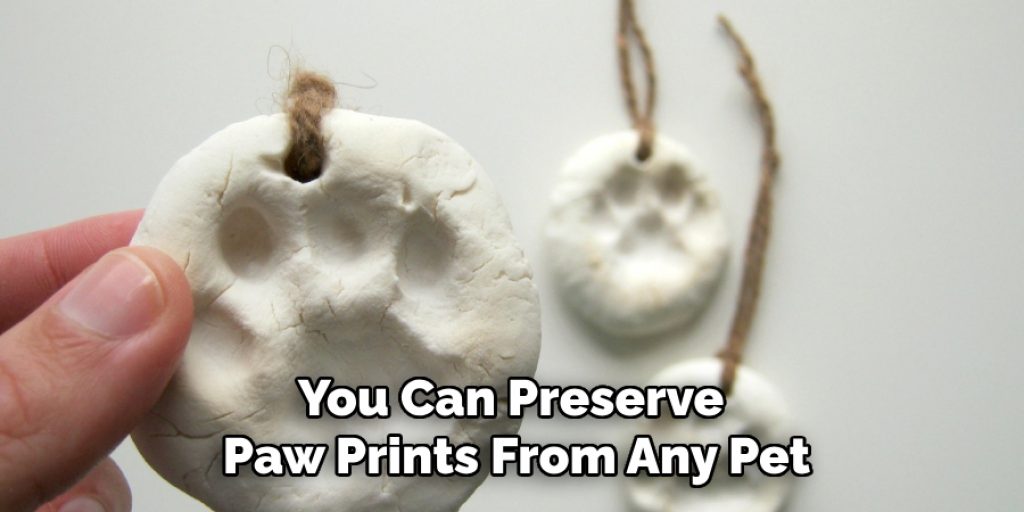
Preserving clay paw prints offers a beautiful way to commemorate your beloved pets while creating lasting memories. This simple yet rewarding craft allows pet owners to capture the unique shape and size of their pet’s paw and transform it into a tangible keepsake.
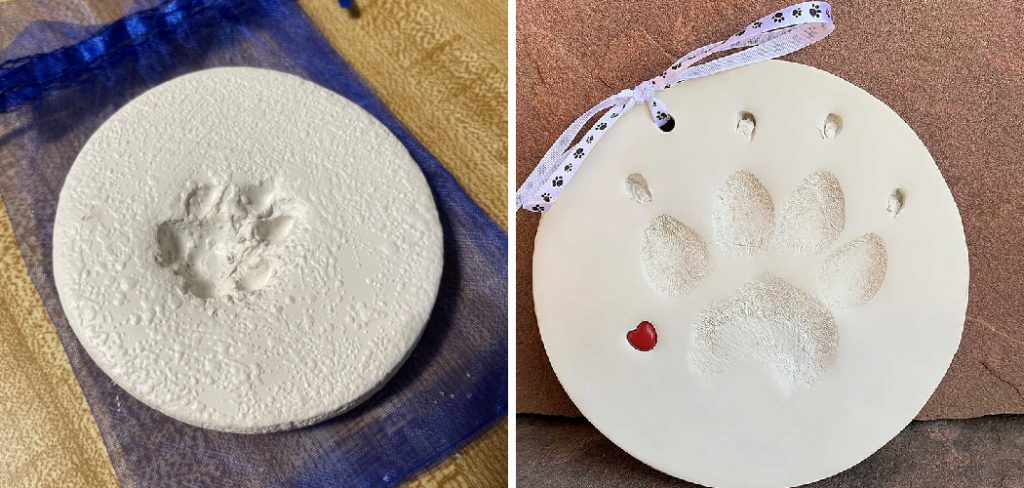
Whether you’re crafting a gift for a fellow pet lover or simply wishing to create a memento of your furry friend, understanding the right techniques and materials will ensure your paw print remains cherished for years to come. In this guide on how to preserve clay paw print, we will explore the steps to effectively preserve clay paw prints, making the process enjoyable and meaningful.
Why Preserve Clay Paw Prints?
Before diving into the process of preserving clay paw prints, it’s important to understand why they hold such sentiment for pet owners. Pets are an integral part of our lives and are often considered members of our family. Losing a beloved pet can be a devastating experience, and preserving their paw print offers a tangible reminder of their presence in our lives.
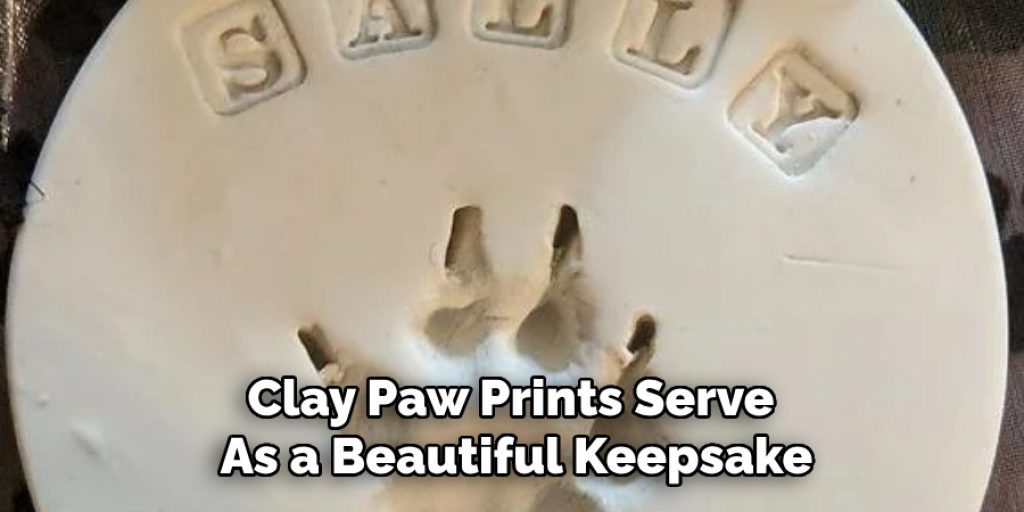
Clay paw prints serve as a beautiful keepsake that captures the unique characteristics of our pets’ paws, including their size, shape, and texture. They also offer a sense of connection and comfort during the grieving process and act as a tribute to your furry friend’s memory.
Materials Needed
To effectively preserve clay paw prints, you will need the following materials:
Air-dry Clay:
This type of clay is ideal for preserving paw prints as it does not require baking and can be easily molded. It also comes in a variety of colors to customize your paw print.
Rolling Pin:
A rolling pin will help flatten the clay and create a smooth surface for the paw print.
Plastic Wrap:
Using plastic wrap between the clay and your pet’s paw will prevent sticking and make it easier to remove without damaging the print.
Cookie Cutters:
Cookie cutters come in various shapes and sizes, making them perfect for creating different designs or adding decorative elements to your paw print.
Paints:
Acrylic paints are recommended as they provide vibrant colors and are water-resistant when dry. You can also use sealants or glazes to protect the paint from chipping or fading over time.
8 Step-by-step Guidelines on How to Preserve Clay Paw Print
Step 1: Prepare Your Work Surface
Before beginning the process of creating your clay paw print, it’s essential to prepare your work surface to ensure a clean and enjoyable crafting experience. Start by selecting a flat, sturdy area, such as a table or countertop, that provides enough space for your materials. Lay down a protective covering, such as newspaper or a plastic mat, to safeguard the surface from any clay residue or paint spills.
Ensure that all necessary materials—air-dry clay, rolling pin, plastic wrap, and cookie cutters—are within reach. This will help streamline the process and allow you to focus on creating a beautiful paw print without any interruptions.
Step 2: Knead the Clay
Kneading the clay is a crucial step in preparing it for your paw print creation. Start by taking a suitable amount of air-dry clay and rolling it between your hands to soften it. This will help remove any air bubbles and ensure a more pliable texture. Once the clay has reached a uniform consistency, use the rolling pin to flatten it into a disc that is about half an inch thick.
The flattened surface should be large enough to accommodate your pet’s paw, so adjust the size accordingly. Be mindful of any imperfections that may arise and knead the clay further if necessary, creating a smooth, even surface ready for your pet’s impression.
Step 3: Create a Paw Print
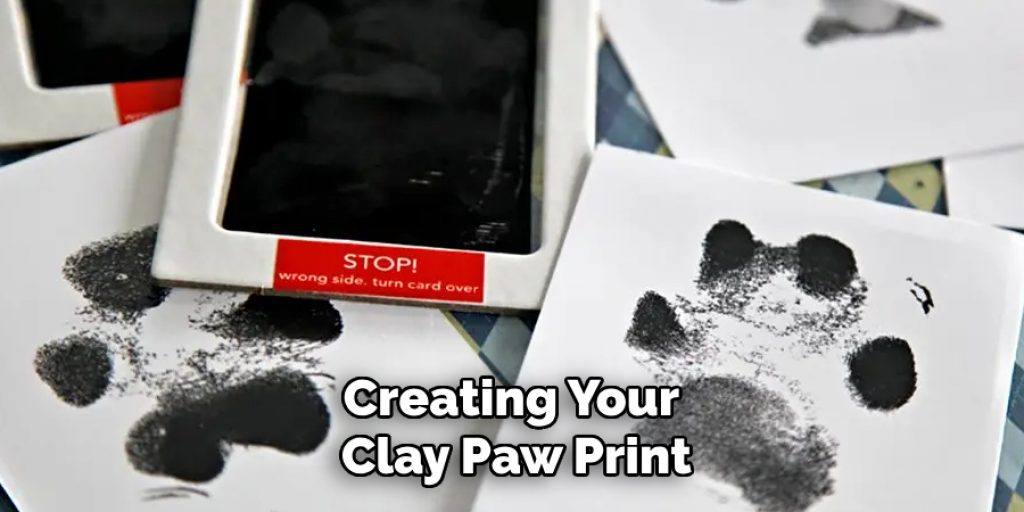
Now it’s time to create your pet’s paw print. Gently place a piece of plastic wrap over the flattened clay disc to protect the surface from any excess moisture or dirt. With your pet calm and comfortable, carefully place their paw onto the clay. Ensure that you apply even pressure while pressing down to capture the full detail of their paw’s shape and texture. Avoid pressing too hard, as this may distort the impression.
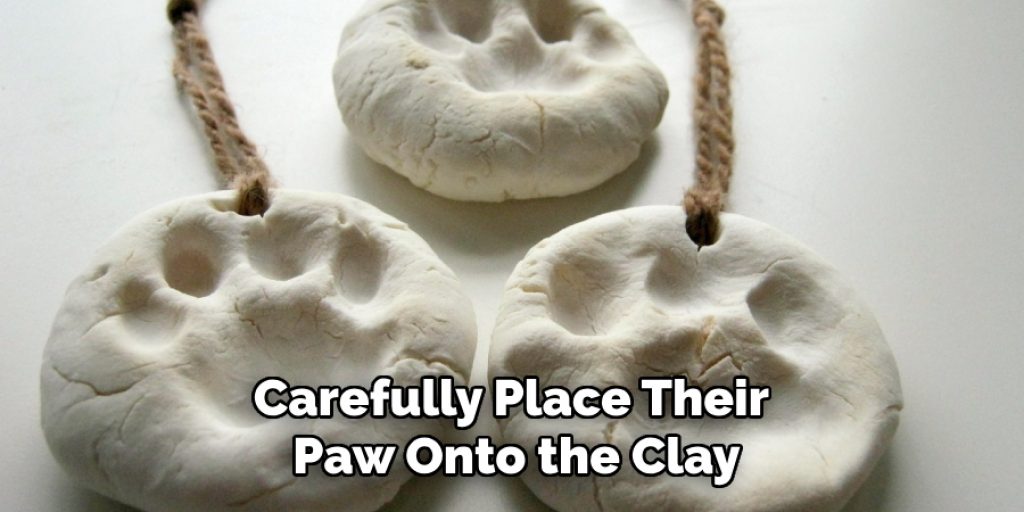
Once you have the desired print, gently lift your pet’s paw away and carefully remove the plastic wrap to reveal the impression left in the clay. If necessary, you can touch up the edges of the paw print with your fingers or a small tool to enhance the clarity of the details.
Step 4: Personalize Your Paw Print
This is where you can get creative and add a personal touch to your clay paw print. You can use cookie cutters to create fun shapes around the paw print or press your pet’s name or a special message into the clay. This step allows you to truly make your paw print unique and reflective of your beloved pet.
It’s essential to do this step before the clay dries to ensure that any added elements properly adhere to the surface.
Step 5: Let It Dry
Once you have achieved your desired paw print, it’s time to let it dry. The drying process may take anywhere from one day to a week, depending on the thickness of the clay and humidity levels in your surroundings. To prevent any cracking or warping, flip the clay over once every 24 hours until fully dried.
You can also use a fan or a dehumidifier to speed up the process. Once the clay is dry, carefully remove it from your work surface and clean up any residue or dirt that may have accumulated on it.
Step 6: Paint Your Paw Print
Once your clay paw print is fully dried, you can begin painting it. This step allows you to add color and personality to your creation while bringing out the intricate details of your pet’s paw print.
Using acrylic paints, start with a base coat and layer on additional colors as desired. You can also use sealants or glazes to protect the paint from chipping or fading over time.
Step 7: Let It Dry Again
After applying paint, it’s crucial to allow your paw print to dry thoroughly once more. Depending on the thickness of the paint and the environment, this drying process may take a few hours to a day. It’s best to place the painted paw print in a well-ventilated area to ensure optimal drying conditions and avoid any disturbances that could smudge the paint. Once it is fully dried, you can proceed to the final step of sealing your keepsake to preserve its beauty and longevity.
Step 8: Display and Cherish Your Creation
Once your clay paw print is completely dry and set, it’s ready to be displayed as a lovely keepsake. You can frame it, hang it on a wall, or place it in a shadow box for safekeeping. It’s also a thoughtful gift for family members or friends who have recently lost a beloved pet.
In conclusion, preserving clay paw prints is a beautiful way to honor the memory of our beloved pets. By following these simple guidelines on how to preserve clay paw print and using the right materials, you can create a timeless piece of art that captures the unique paw print of your furry companion. So gather your materials, get creative, and start preserving those precious memories today!
Frequently Asked Questions
Q: Can I Use Any Type of Clay for My Paw Print?
A: It’s best to use air-dry clay specifically designed for crafting since it is safe and easy to work with. Avoid using polymer clay, as it requires baking and may not yield the same results. It’s also essential to check the expiration date of the clay and use it before its recommended period for best results.
Q: Can I Preserve a Paw Print from Any Pet?
A: Yes, you can preserve paw prints from any pet, including cats, dogs, rabbits, and even birds. It’s important to note that the size of your pet’s paw may affect the final size and shape of your paw print. For larger pets, you may need more significant amounts of clay to accommodate their paws fully.
Q: How Do I Seal My Paw Print?
A: You can use a clear spray sealant or brush-on sealants designed specifically for air-dry clay crafts to seal your paw print. Make sure to follow the instructions on the sealant carefully, and allow it to dry completely before handling your paw print again. It’s also important to note that sealants may alter the color of your paint slightly, so test it first on a small area before proceeding.
Conclusion
Creating and preserving clay paw prints is not only a fun crafting activity but also a meaningful way to commemorate the special bond we share with our pets. This process allows you to capture a tangible memory of your furry friend, ensuring that their unique paw print is cherished for years to come. By following the outlined steps on how to preserve clay paw print and adding personal touches through creativity, you can transform simple materials into a heartfelt keepsake.
Whether displayed in your home or gifted to a fellow pet lover, these paw prints serve as a lasting reminder of the joy and companionship our pets bring into our lives. So gather your supplies, embrace the crafting journey, and celebrate the love you have for your pets!


