How to Print on Cricut Vinyl
Are you new to Cricut vinyl and want to learn how to print on it? Look no further! This guide will cover all the steps you need to know to print on Cricut vinyl successfully.
How to print on Cricut vinyl is a fantastic way to create custom designs and personalize projects for both personal use and business ventures. Cricut vinyl comes in a variety of types, such as permanent, removable, and heat transfer vinyl, making it versatile for various applications, from crafting decorative home items to creating custom apparel.
This guide will explore the essential steps needed to master printing on Cricut vinyl, including selecting suitable materials, preparing your design, and utilizing your Cricut machine effectively. Whether you’re a seasoned crafter or a beginner, you’ll find the tips and techniques provided here, which will help you easily achieve stunning results.
What Will You Need?
Before we dive into the steps for printing on Cricut vinyl, let’s ensure you have all the necessary materials. Here’s a list of items you will need:
- A Cricut cutting machine
- Cricut vinyl (in your desired type and color)
- Cutting mat (specifically designed for cutting vinyl)
- Weeding tools (to remove excess vinyl after cutting)
- Transfer tape or paper
- Scissors or paper trimmer
- Design software or access to Cricut Design Space
Once you have gathered all the materials, it’s time to start your vinyl printing project!
10 Easy Steps on How to Print on Cricut Vinyl
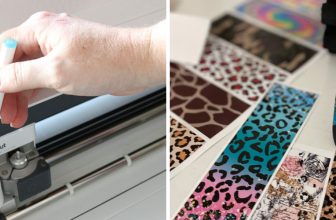
Step 1: Selecting the Right Vinyl
Choosing the correct type of Cricut vinyl is crucial for achieving the desired outcome of your project. Several options are available, each with its specific properties and ideal use cases.
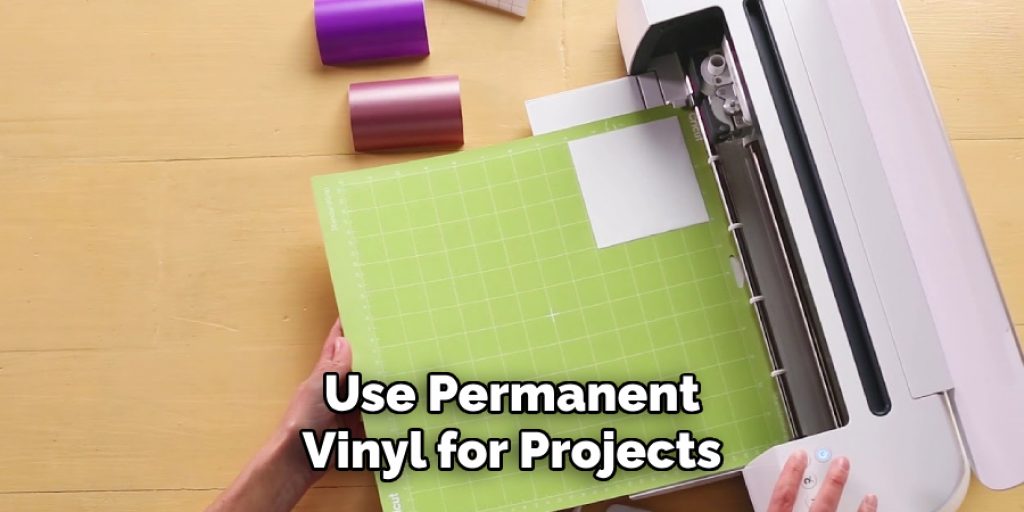
- Permanent Vinyl: As the name suggests, this type of vinyl is meant for long-lasting applications and can withstand exposure to water and outdoor elements. Use permanent vinyl for projects like outdoor signs or mugs.
- Removable Vinyl: This type of vinyl is best for temporary applications, such as wall decals or laptop stickers. It can be removed easily without leaving any residue behind.
- Heat Transfer Vinyl (HTV): Also known as iron-on vinyl, this type of vinyl is designed to be applied to fabrics using heat transfer techniques. You can use HTV to create custom t-shirts, bags, and other fabric items.
Select the appropriate Cricut vinyl type for printing based on your project’s requirements.
Step 2: Preparing Your Design
Preparing your design is an essential step in printing on Cricut vinyl, as it ensures that your final product matches your creative vision. Start by creating your design using design software or Cricut Design Space, which offers various templates and tools to help you personalize your projects. Pay close attention to the dimensions of your design; make sure it fits within the parameters of the vinyl sheet and the cutting mat you’re using.
When designing, consider the colors and patterns you want to incorporate, as these elements will affect the overall appearance of your project. If using multiple colors, remember to layer your design accordingly, allowing for proper cutting and weeding each layer. After finalizing your design, remember to mirror the image if you’re using heat transfer vinyl, especially for designs that involve text, as they must face the correct direction when applied. Finally, save your design in a format compatible with your Cricut machine, ensuring a smooth transition from digital artwork to a tangible product.
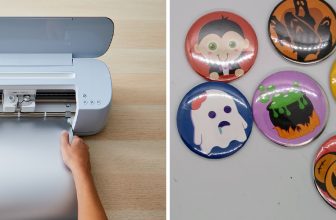
Step 3: Cutting the Vinyl
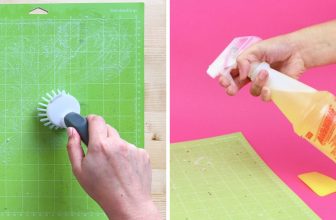
Now that your design is prepared cutting the vinyl using your Cricut machine is time. Start by ensuring your cutting mat is clean and debris-free, which will help your vinyl adhere properly. Place the selected vinyl on the cutting mat, ensuring the adhesive side is down and the colorful side faces up. Load the mat into your Cricut machine, ensuring it’s aligned correctly before pressing the ‘Load’ button.
Next, access Cricut Design Space, select the appropriate material setting for the type of vinyl you use, and adjust the blade depth if necessary. Once everything is set, hit the ‘Cut’ button and let your Cricut machine do its magic. After completing the cutting process, carefully unload the cutting mat and inspect your design to ensure all elements were cut correctly. If there are any incomplete cuts, you may need to repeat the process with adjustments to the settings.
Step 4: Weeding the Vinyl
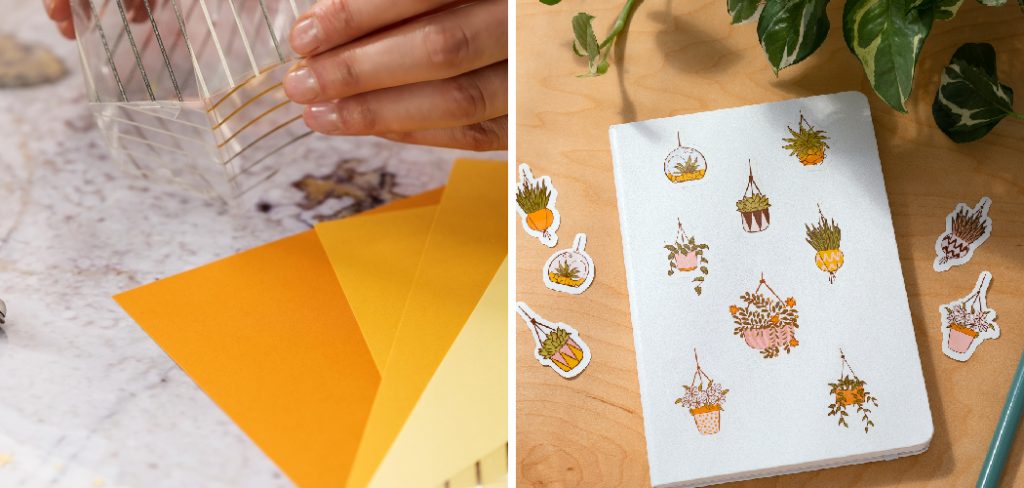
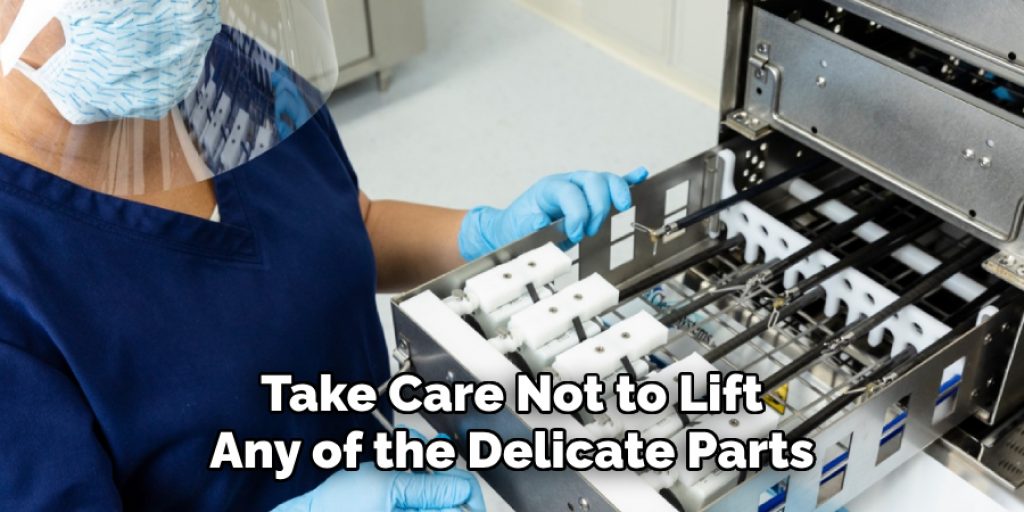
Once your design has been cut successfully, the next step is to weed out the excess vinyl from your project. Weeding involves removing the unwanted pieces of vinyl, leaving only your desired design on the backing sheet. To start, gently lift one corner of the vinyl and use weeding tools to peel away the excess material around your design. Take care not to lift any of the delicate parts of the design itself. For intricate designs, precision tweezers or a weeding hook can be particularly helpful for getting into tight spaces.
Step 5: Applying Transfer Tape
After successfully weeding your vinyl design, the next step involves transferring your design onto the final surface using transfer tape. Begin by cutting a piece of transfer tape slightly larger than your design. Carefully place the tape over the weeded vinyl, ensuring it covers the entire design. Use a scraper tool or a credit card to gently press down on the transfer tape, ensuring it adheres well to the vinyl.
This step helps to lift your design off the backing while keeping all elements in place. Once applied, slowly peel away the support of the vinyl, making sure the design sticks to the transfer tape as you go. If any parts of the design remain on the backing, gently press the transfer tape back down and apply pressure again before peeling it away again. Now, your design is ready for placement!
Step 6: Positioning Your Design
Now that your vinyl design is on the transfer tape, it’s time to position it onto the desired surface. Start by cleaning the surface thoroughly to ensure no dust, grease, or residue could interfere with adhesion. Once the surface is prepared, use the transfer tape to position your design carefully, ensuring it is aligned and straight. Using a ruler or measuring tape for precise placement is helpful, especially for larger designs.
After you’re satisfied with the placement, secure the design in place by lightly pressing down on the middle and working towards the edges, starting from the center to eliminate air bubbles.
Step 7: Applying the Vinyl
With your design positioned correctly, it’s time to apply the vinyl to the surface permanently. Use a scraper tool or a credit card once again to firmly rub over the vinyl, pushing down from the center towards the edges. This ensures that the adhesive bonds well with the surface. Pay particular attention to the edges of the design to prevent any lifting.
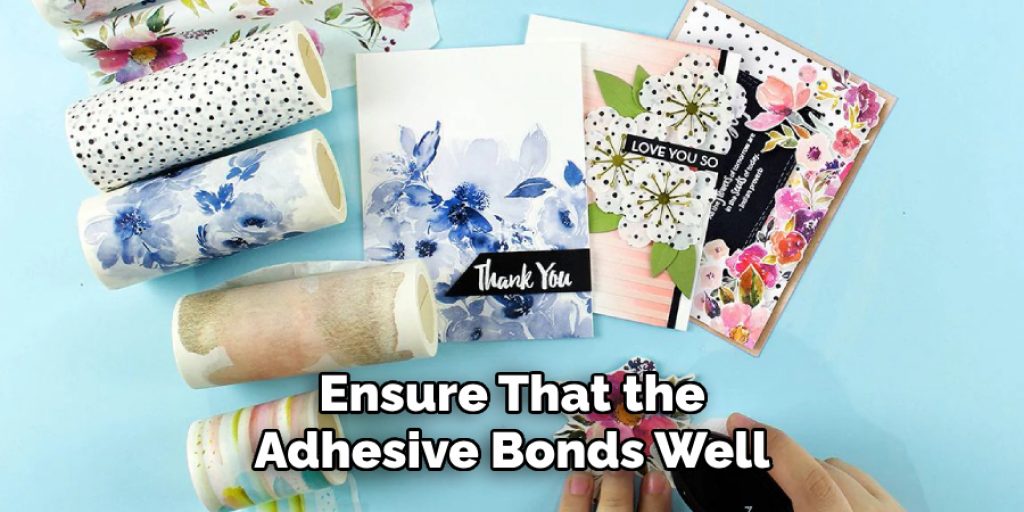
After you’ve applied enough pressure, gently peel away the transfer tape. If any part of the vinyl starts lifting with the tape, simply press it back down and repeat the scraping process until it adheres completely.
Step 8: Final Touches
Once the transfer tape is removed and your vinyl design is firmly applied, take a step back to admire your work! Check for any bubbles or imperfections. If you notice any air bubbles, you can use a pin to poke a small hole and gently push out the trapped air. Finally, consider sealing the vinyl, especially for items exposed to outdoor elements, to enhance durability and longevity. Your Cricut vinyl project is now complete, allowing you to enjoy your creativity showcased beautifully!
Step 9: Maintenance and Care
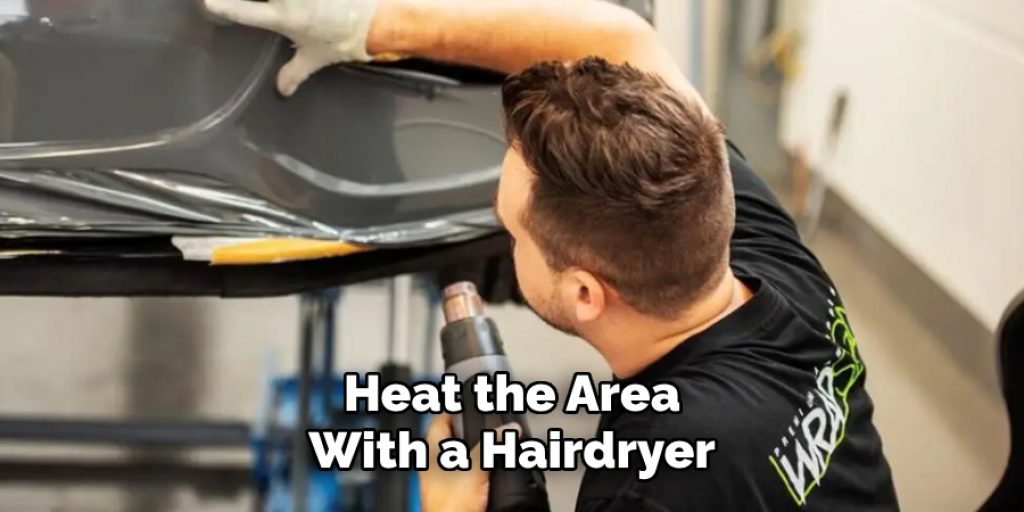
Regular maintenance is essential to ensure the longevity of your vinyl project. For surfaces like walls or regularly used items, avoid abrasive cleaners that could damage the vinyl. Instead, use a damp cloth or mild soap solution to clean the area gently, avoiding excessive scrubbing. If your project is outdoors, check for any signs of wear or peeling, and apply a sealant to protect it from the elements. Periodically inspect your design, and should you notice any lifting edges or peeling, carefully press them back down and apply a bit of heat with a hairdryer to reactivate the adhesive.
Step 10: Troubleshooting Common Issues
Even with careful preparation and application, you may encounter some common issues during your vinyl project. If your vinyl doesn’t stick well, recheck your surface for cleanliness and ensure it is suitable for vinyl application. In cases where the design has bubbles, use a pin to puncture the bubble and gently push the air out for a smooth finish. If the vinyl starts lifting after a few days, heat the area with a hairdryer to reactivate the adhesive and press it down firmly. Lastly, if you notice fading or discoloration, it may be time to reapply or seal the vinyl for continued protection. Identifying and addressing these issues promptly will help maintain the quality and appearance of your project.
Following these steps, you can successfully create various projects using Cricut vinyl, from personalized home decor to custom clothing. The possibilities are endless with this versatile crafting material!
Conclusion
In conclusion, How to print on cricut vinyl is a rewarding process that allows for creativity and personalization in various projects.
You can achieve professional-looking results by following the detailed steps from design selection to applying and maintaining the vinyl. Remember to choose the right type of vinyl for your specific application, carefully weed your designs, and use proper tools for positioning and applying the vinyl. Regular maintenance will ensure the longevity and vibrancy of your projects.
Whether you are crafting decorations, clothing, or custom gifts, mastering the art of Cricut vinyl offers endless opportunities for expression and enjoyment. Embrace the process, and let your creativity shine!
Elizabeth Davis
Elizabeth is a creative writer and digital editor based in the United States. She has a passion for the arts and crafts, which she developed from a young age. Elizabeth has always loved experimenting with new mediums and sharing her work with others. When she started blogging, she knew that DIYquickly would be the perfect platform to share her tutorials and tips. She's been writing for the blog from the beginning, and her readers love her helpful advice and easy-to-follow instructions. When she's not writing or editing, Elizabeth enjoys spending time with her family and friends.