How to Print on Shoes
Custom-printed shoes have emerged as a unique way for individuals to express their personal style and creativity. The appeal lies in transforming a simple pair of shoes into a work of art that reflects one’s personality or interests. The benefits of custom printing extend beyond aesthetics; they also offer a sense of ownership and uniqueness that store-bought shoes often lack.
This article provides a comprehensive guide on how to print on shoes, covering everything from selecting the right materials and tools to the actual printing techniques. By following these steps, readers will learn how to prepare their shoes, design their images, and successfully transfer their designs onto footwear. The purpose of this article is not only to educate but also to inspire readers to explore their creativity and create truly personalized footwear.
Materials and Tools Needed
To get started on your custom-printed shoes, you’ll need a variety of materials and tools. Essential materials include blank shoes suitable for printing, printable transfer paper to transfer your designs, fabric paint for detailing, and stencils if you want to create specific shapes or patterns.
The tools required are a printer to print your designs, an iron or heat press for transferring the images, paintbrushes for applying fabric paint, and masking tape to secure areas that shouldn’t be printed. Optional materials like glitter and embellishments can add extra flair to your finished product, allowing for even more personalized details.
Choosing the Right Shoes and Design
Selecting the right shoes is crucial for a successful printing project. Look for materials that can withstand heat without warping, such as canvas or cotton, and consider light colors to make your designs pop. The style of the shoe can also impact your design choice; sneakers offer a larger canvas, while flats or sandals may limit you.
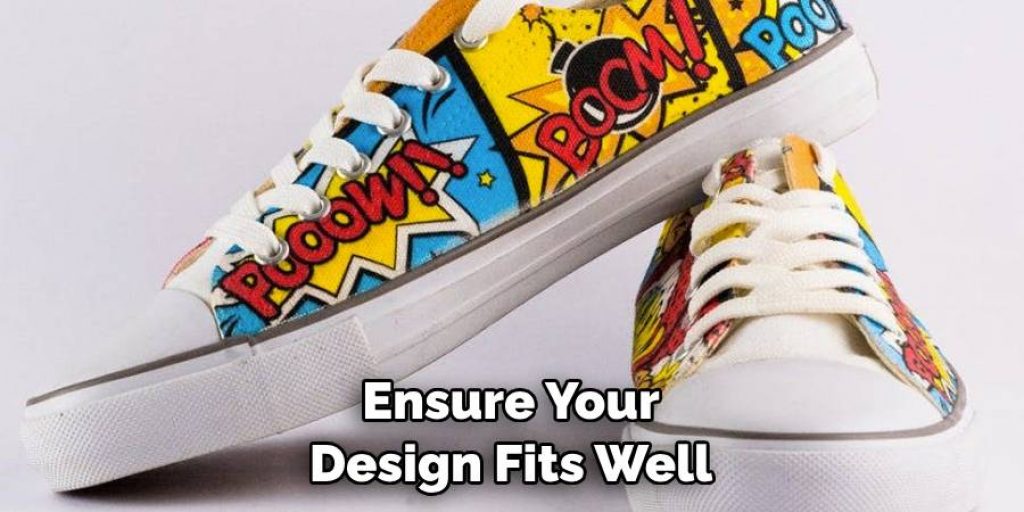
When choosing a design, consider what will complement the shoe’s shape and surface area. Simple, bold graphics tend to work better on shoes than intricate details that may not translate well when printed. Ensure your design fits well within the shoe’s dimensions and doesn’t overwhelm its structure. Testing the shape and scale of your design on paper before finalizing it will help you avoid potential mismatches during printing.
Preparing the Shoes
Before diving into the printing process, preparing the shoes properly is crucial to ensure the best results. Start by cleaning the surface of the shoes thoroughly to eliminate any dirt, dust, or oils that could interfere with the printing process. Use a damp cloth and mild soap to wipe down the shoes, allowing them to dry completely afterward.
Once cleaned, it’s important to mask off areas you don’t want to be printed on; masking tape can help protect those sections effectively. If you’re working with particularly porous or textured shoes, applying a fabric primer can create a smoother surface for the design to adhere to, enhancing the overall quality of your print. Allow any primer to dry completely before proceeding.
Designing and Printing the Image
Creating the Design
The first step in designing your image involves using design software, such as Adobe Illustrator or Canva, to create or edit your graphics. Incorporate elements that will amplify the shoe’s aesthetics while keeping in mind its shape. It’s essential to consider the contours and dimensions of the shoes, as intricate designs may become distorted when printed or may not adhere properly to curves.
Be sure to maintain a high resolution for your images to ensure clear and vibrant printing outcomes; ideally, your final design should be at least 300 DPI (dots per inch) to achieve the best clarity and detail.
Printing the Image
Once your design is perfectly polished, it’s time to prepare for printing. Start by selecting the correct printer settings for your transfer paper; this typically includes choosing the media type as ‘transfer paper’ and selecting a high-quality print mode. To prevent any surprises, print a test page to check how the colors and alignment appear.
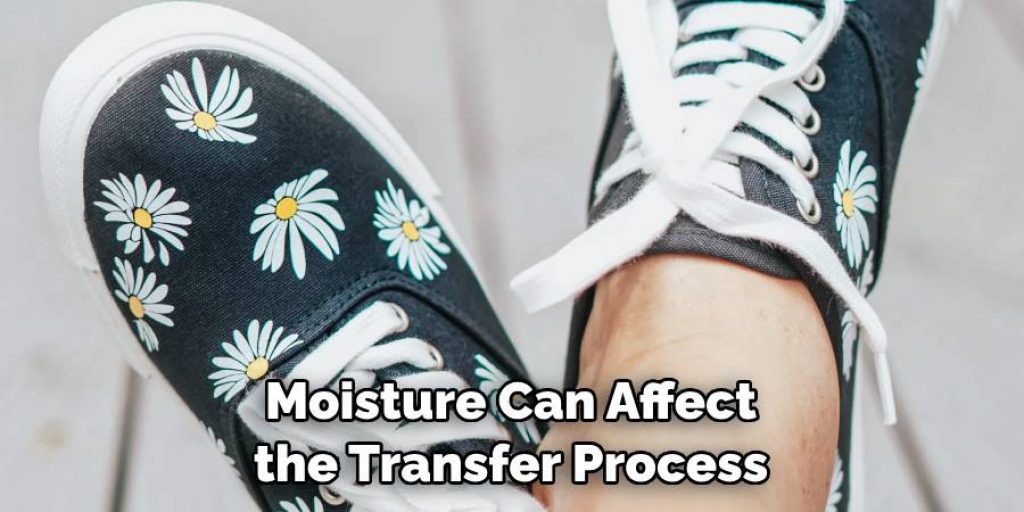
This step allows you to make any necessary adjustments before committing to the final print. Once satisfied with the test print, proceed to print your final design on the transfer paper, ensuring it’s aligned correctly. After printing, allow the transfer paper to dry completely before handling it, as moisture can affect the transfer process.
How to Print on Shoes: Transferring the Design to the Shoes
Positioning the Transfer
Once your printed design is ready, the first step is to cut it out carefully, leaving a small border around the edges. This helps prevent any excess transfer paper from sticking to the shoe, ensuring a cleaner finish. After cutting, position the design on the shoe to find the most appealing placement.
Take your time to experiment with different angles and locations to see what complements the shoe’s shape best. Once you’re satisfied, use masking tape to secure the corners of the transfer paper to prevent it from shifting during the application process. Make sure the design is flat against the shoe’s surface, as any wrinkles or bubbles can affect the transfer quality.
Applying the Transfer
With the design securely positioned, it’s time to apply the transfer. Preheat your iron or heat press according to the instructions provided with the transfer paper—typically, this will involve a specific temperature setting and the recommended time for the application. Cover the transfer paper with a protective cloth to safeguard the shoe during the heat.
Firmly press the iron or heat press onto the design, applying consistent pressure without moving it to ensure an even transfer. Follow the product’s heat and time settings guidelines to achieve the best results. After the designated time has passed, allow the paper to cool slightly, then gently peel away the transfer paper backing. Do this slowly to avoid lifting any parts of the shoe’s design.
Painting and Adding Details
Once your design is transferred onto the shoes, you can enhance its appeal with fabric paint. Use fine-tipped brushes to add extra details, outlines, or even corrective strokes where needed. Various brush types, such as flat or round brushes, allow for different painting techniques; flat brushes are ideal for broad strokes, while round brushes offer precision for intricate elements. Experiment with different techniques, like stippling or dry brushing, to create texture and depth within your design. Remember to use paint that is specifically made for fabric to ensure durability during wear and washing.
For added flair, consider incorporating embellishments like glitter or rhinestones. Apply a fabric adhesive where you want to place the rhinestones, and carefully set them in position, allowing them to adhere properly. Mix some glitter with fabric paint to create a shimmery finish on larger sections of your design for a sparkling effect. Seal the embellishments and painted areas with a fabric sealer to protect your artwork and extend the life of your custom-printed shoes.
Sealing and Protecting the Design
To ensure the longevity of your custom designs, applying a protective sealant that can withstand wear and tear is essential. Choose a sealant specifically designed for fabric, such as a clear acrylic spray or a fabric waterproofing treatment, as these options provide an additional barrier against stains and fading.
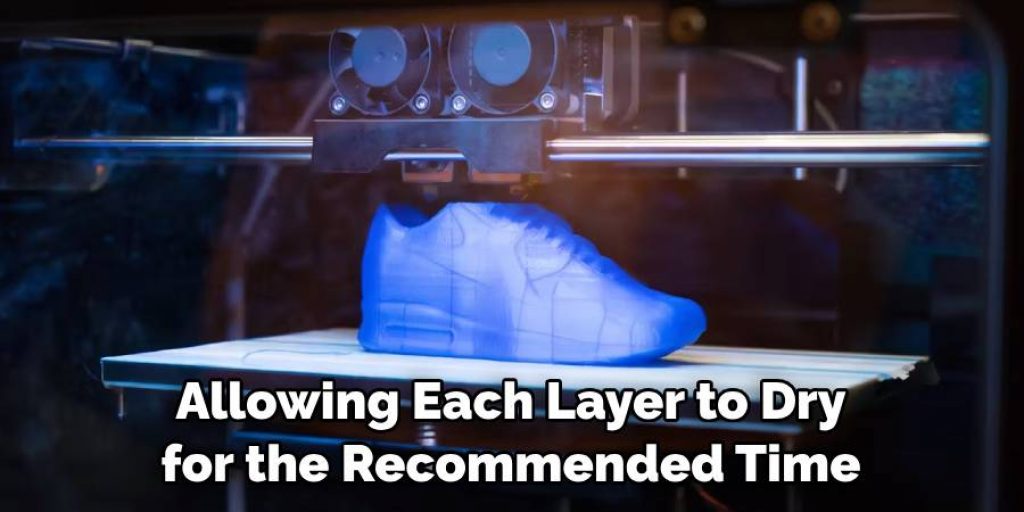
When applying the sealant, work in a well-ventilated area and hold the spray about 6-12 inches from the shoe’s surface. Apply it in thin, even coats, allowing each layer to dry for the recommended time before adding another. This process protects your artwork and helps prevent the paint from cracking or peeling over time.
Final Touches and Quality Check
Once the sealant is applied, take a moment to inspect your shoes thoroughly for any imperfections or areas that may need touch-ups. Look for any gaps in the design where the paint might have missed or areas where the transfer did not adhere properly. If you notice any spots, use your fabric paint or markers to carefully add detail and restore vibrancy.
Additionally, ensure that all embellishments, such as rhinestones or glitter, are securely attached and have adhered properly after sealing. Finally, check that the overall design is smooth and cohesive, with no lifting edges or visible inconsistencies for a polished final product. This attention to detail enhances the aesthetic and contributes to the durability and lasting impression of your custom shoes.
Maintenance and Care Tips
Avoid harsh chemicals and opt for gentle cleaning methods to keep your custom-printed shoes looking their best. Use a soft cloth or sponge with mild soap to spot clean any stains, steering clear of abrasive materials that could damage the design.
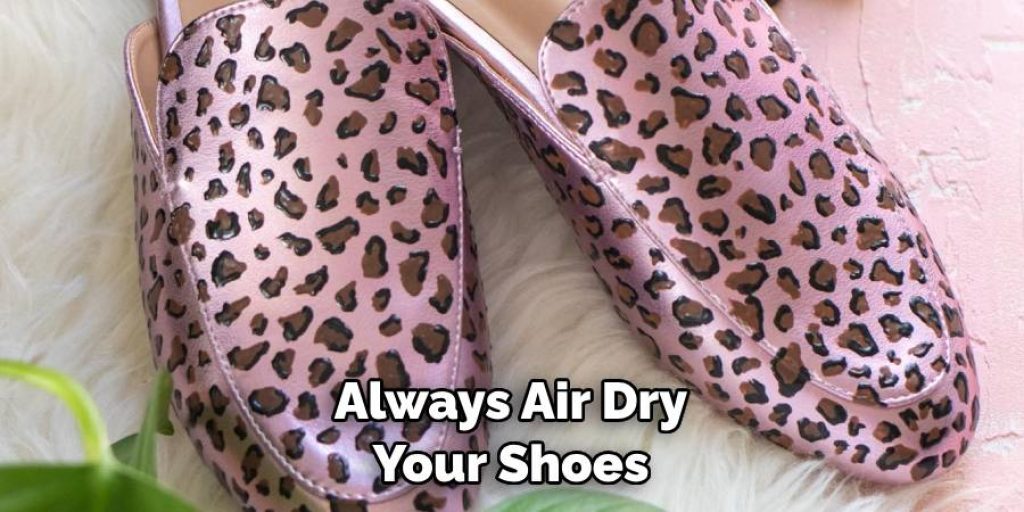
Always air dry your shoes rather than using direct heat, which can cause the transfer to warp or peel. When storing your shoes, keep them in a cool, dry place away from direct sunlight to prevent fading. Consider using a shoebox or a dust bag to protect them from dust and scratches.
Conclusion
In summary, learning how to print on shoes involves several steps: creating a design, printing it onto transfer paper, applying the transfer, and adding embellishments for that personal touch. You can become proficient in this craft and take your footwear to new heights with practice. Don’t hesitate to experiment with various techniques and styles—each iteration allows for unique expression and creativity.
The satisfaction of creating personalized footwear that reflects your style is a rewarding experience, making every pair uniquely yours. Remember, each step, from printing to sealing, contributes to the final product, ensuring longevity and vibrancy in your custom designs. Embrace the process and let your imagination run wild!
Elizabeth Davis
Elizabeth is a creative writer and digital editor based in the United States. She has a passion for the arts and crafts, which she developed from a young age. Elizabeth has always loved experimenting with new mediums and sharing her work with others. When she started blogging, she knew that DIYquickly would be the perfect platform to share her tutorials and tips. She's been writing for the blog from the beginning, and her readers love her helpful advice and easy-to-follow instructions. When she's not writing or editing, Elizabeth enjoys spending time with her family and friends.