
How Does Tattoo Transfer Paper Work
Introduction:
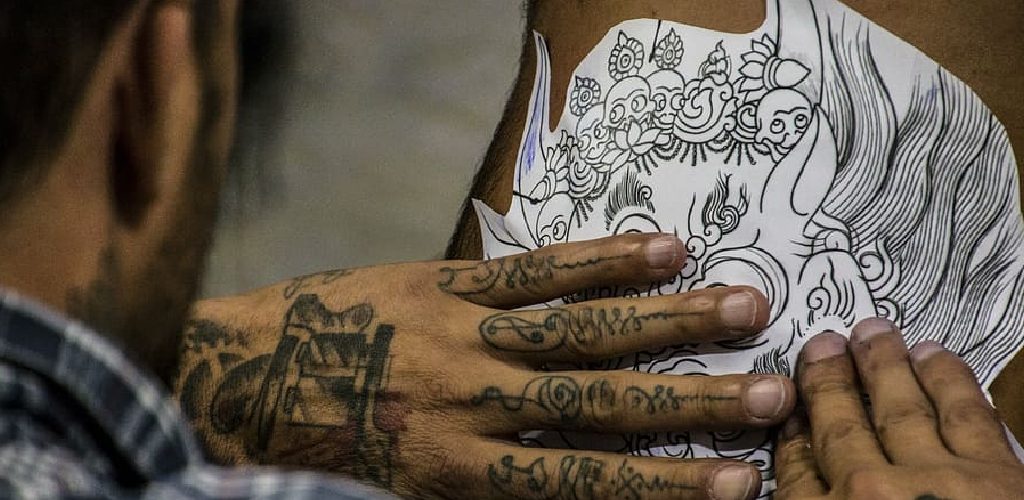
A transfer paper is a type of tattooing supply used to transfer lines and images from one surface to another. It’s widely used together with stencils, which serve as a basis for the finished tattoo. These papers can be bought in any tattoo supply store or even at some art shops. Transfer papers come in various designs such as animal prints, floral motifs, geometric shapes, etc.
But no matter what kind of design your transfer paper comes with, you must ensure that it matches up in size and position with your stencil before applying ink on the skin. Basically, this means having two pieces – the design (stencil) and its replica (transfer paper). In this article, I will discuss how to tattoo transfer paperwork. So let’s get started.
Stepwise Guide on How Does Tattoo Transfer Paper Work:
Tattoo transfer paper is used in the tattoo industry, allowing you to move your artwork onto T-shirts or other surfaces. The sheets are made with a plastic polymer that looks just like paper. You print your design on the white backing of the paper and remove it before applying it to whatever surface you’re transferring it over to. It may sound complicated; however, anyone can use them to their advantage.
1. Design Your Artwork:
Before doing anything else, ensure that you have an image ready for your transfer. This image must be clean and crisp with no smudges or lines around the edges (unless intentional). This includes ensuring there are no shadows and it is completely symmetrical. You can use a scanner or digital camera or scan your image from paper.
2. Decide What Surface You want to Transfer Your Artwork onto
When doing a design of art, you should always make sure the surface you’re going to transfer is clean and free of oils, dust, or dirt. If there are any marks on the surface, the ink may be rubbed off when applying for the transfer and cause the finished product to look messy and out of place. Also, ensure you’re working in an area with good lighting so that you can comfortably see what needs to be done with your hands and your eyesight.
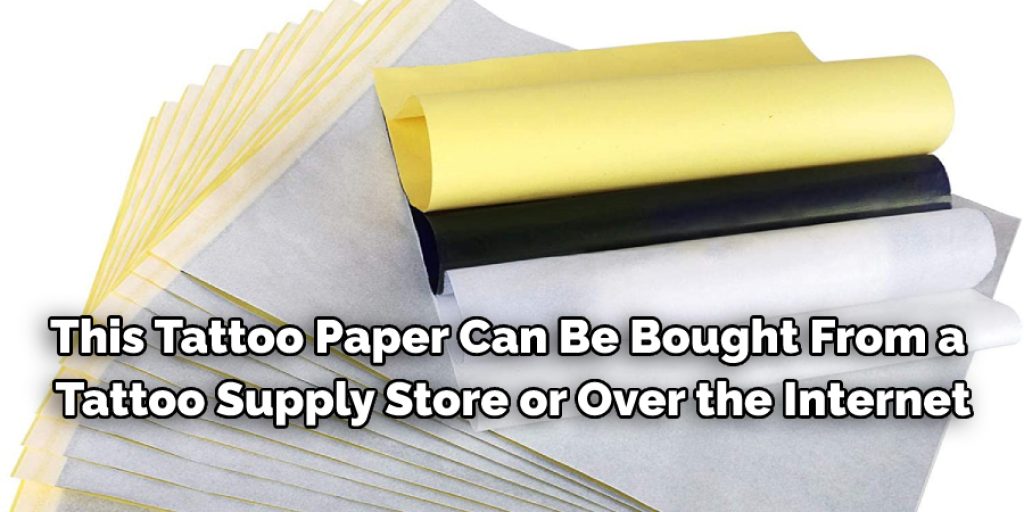
3. Purchase Transparent Tattoo Transfer Paper:
This tattoo paper can be bought from a tattoo supply store or over the internet. It is important to note that you should never use any type of paper other than what was intended, as it may result in the finished piece turning out completely different from your original vision.
4. Print Your Design onto the Metallic Side of the Transfer Paper:
There are two different sheet designs; one has a metallic layer on one side while the other does not. If your design has no metallic shine, you do not need to print anything out; remove the white backing and apply it directly onto your surface. You will have to get this done later if there is an area where ink needs to go through (such as skin).
5. Find a Hard Flat Surface to Transfer the Art Onto.
After printing out your design, place it on a hard flat surface. This could be a tabletop or a piece of wood that you can lean against the wall for support. Please ensure all four corners are firmly in place, and there is no way for it to move around while you’re working on it.
6. Get Your Clear Plastic Transfer Utility Knife:
This blade must only be used for transfer paper as other items may cause smudges or uneven lines in your piece where you want everything to be even and smooth. As with any cutting implement, try not to press down too hard because you don’t want anything else going through your finished product. Suppose you do need to press down and constantly check in between the blade to ensure that it’s only cutting through the paper and not into your design.
7. Carefully Cut Around Your Design:
The knife can be used to trim around any element of your design that isn’t going to go through skin or clothing layers (such as eyes or other facial features). When doing this, it is important that you do not move the paper because it will mess up all of your hard work, making everything symmetrical and symmetrical.
If you want something on one side of the sheet to be different from the opposite side, print out another copy for each, so there is no confusion when transferring them later.
8. Peel the Paper Backing Off of Your Transfer:
Once completely trimming around your artwork, carefully peel back the white backing and see if there are any light areas or smudges. The link may not have transferred to those areas because they were touched by a hand – it’s important that when inking over top of tattoo paper, no skin touches the actual transfer area (by hands) as this can affect how the finished product turns out / looks.
9. Place Your Transparent Tattoo Paper onto the Surface You Want to Use:
Make sure both sides of your design are clean and with no oils from your hands on them. If there is anything on them, it will show through once applied to the skin, which is why you need to take extra precautions when not working with the transfer papers. Instead, place your design directly onto the surface you want to use, such as a person’s forearm or another body part.
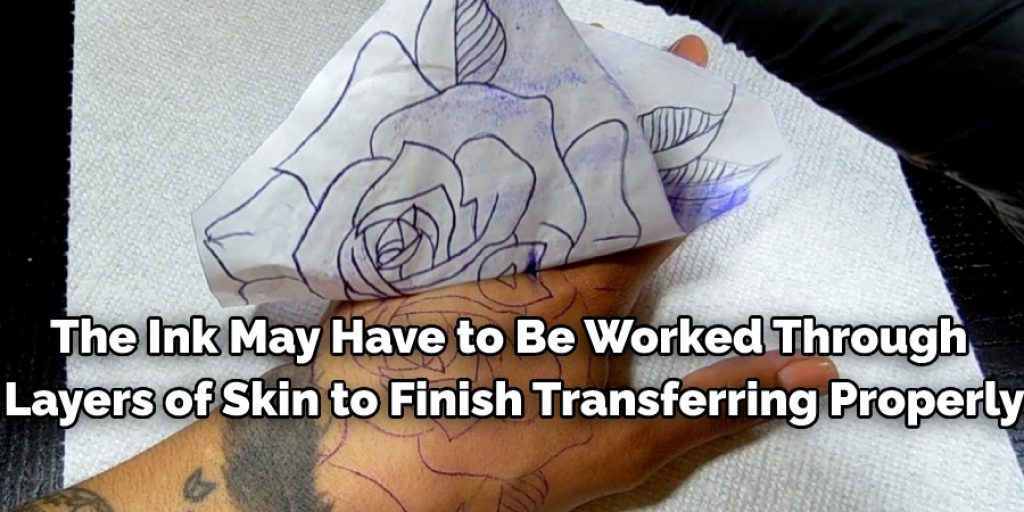
10. Press Down on Your Design:
Using both hands to press down firmly and evenly is important so that there aren’t any air bubbles or uneven smudges in your finished product. In addition, the ink may have to be worked through layers of skin to finish transferring properly into those areas without taking too long for it to happen.
Conclusion:
Tattoo transfer paper is an easy way to ensure that your finished design turns out everything like it’s supposed to be. However, it takes a little bit of practice to get used to the process because you don’t want anything falling off or smudging while working on the ink part of things.
If this happens, try googling some tutorials about fixing mistakes along the way and keep practicing until you start getting good at it. I hope you have obtained all the information regarding how to tattoo transfer paperwork. Thank you, and have a nice day!
Check out our article How to Fix a Tattoo That Is Too Dark.
Elizabeth Davis
Elizabeth is a creative writer and digital editor based in the United States. She has a passion for the arts and crafts, which she developed from a young age. Elizabeth has always loved experimenting with new mediums and sharing her work with others. When she started blogging, she knew that DIYquickly would be the perfect platform to share her tutorials and tips. She's been writing for the blog from the beginning, and her readers love her helpful advice and easy-to-follow instructions. When she's not writing or editing, Elizabeth enjoys spending time with her family and friends.


