
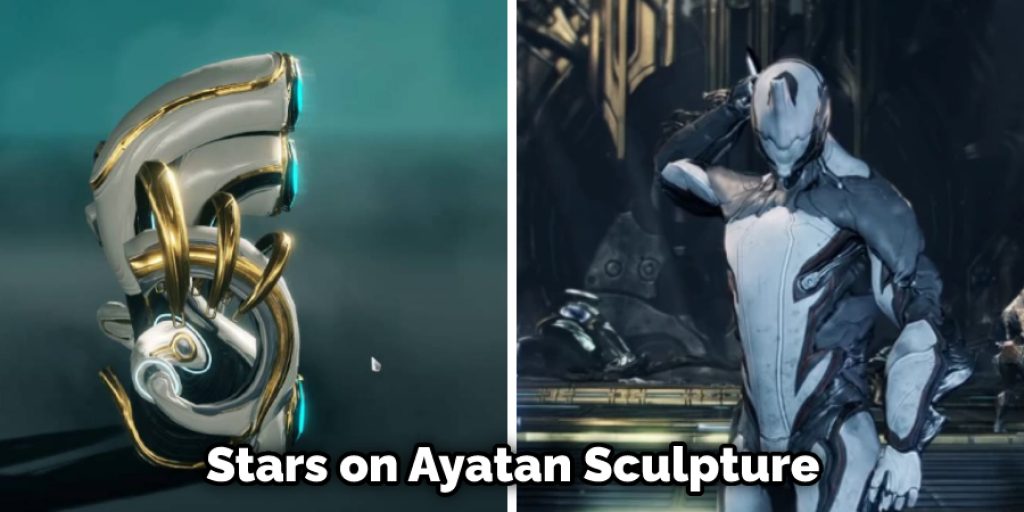
How to Put Stars in Ayatan Sculpture
In the world of Warframe, there are many things to collect and strenuously battle for. However, one of the unique items obtained is an Ayatan Sculpture. These sculptures come in different shapes and sizes, but all offer amazing buffs to players who possess them. This blog post will show you how to put stars in Ayatan sculptures.

First, you’ll need some ayatan sculptures. You can either buy them from the in-game market or craft them yourself. Next, you’ll need to find a star for each of your ayatan sculptures. The stars can be found by mining the appropriate resource nodes on Saturn, Uranus, Neptune, and Pluto. Finally, we’ll show you how to insert the stars into the ayatan sculptures. Read on for more information!
10 Effective Ways on How to Put Stars in Ayatan Sculpture
1. Find the Correct Resource Nodes:
You’ll need to find the correct resource nodes on the planets of Saturn, Uranus, Neptune, and Pluto. Then, the stars can be found by mining the appropriate resource nodes.
2. Look for the Right Ayatan Sculptures:
There are many different ayatan sculptures, so you’ll need to find the right ones for your stars. Then, you can either buy them from the in-game market or craft them yourself.
3. Insert the Stars into the Ayatan Sculpture:
The stars can be inserted into the ayatan sculpture using a Warframe ability called Transference. This ability allows you to transfer your consciousness into another object.
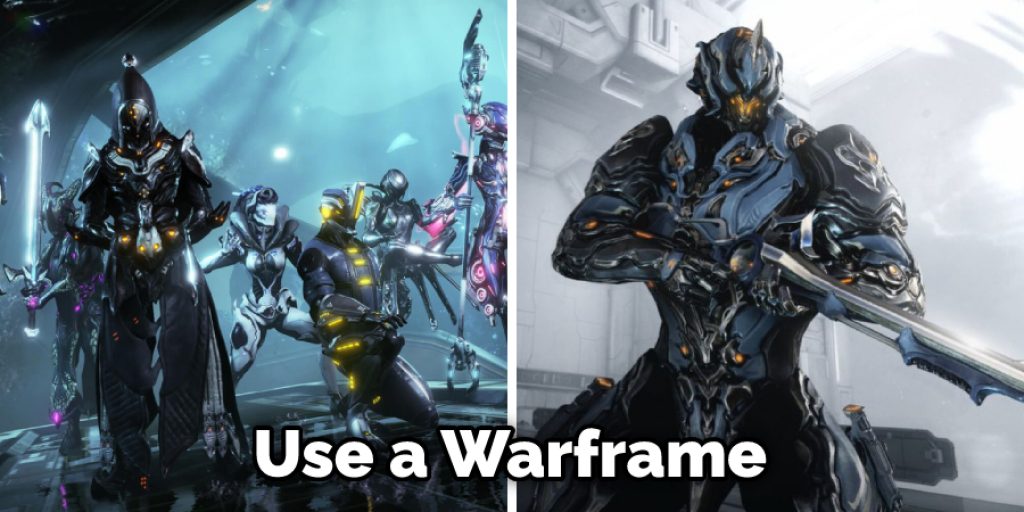
4. Use Your Warframe’s Abilities:
Your Warframe has a variety of abilities that can be used to help you put stars in Ayatan sculptures. Use your Warframe’s abilities to help you reach the stars and put them in the sculpture. If you have a Warframe that can teleport, use that ability to get to the stars quickly.
5. Mine the Nodes:
You can mine the nodes with your Warframe’s ability or a mining laser. Use your Warframe’s abilities to mine the nodes. If you are using a mining laser, make sure it is equipped with an Ayatan Sculpture Star Miner mod.
6. Use an Exilus Adapter:
If you have an Exilus Adapter, you can use it to socket an Ayatan Sculpture Star into the sculpture. This will give you a significant bonus to the buff that the sculpture provides.
7. Use a Focus Lens:
If you have a Focus Lens, you can use it to increase the range of your Ayatan Sculpture’s effect. You can also use it to make the stars appear brighter. To use a Focus Lens, first you need to find one. Focus Lenses can be found on Uranus, Neptune, and Pluto planets. Once you have a Focus Lens, equip it and then use it to target the stars.
8. Use a Resource Booster:
If you have a Resource Booster, you can use it to increase the chances of finding a star. To use a Resource Booster, equip it and then use it while mining the nodes.
9. Use a Star Chart:
If you have a Star Chart, you can use it to find the locations of the stars. To use a Star Chart, equip it and then use it to target the stars. The Star Chart will show you the way to the stars.
10. Mine in a Group:
Mining in a group will allow you to find the stars more quickly. To mine in a group, you’ll need to find other players looking for stars. You can use the Warframe chat to find other players looking for stars. Once you’ve found some players, join their group and start mining the nodes.
Step by Step Process: How to Put Stars in Ayatan Sculpture
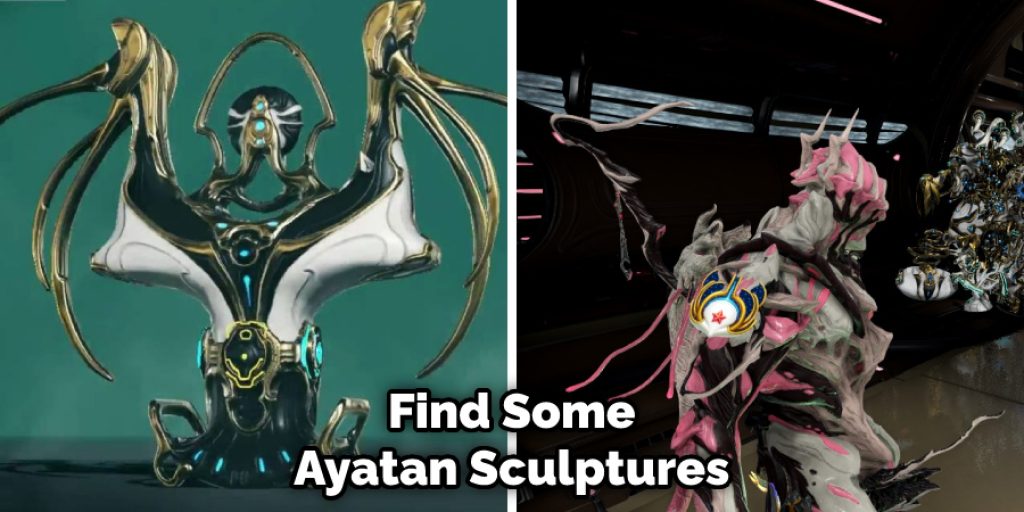
Step 1: Find Some Ayatan Sculptures.
The first step is to find some Ayatan sculptures. You can find these in several ways, but the easiest is probably to find them in the game “Warframe.” In Warframe, you can purchase Ayatan sculptures from the Market or find them as rewards for completing certain missions.
Step 2: Activate the Ayatan Sculpture.
Once you have found an Ayatan sculpture, you will need to activate it. Simply approach the sculpture and press the “use” button to do this. This will cause the sculpture to emit a bright light, which can be used to power up certain items in the game.
Step 3: Place the Item to be Powered in the Light.
Once the Ayatan sculpture is activated, you can then place the item you wish to power in the light. To do this, hold the item and approach the light. The item will then be powered by the light and will gain a temporary bonus.
Step 4: Enjoy Your Powered Item!
That’s all there is to it! Once you have placed the item in the light, you can then enjoy the benefits of the power boost. However, keep in mind that the bonus is only temporary, so you’ll need to re-activate the Ayatan sculpture every so often to keep the power boost going.
Some Helpful Tips and Suggestions
- Choose the right size and type of star for your sculpture. There are many different sizes and types of stars available, so make sure to select the ones that will best fit your sculpture.
- Make sure to clean the surface of your sculpture before attaching the stars. This will help ensure that the stars adhere properly and do not fall off.
- Use a good quality adhesive to attach the stars. This will help ensure that the stars stay in place and not fall off.
- Be careful not to damage your sculpture when attaching the stars. Take your time and be gentle to avoid damaging the sculpture.
- Use various sizes and types of stars to create a unique look for your sculpture.
- Have fun and be creative! There are no wrong ways to put stars on your Ayatan sculpture, so experiment and see what looks best.
Conclusion
Suppose you want to start collecting Ayatan sculptures or are just looking for a way to add some extra flair to your home decoration; follow these simple tips to put stars in your sculptures. With a little practice and patience, you’ll be able to create beautiful pieces that will impress all who see them.
We hope this blog post on how to put stars in ayatan sculpture has been helpful. Remember that placing stars in your sculptures can be fun and challenging, but the results are always worth it. What do you think about our guide? Do you have any questions about the process? Let us know in the comments below!
You May Also Read: How to Clean Aluminum Gasket Surface


